Friday, June 30, 2017

Back to the Wishing Tree Quilt

Yesterday I spent most of the day running errands and enjoying lunch with a friend, so got to the machine after dinner. 


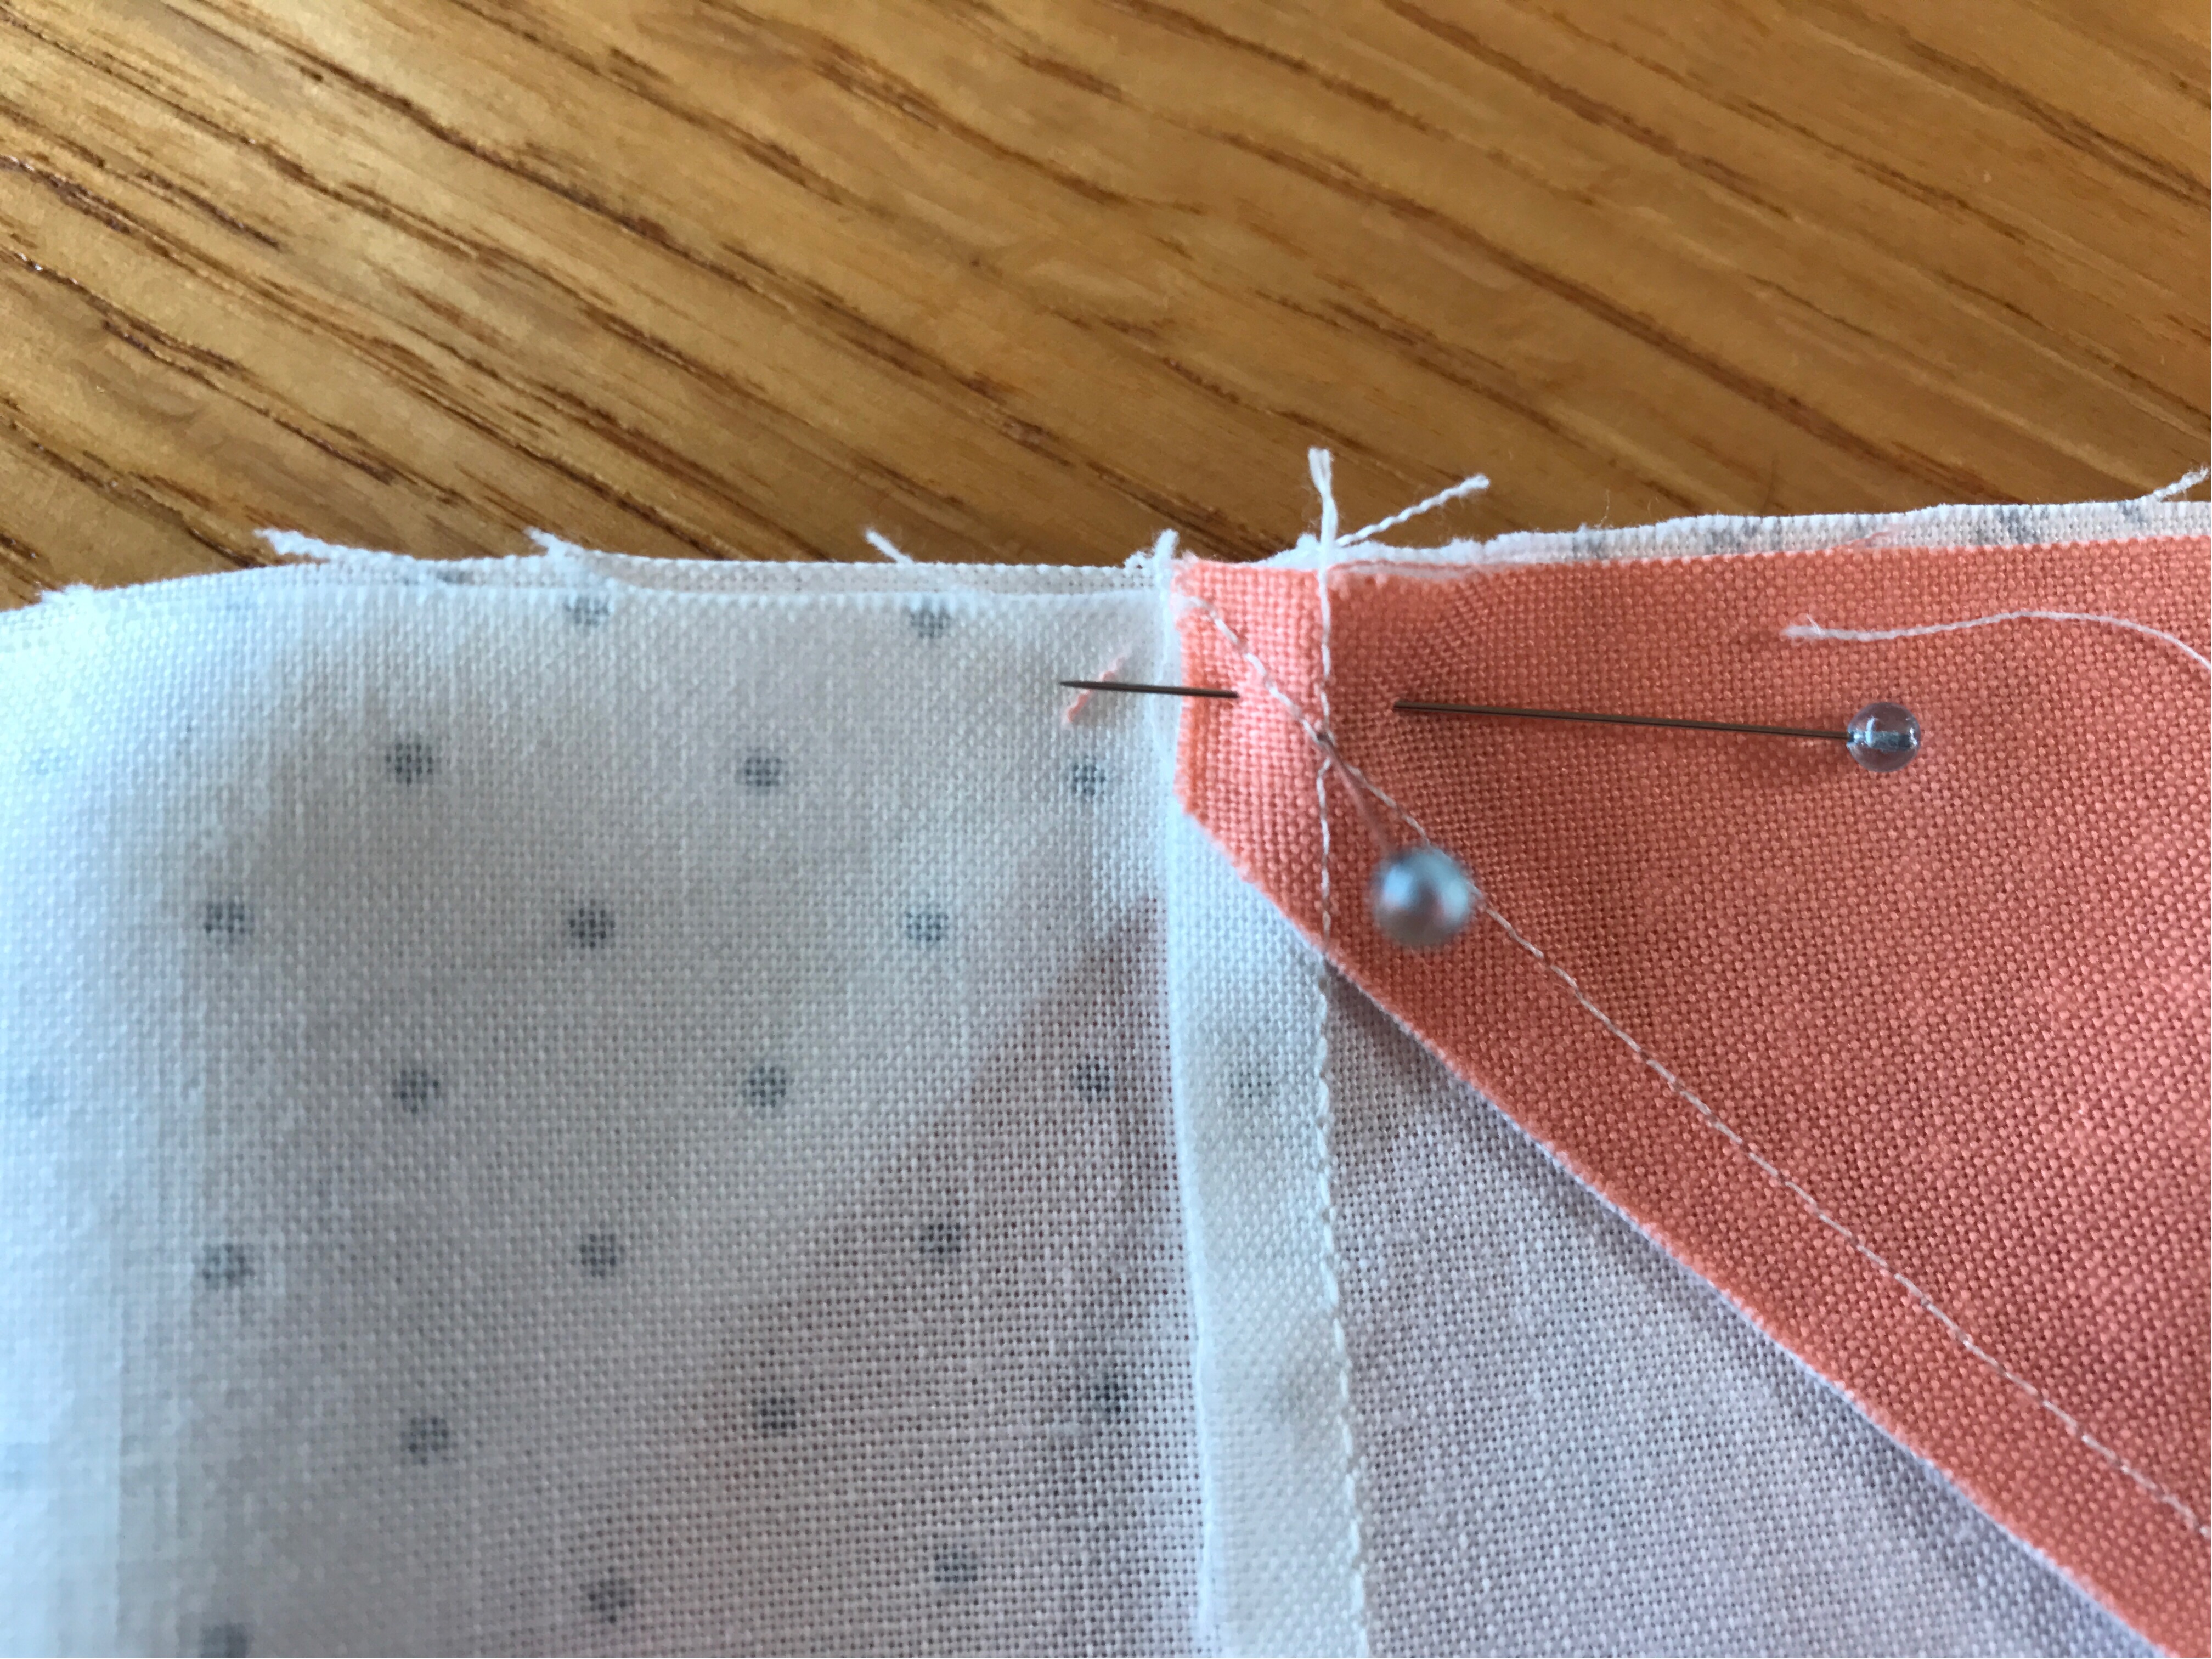
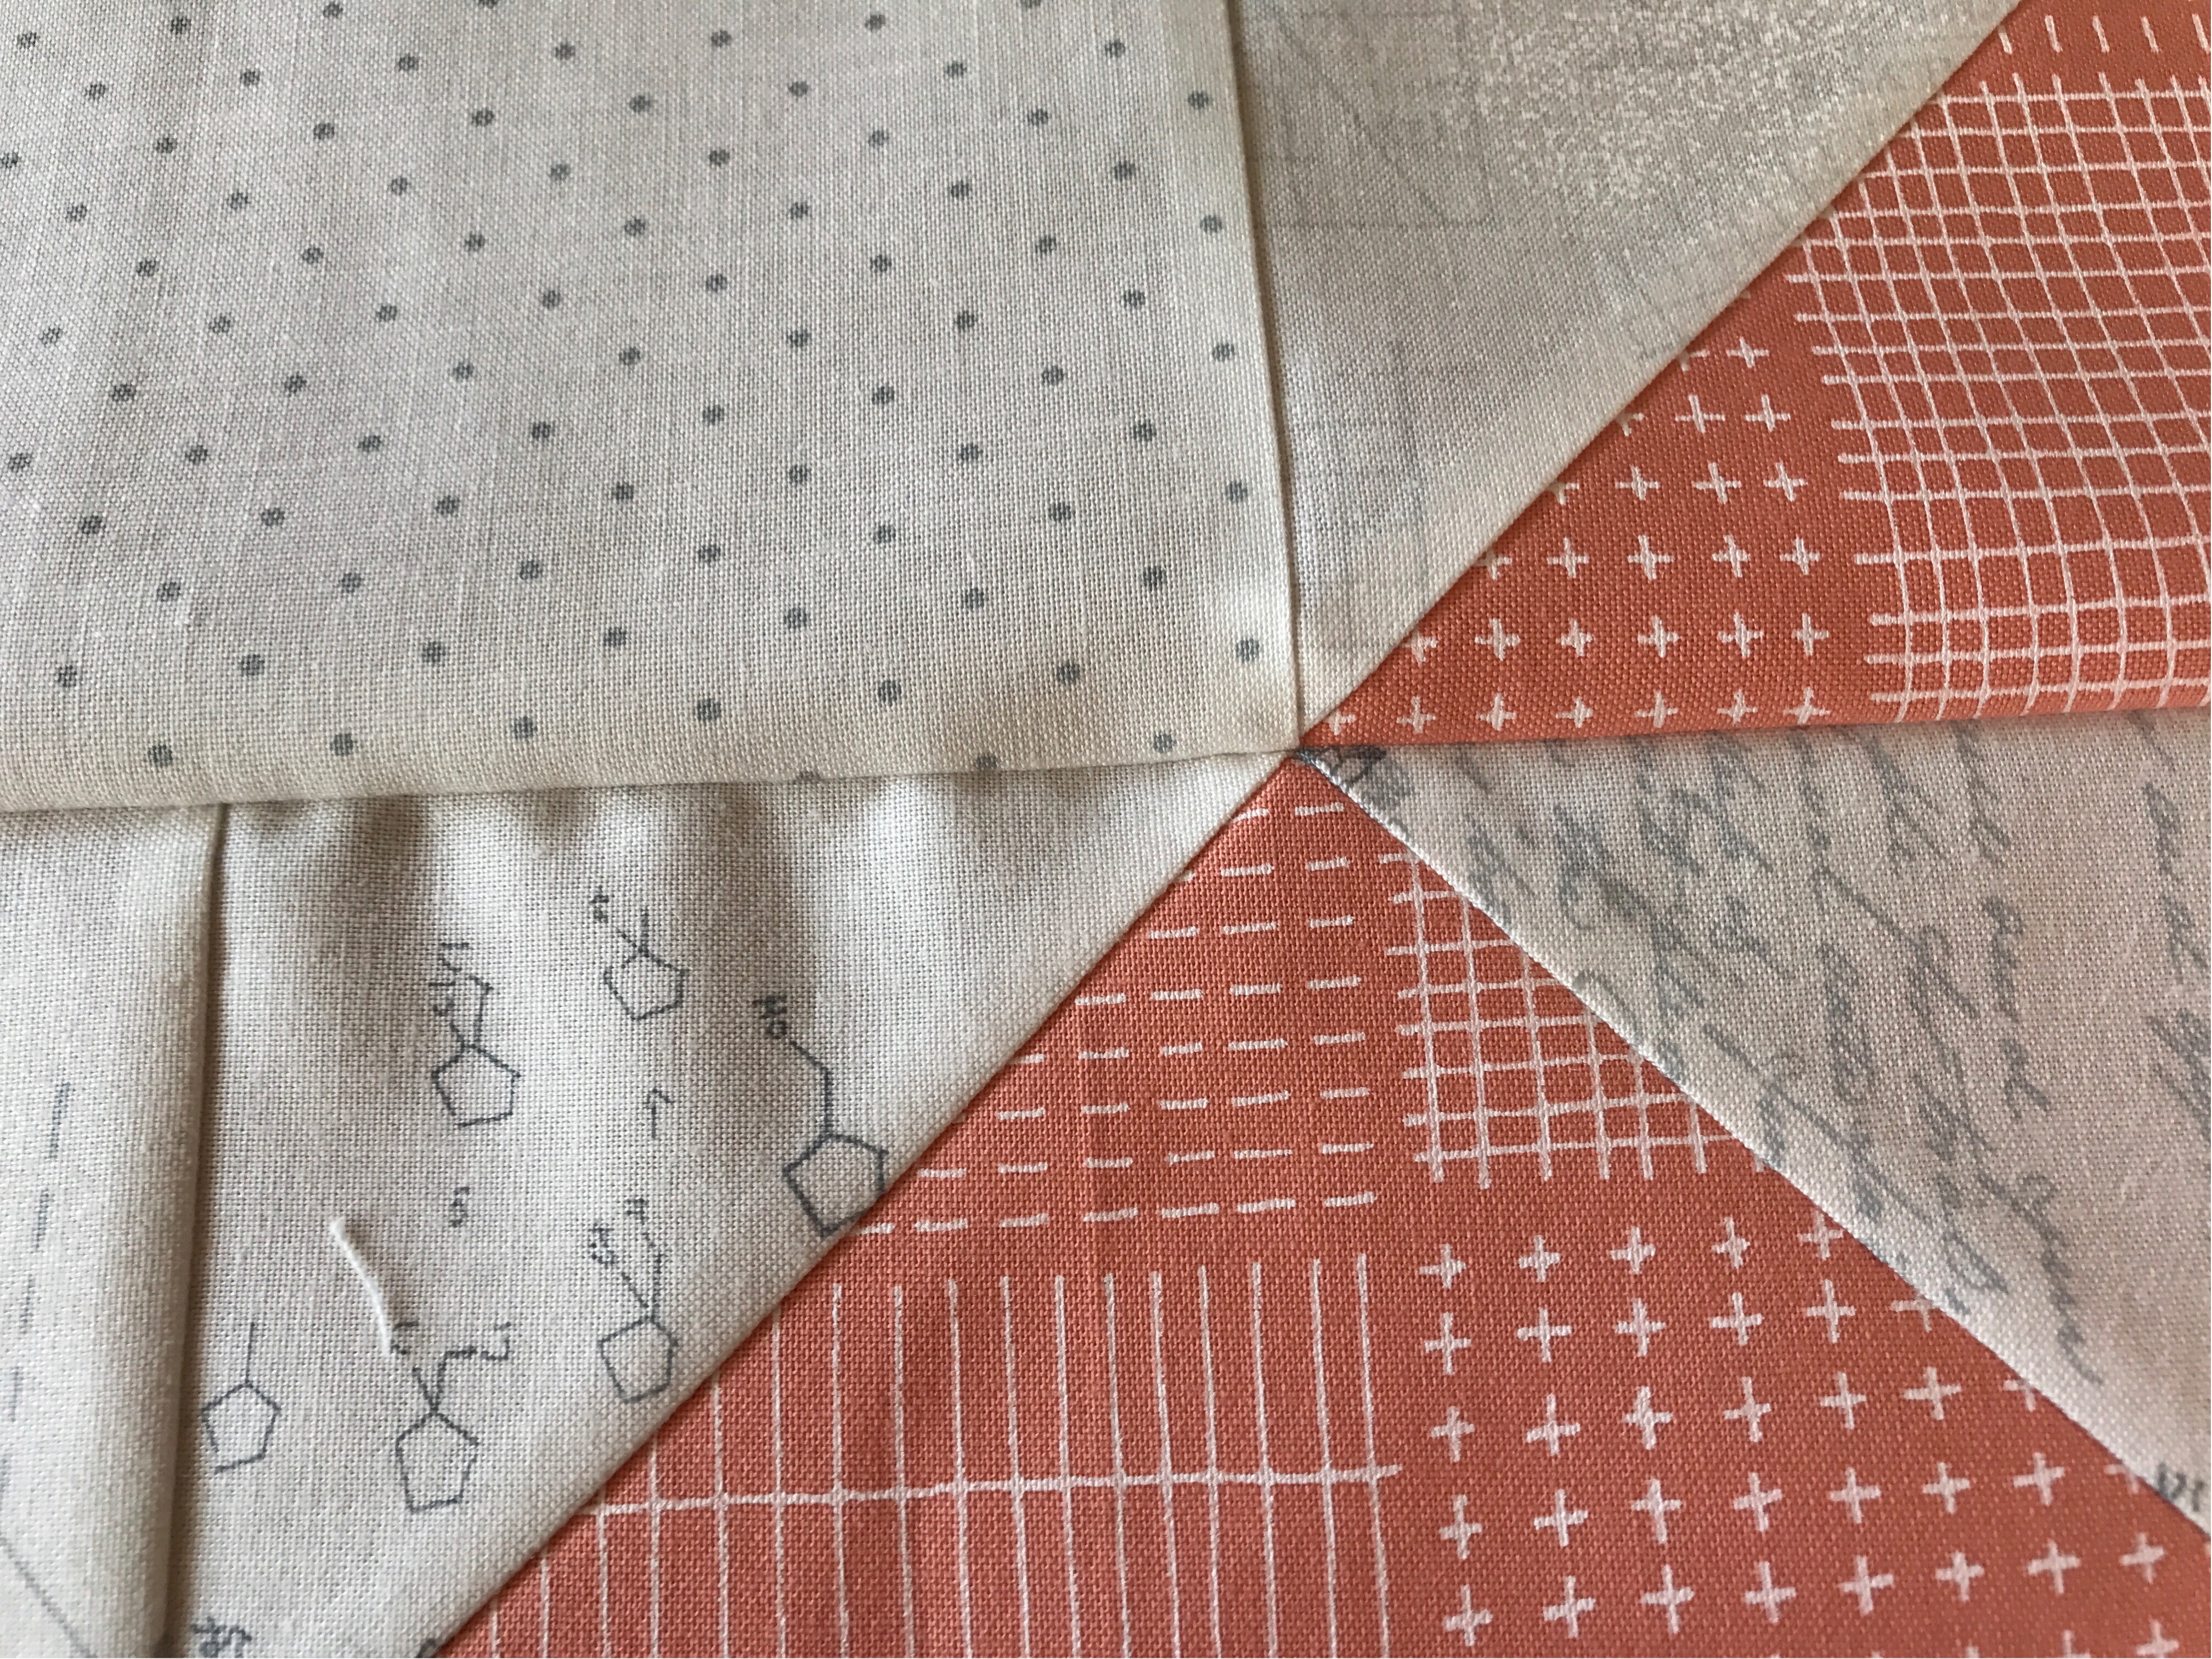
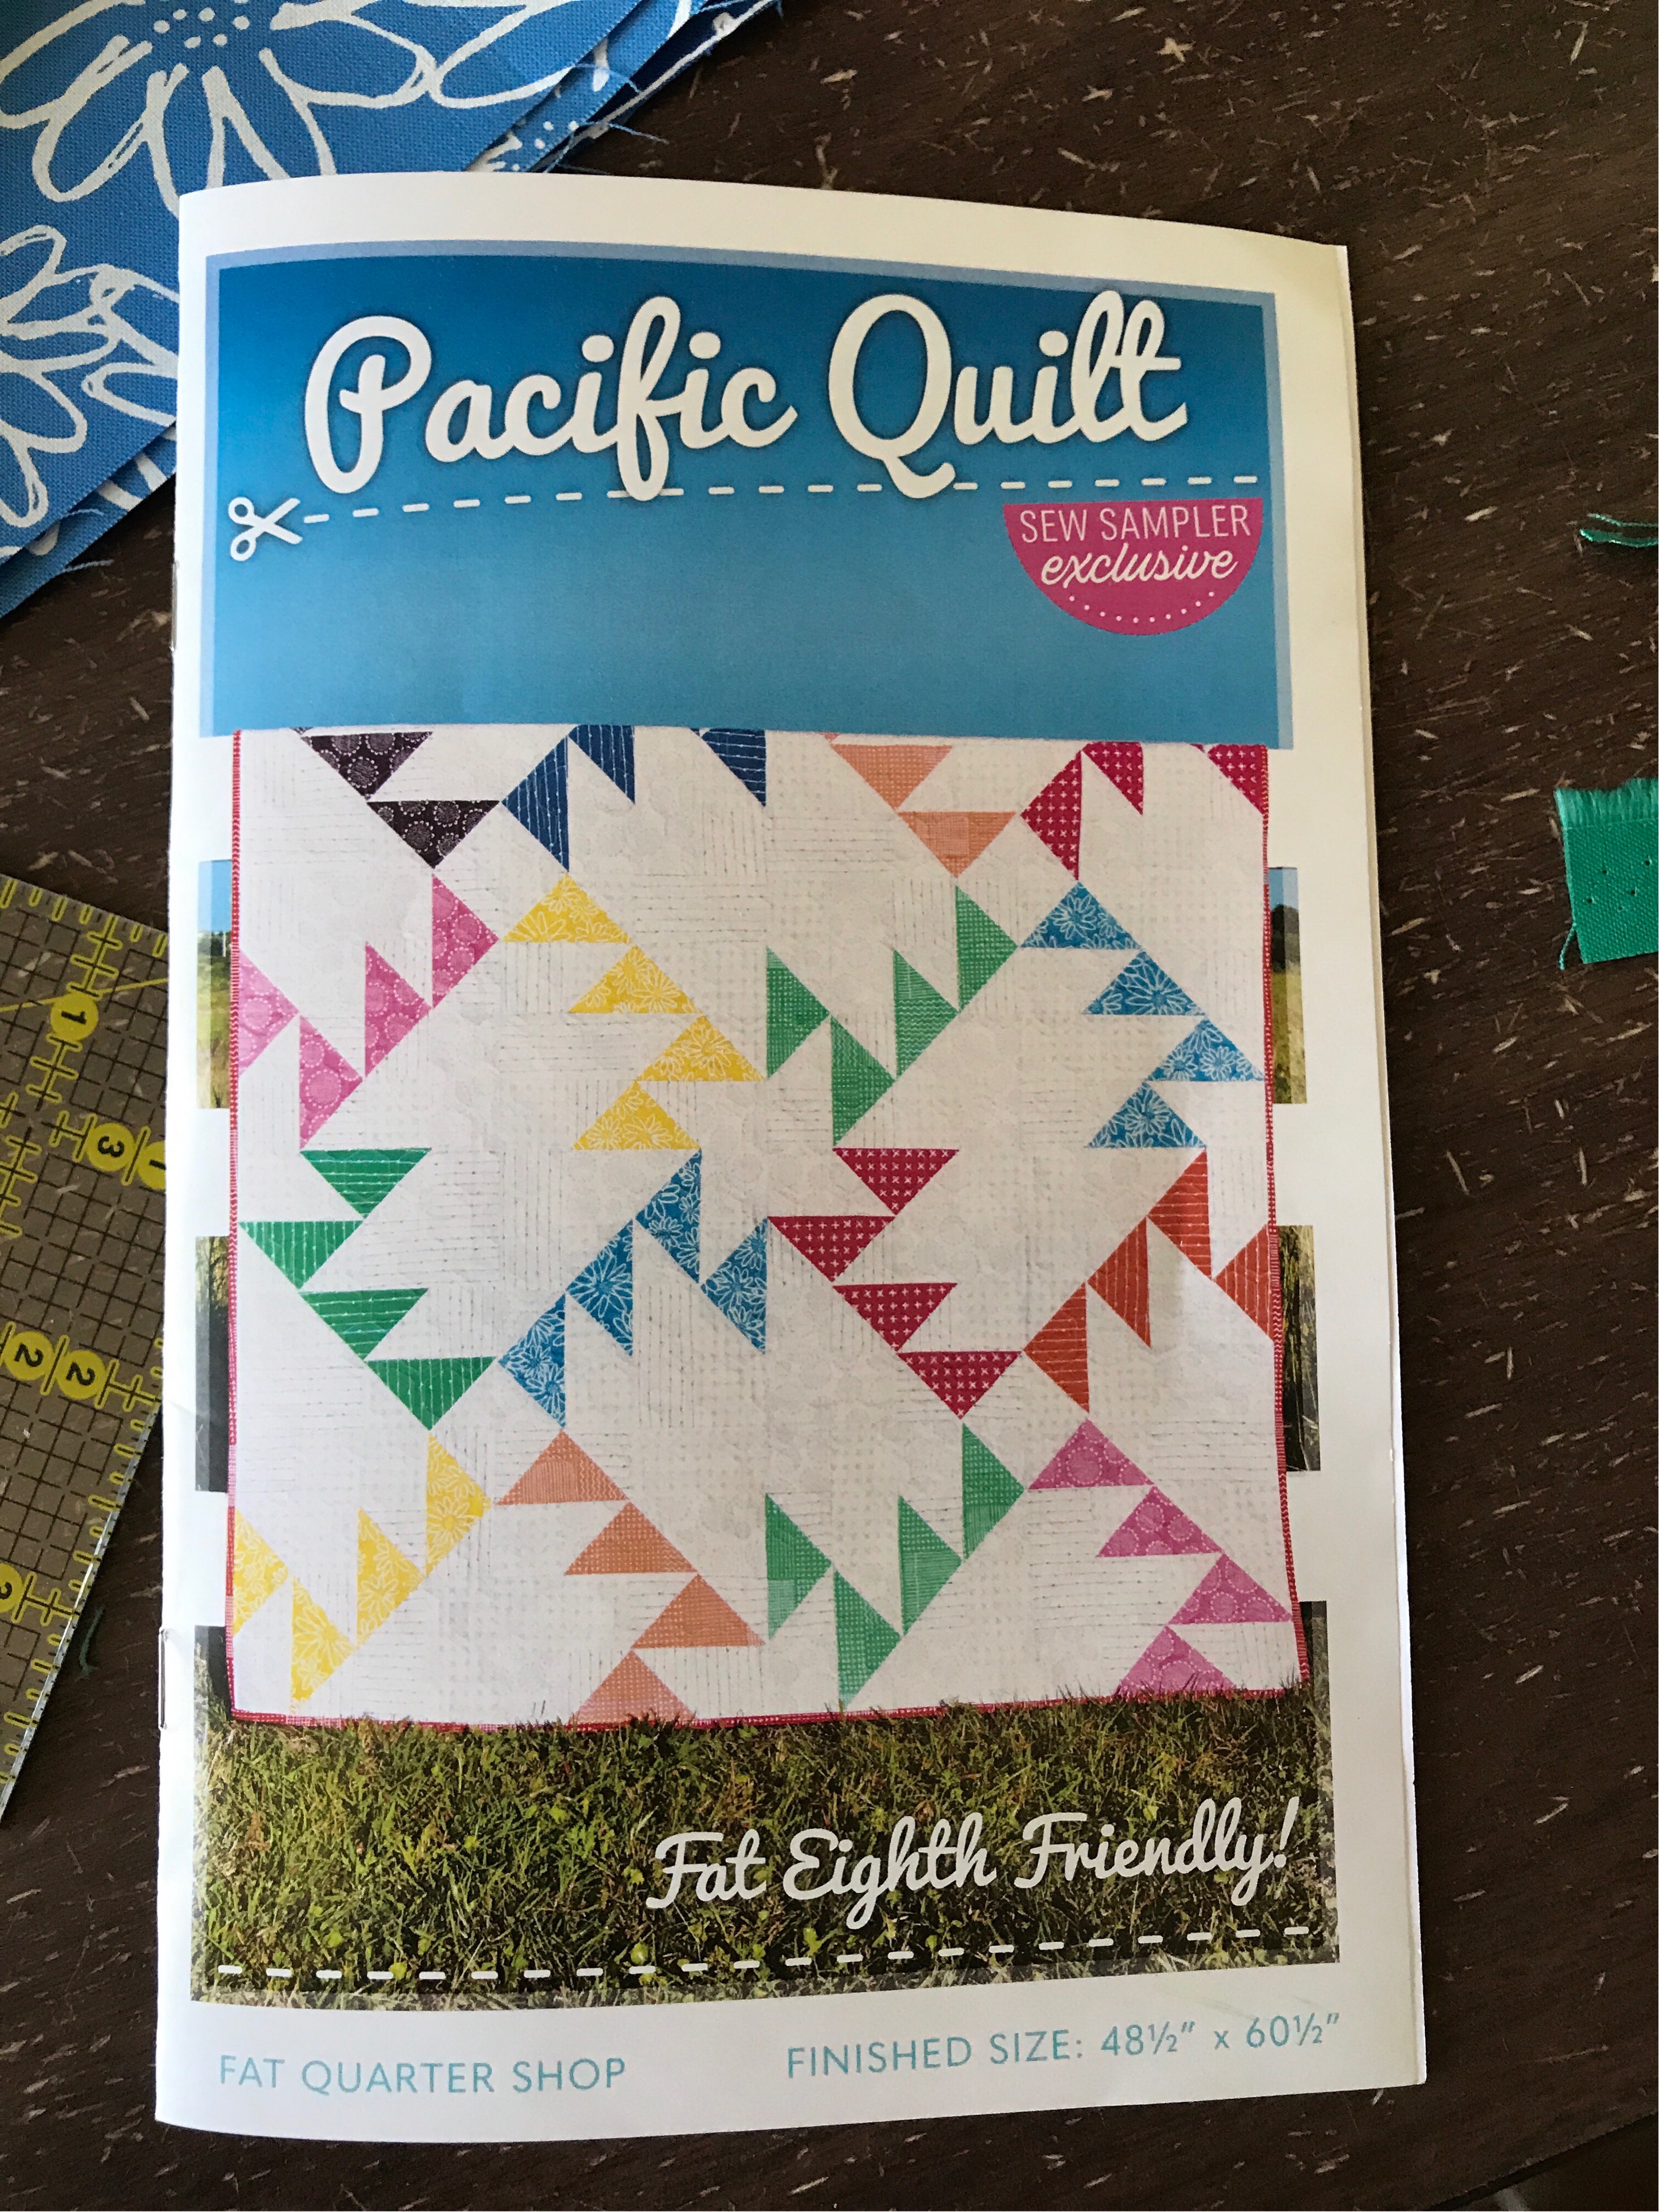
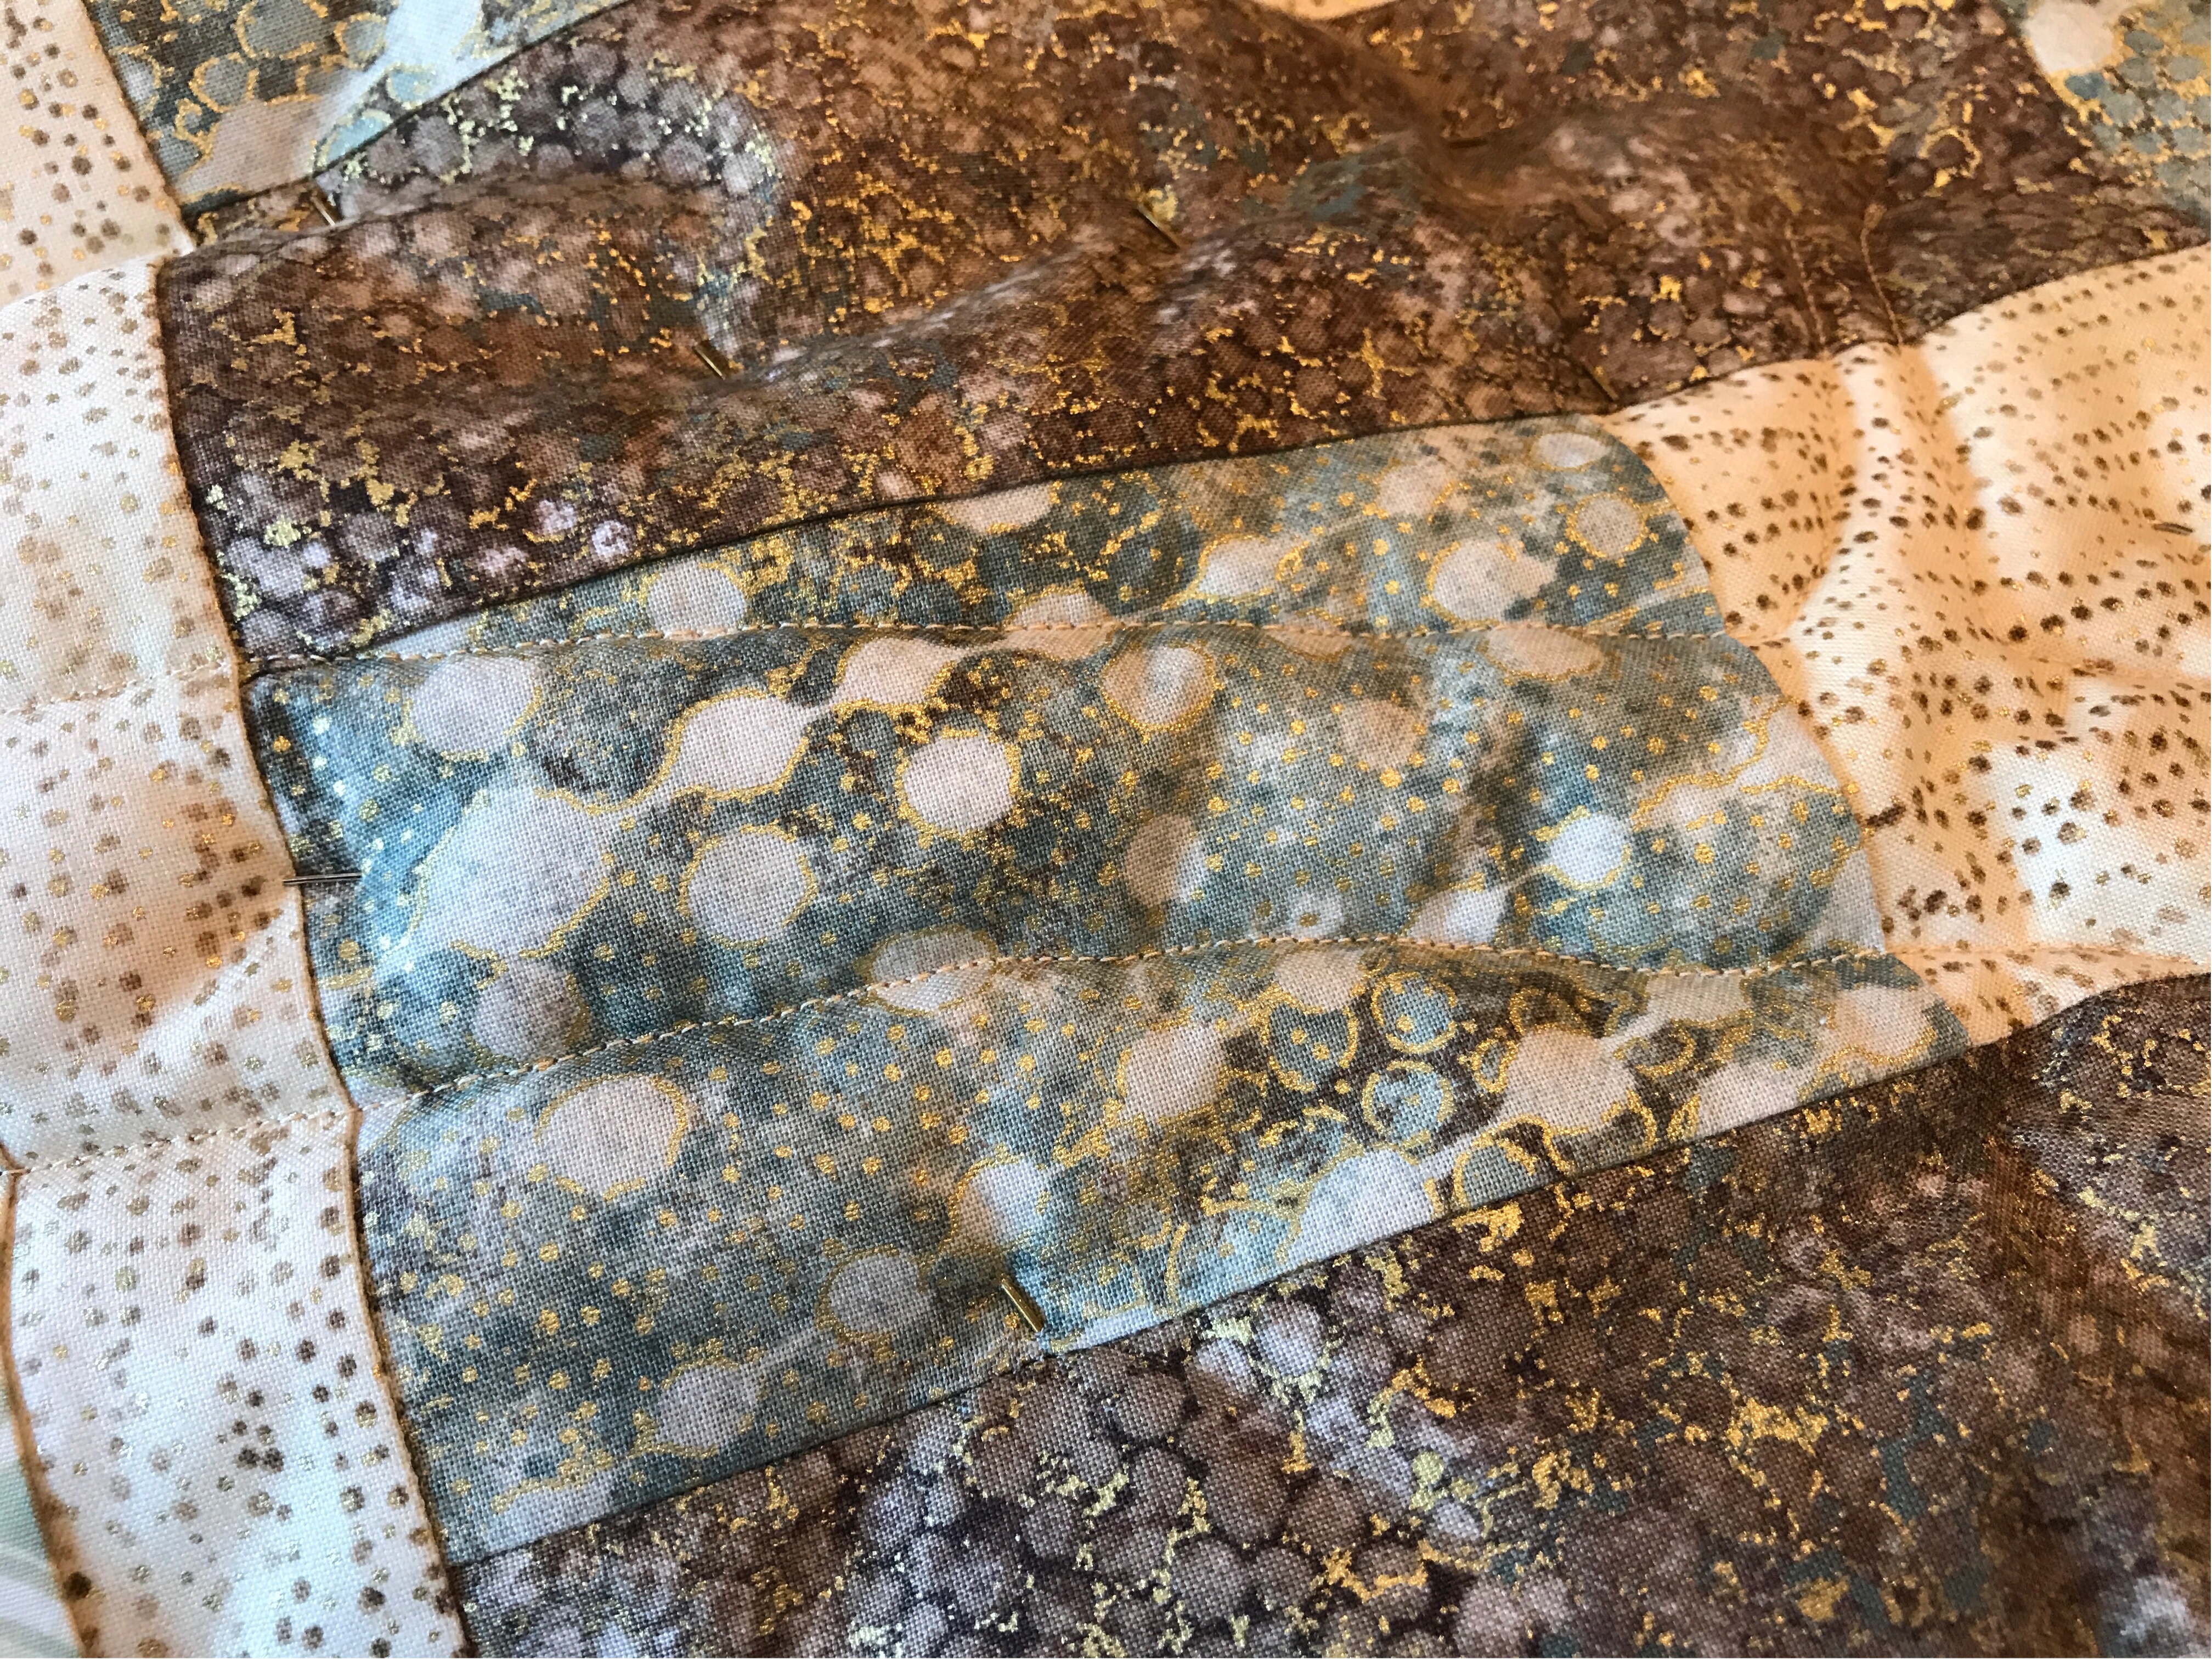
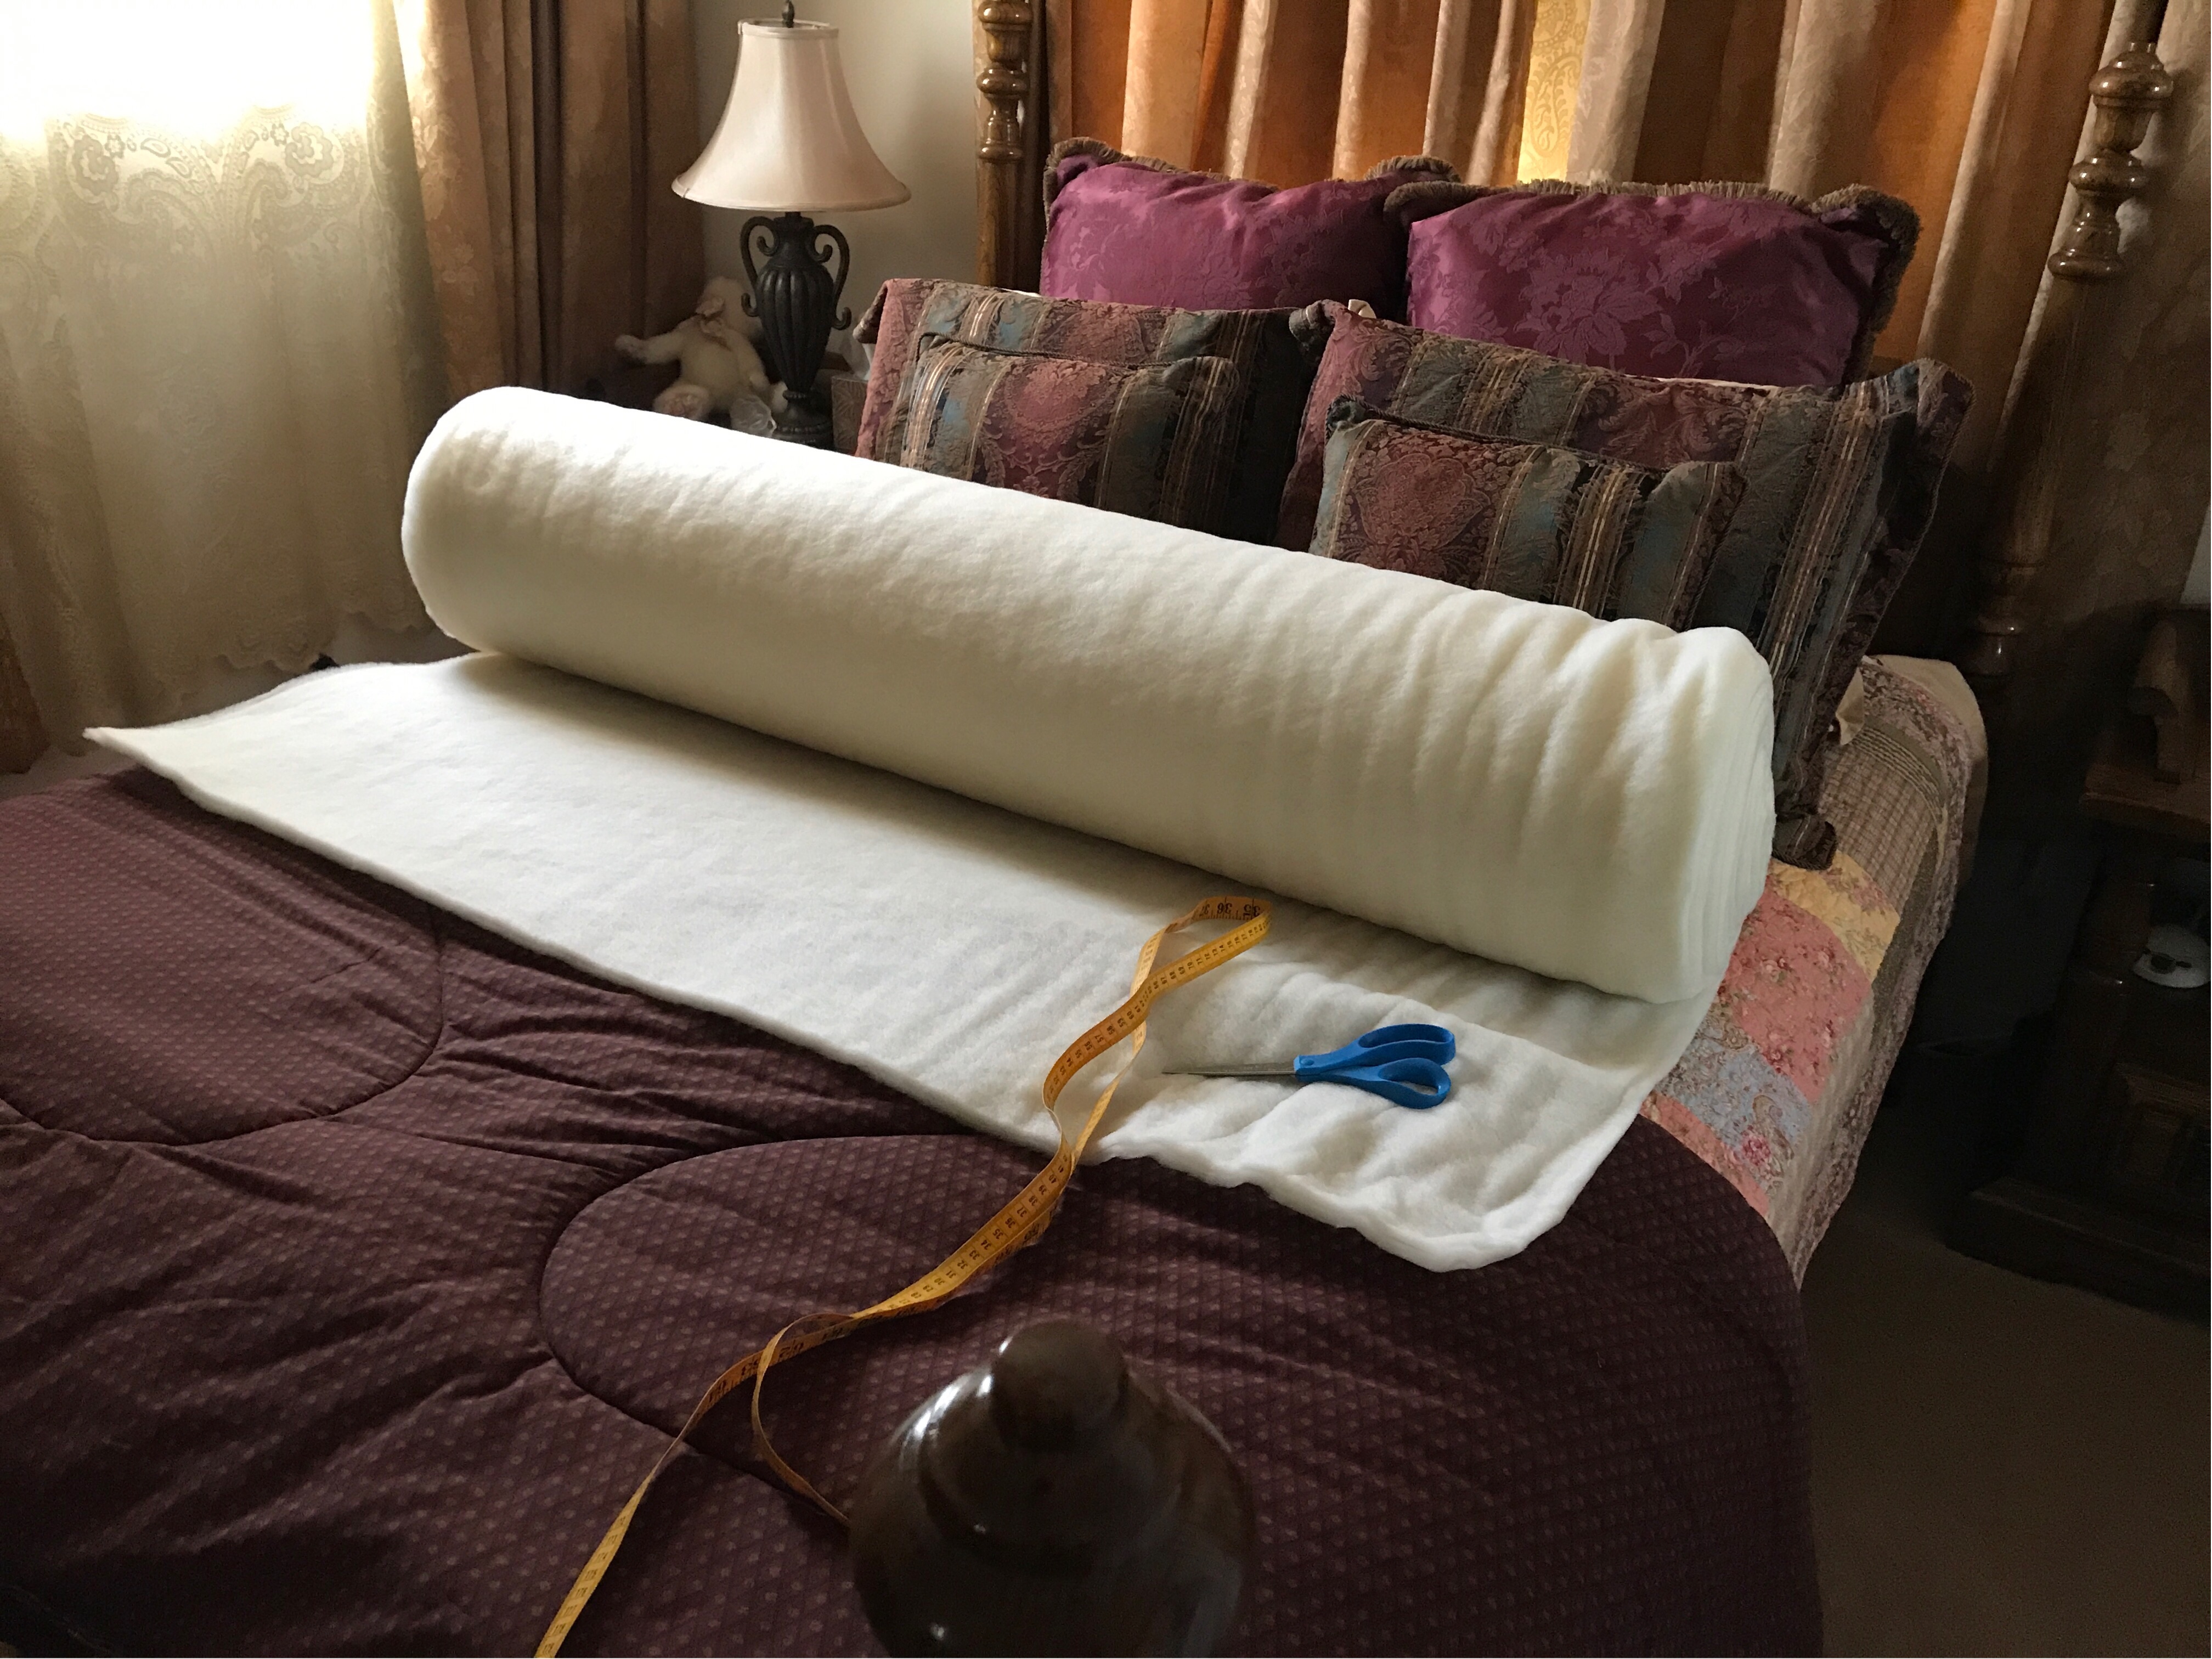
Finished the back of the Pacific quilt -- yay!


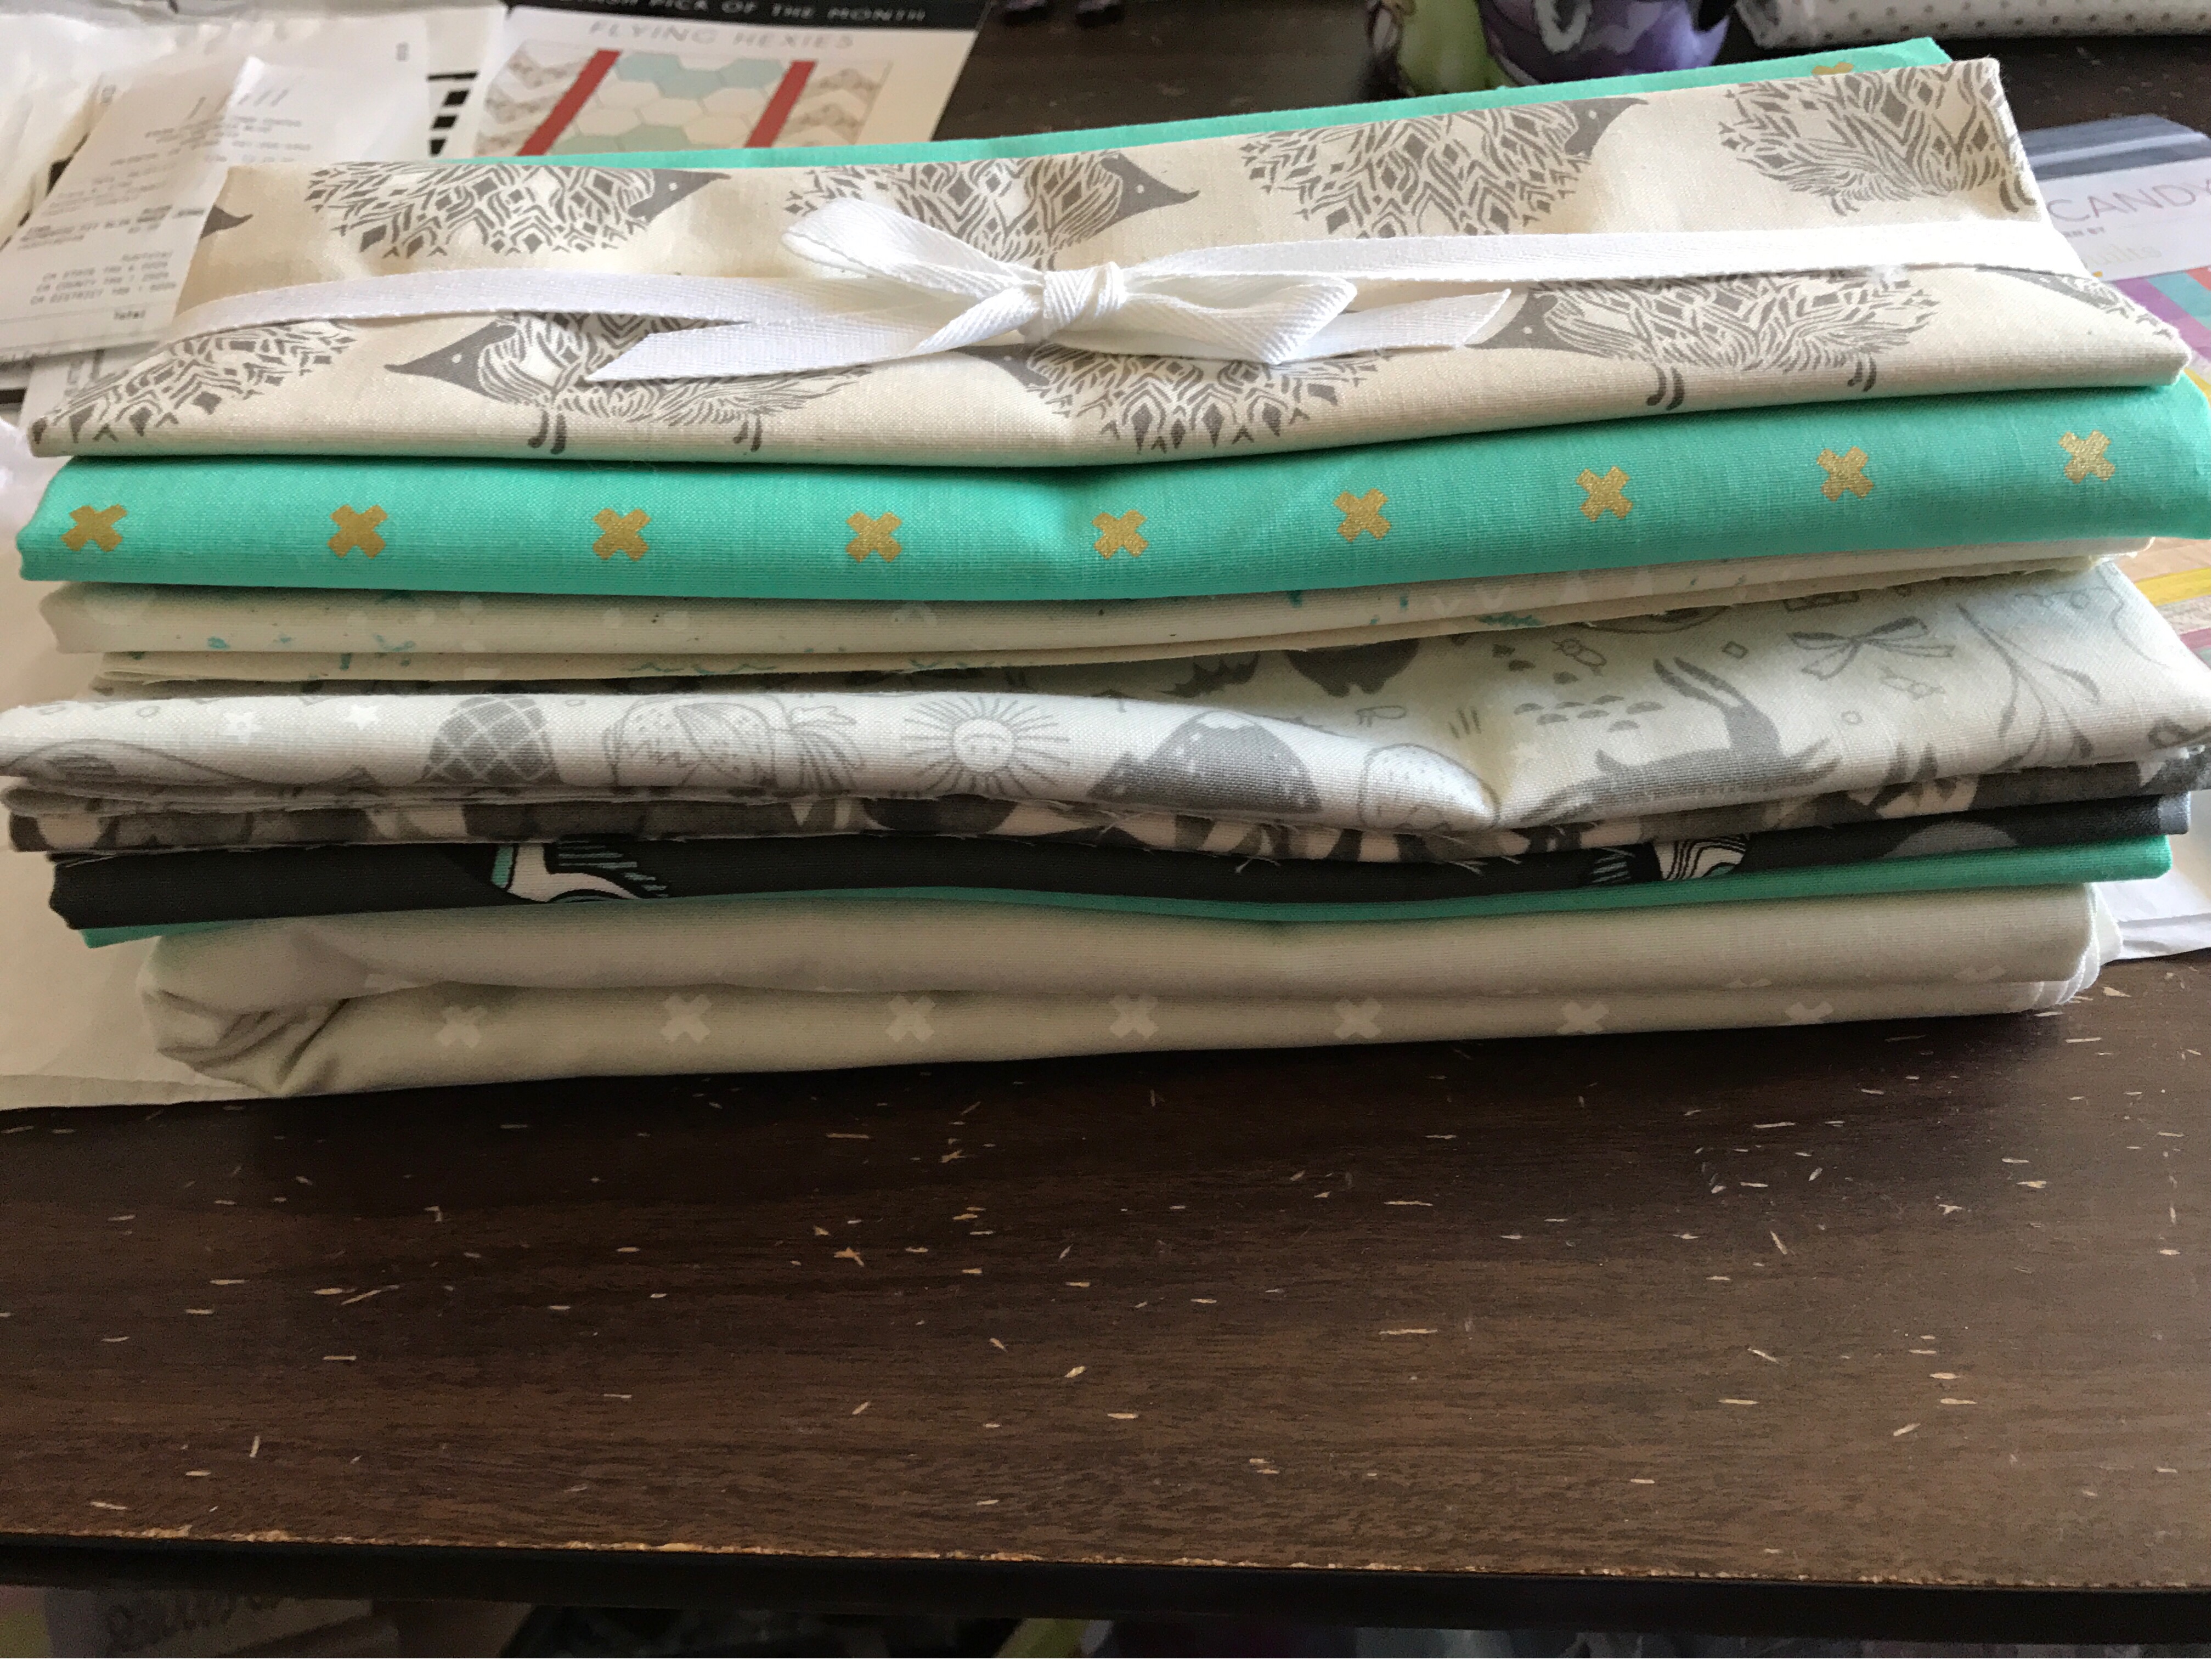
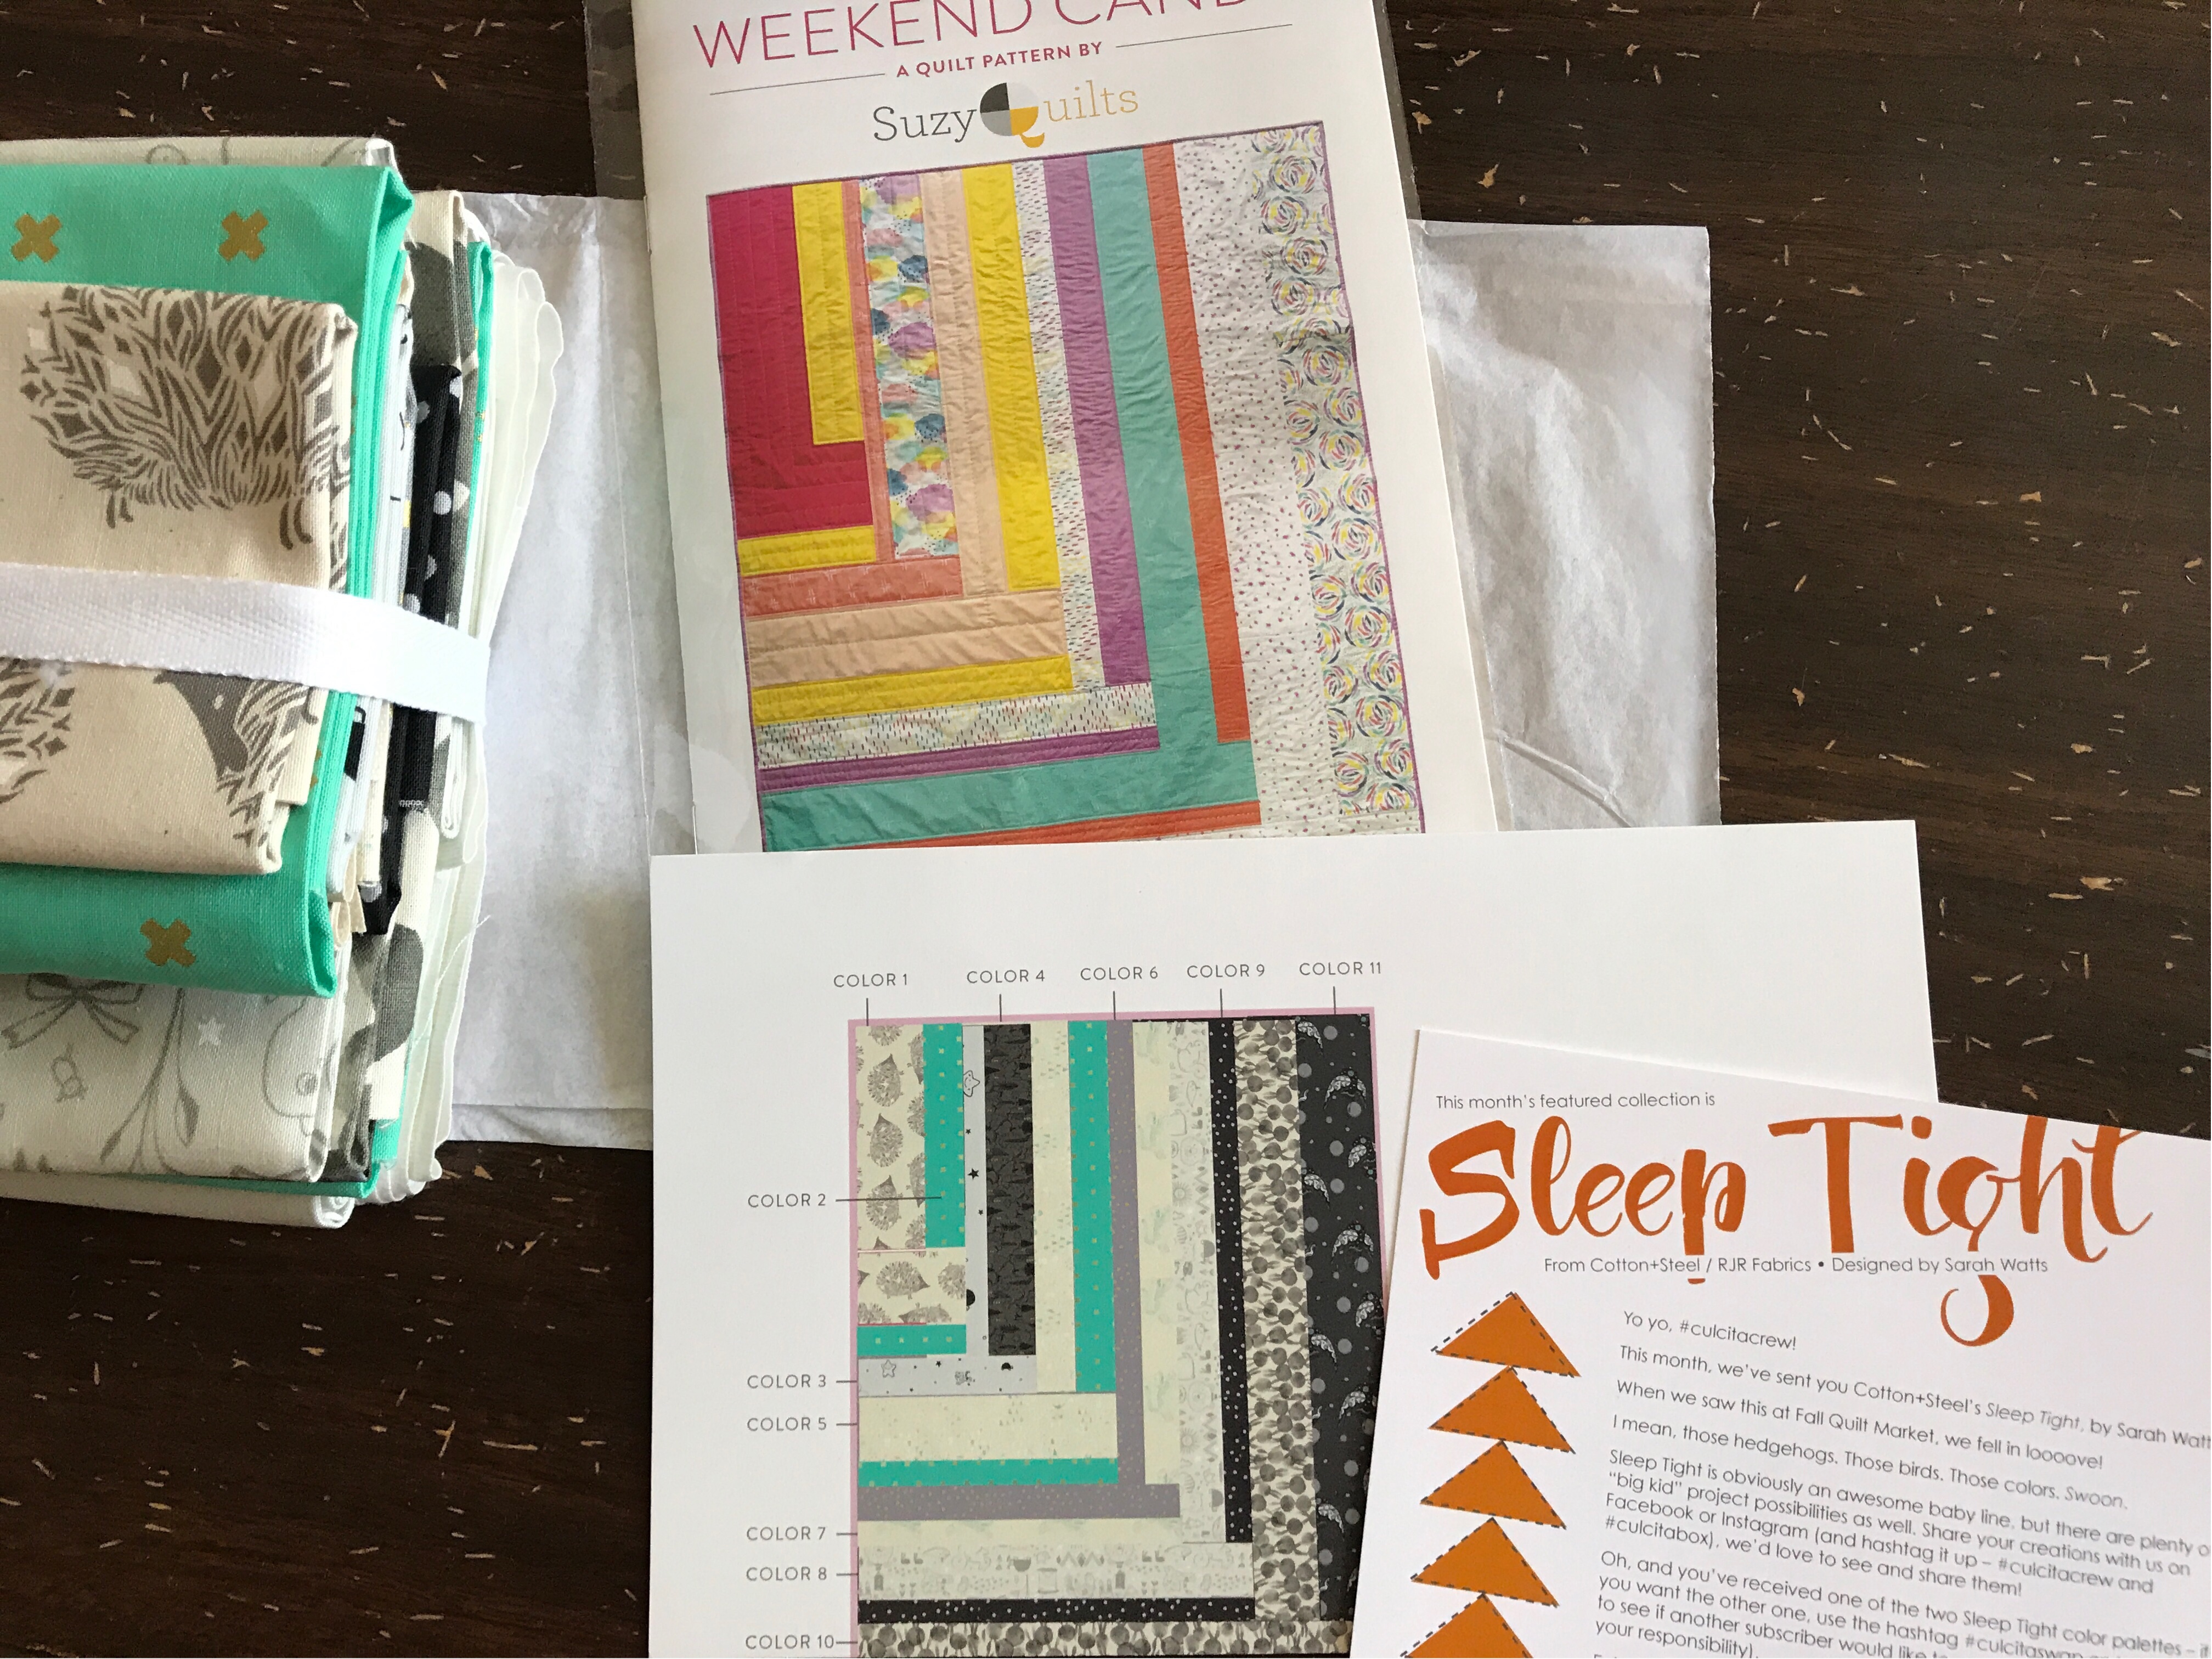
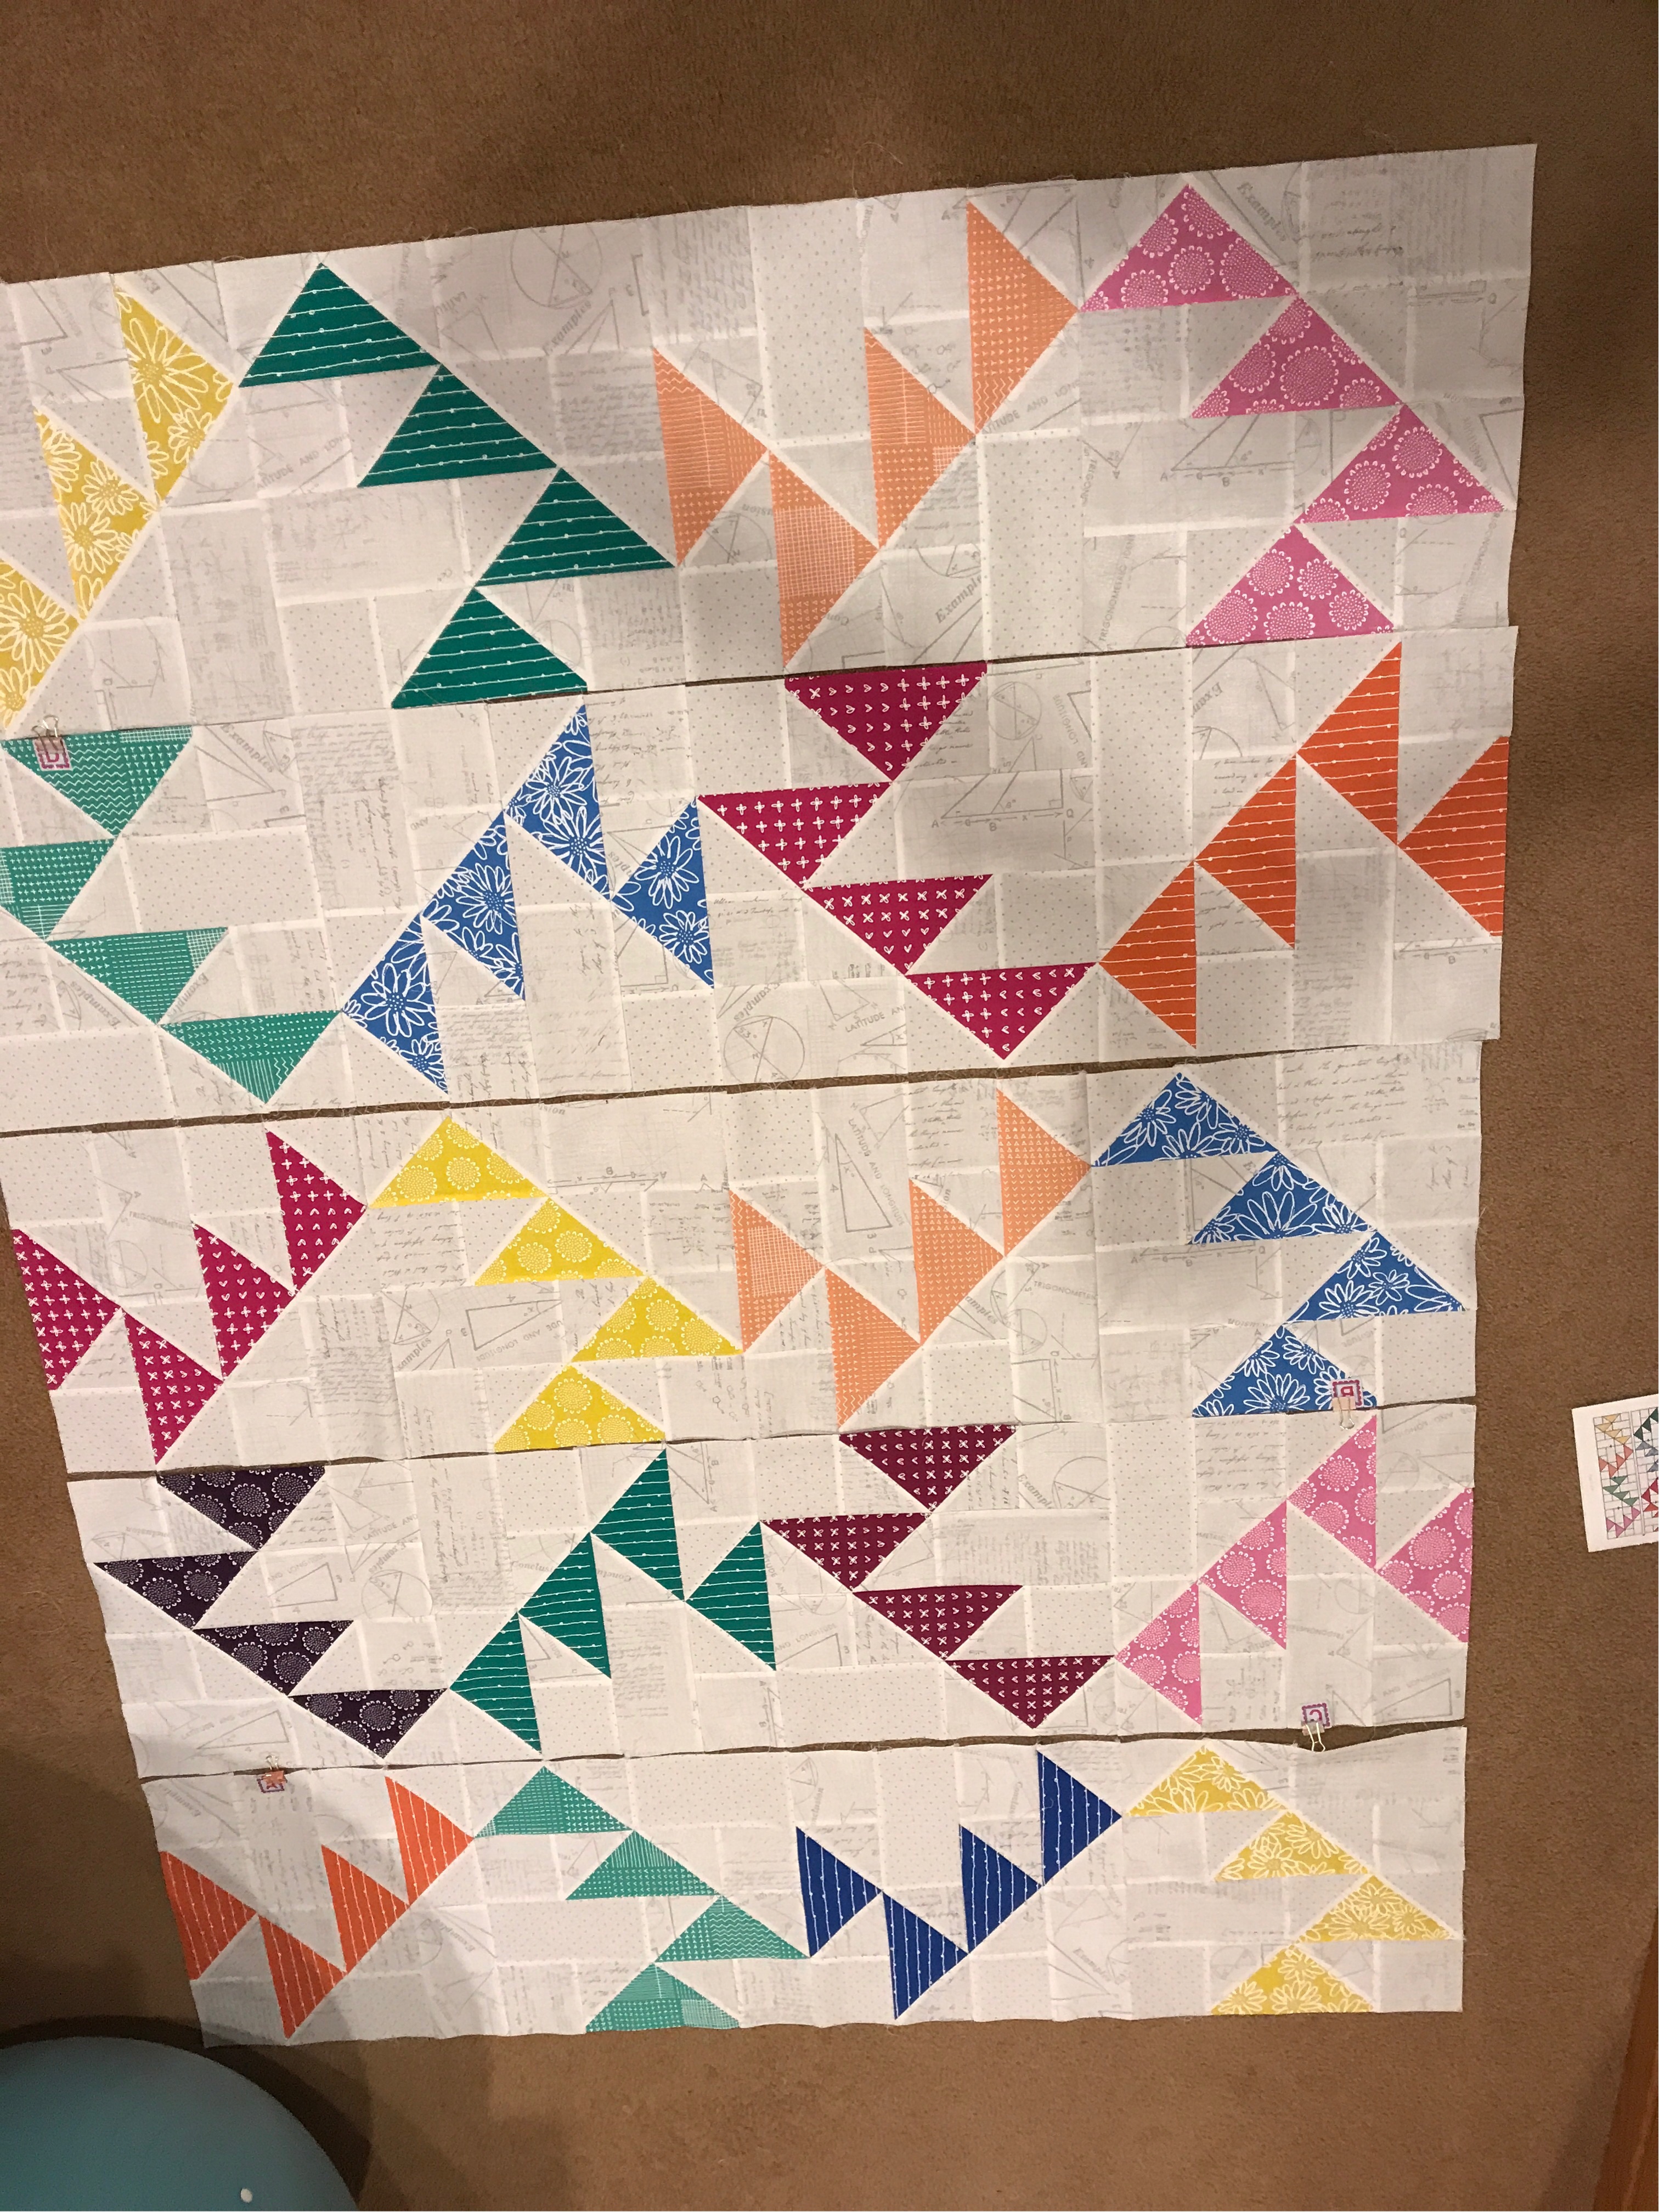
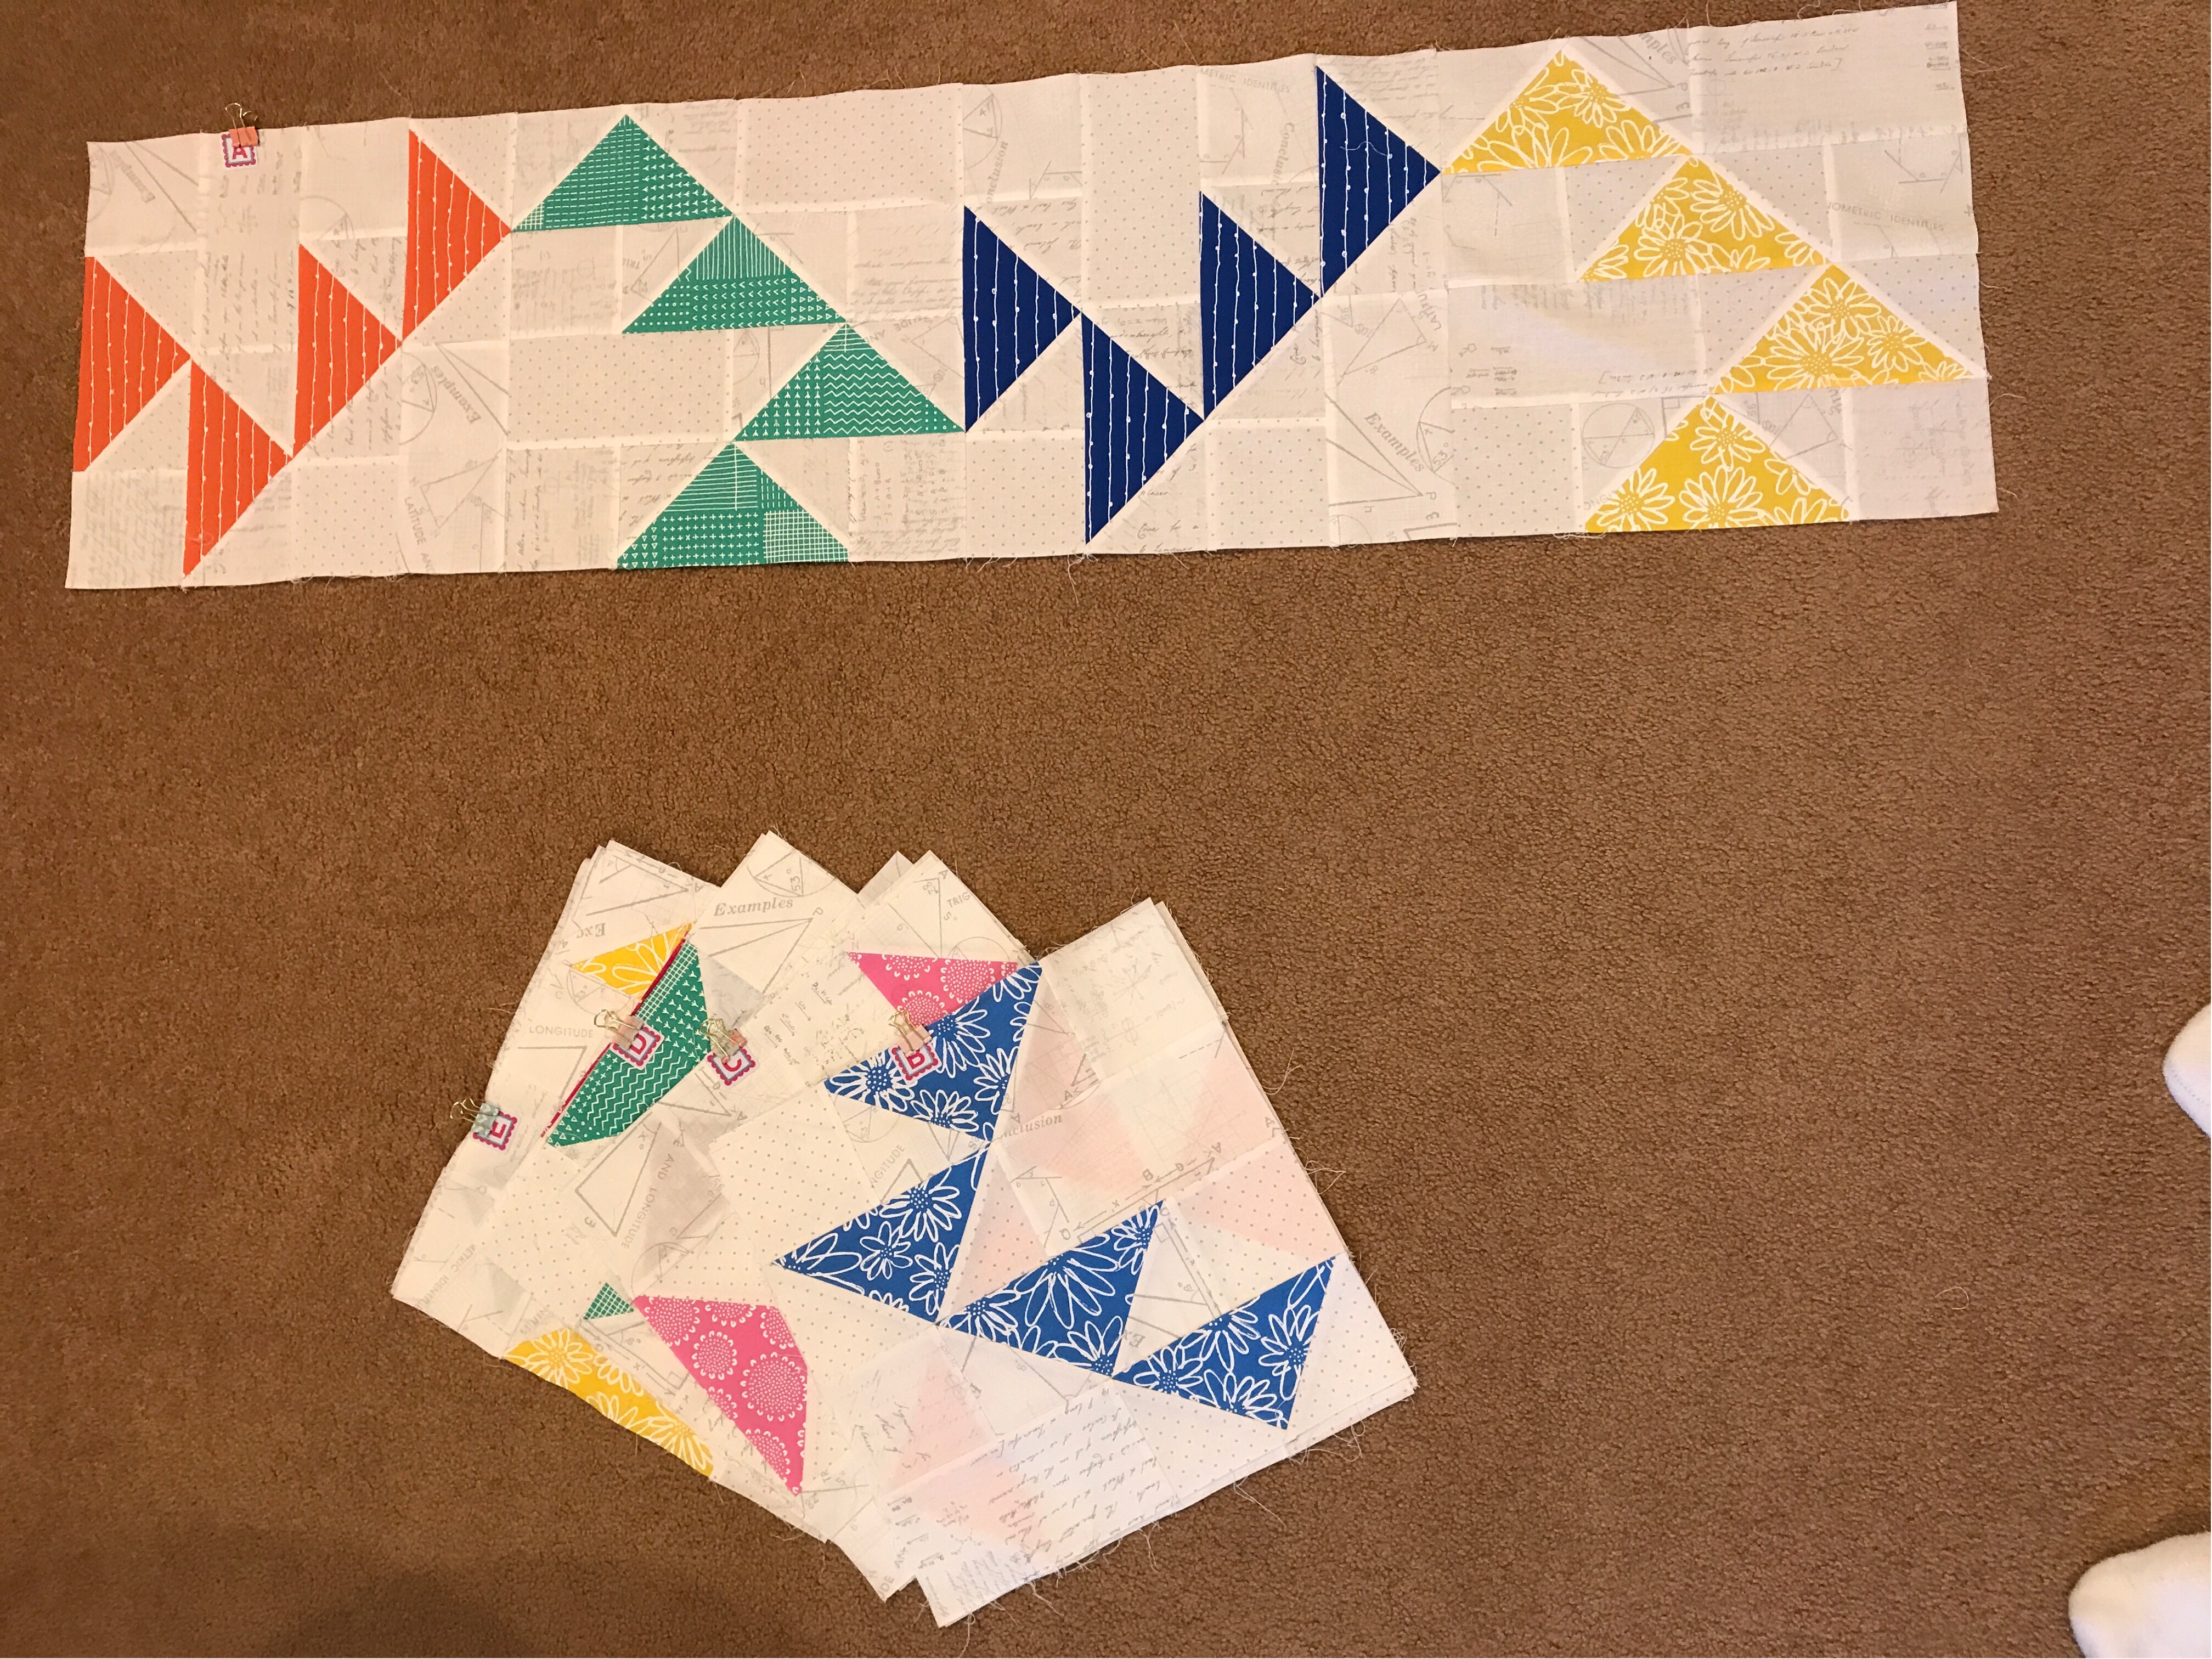
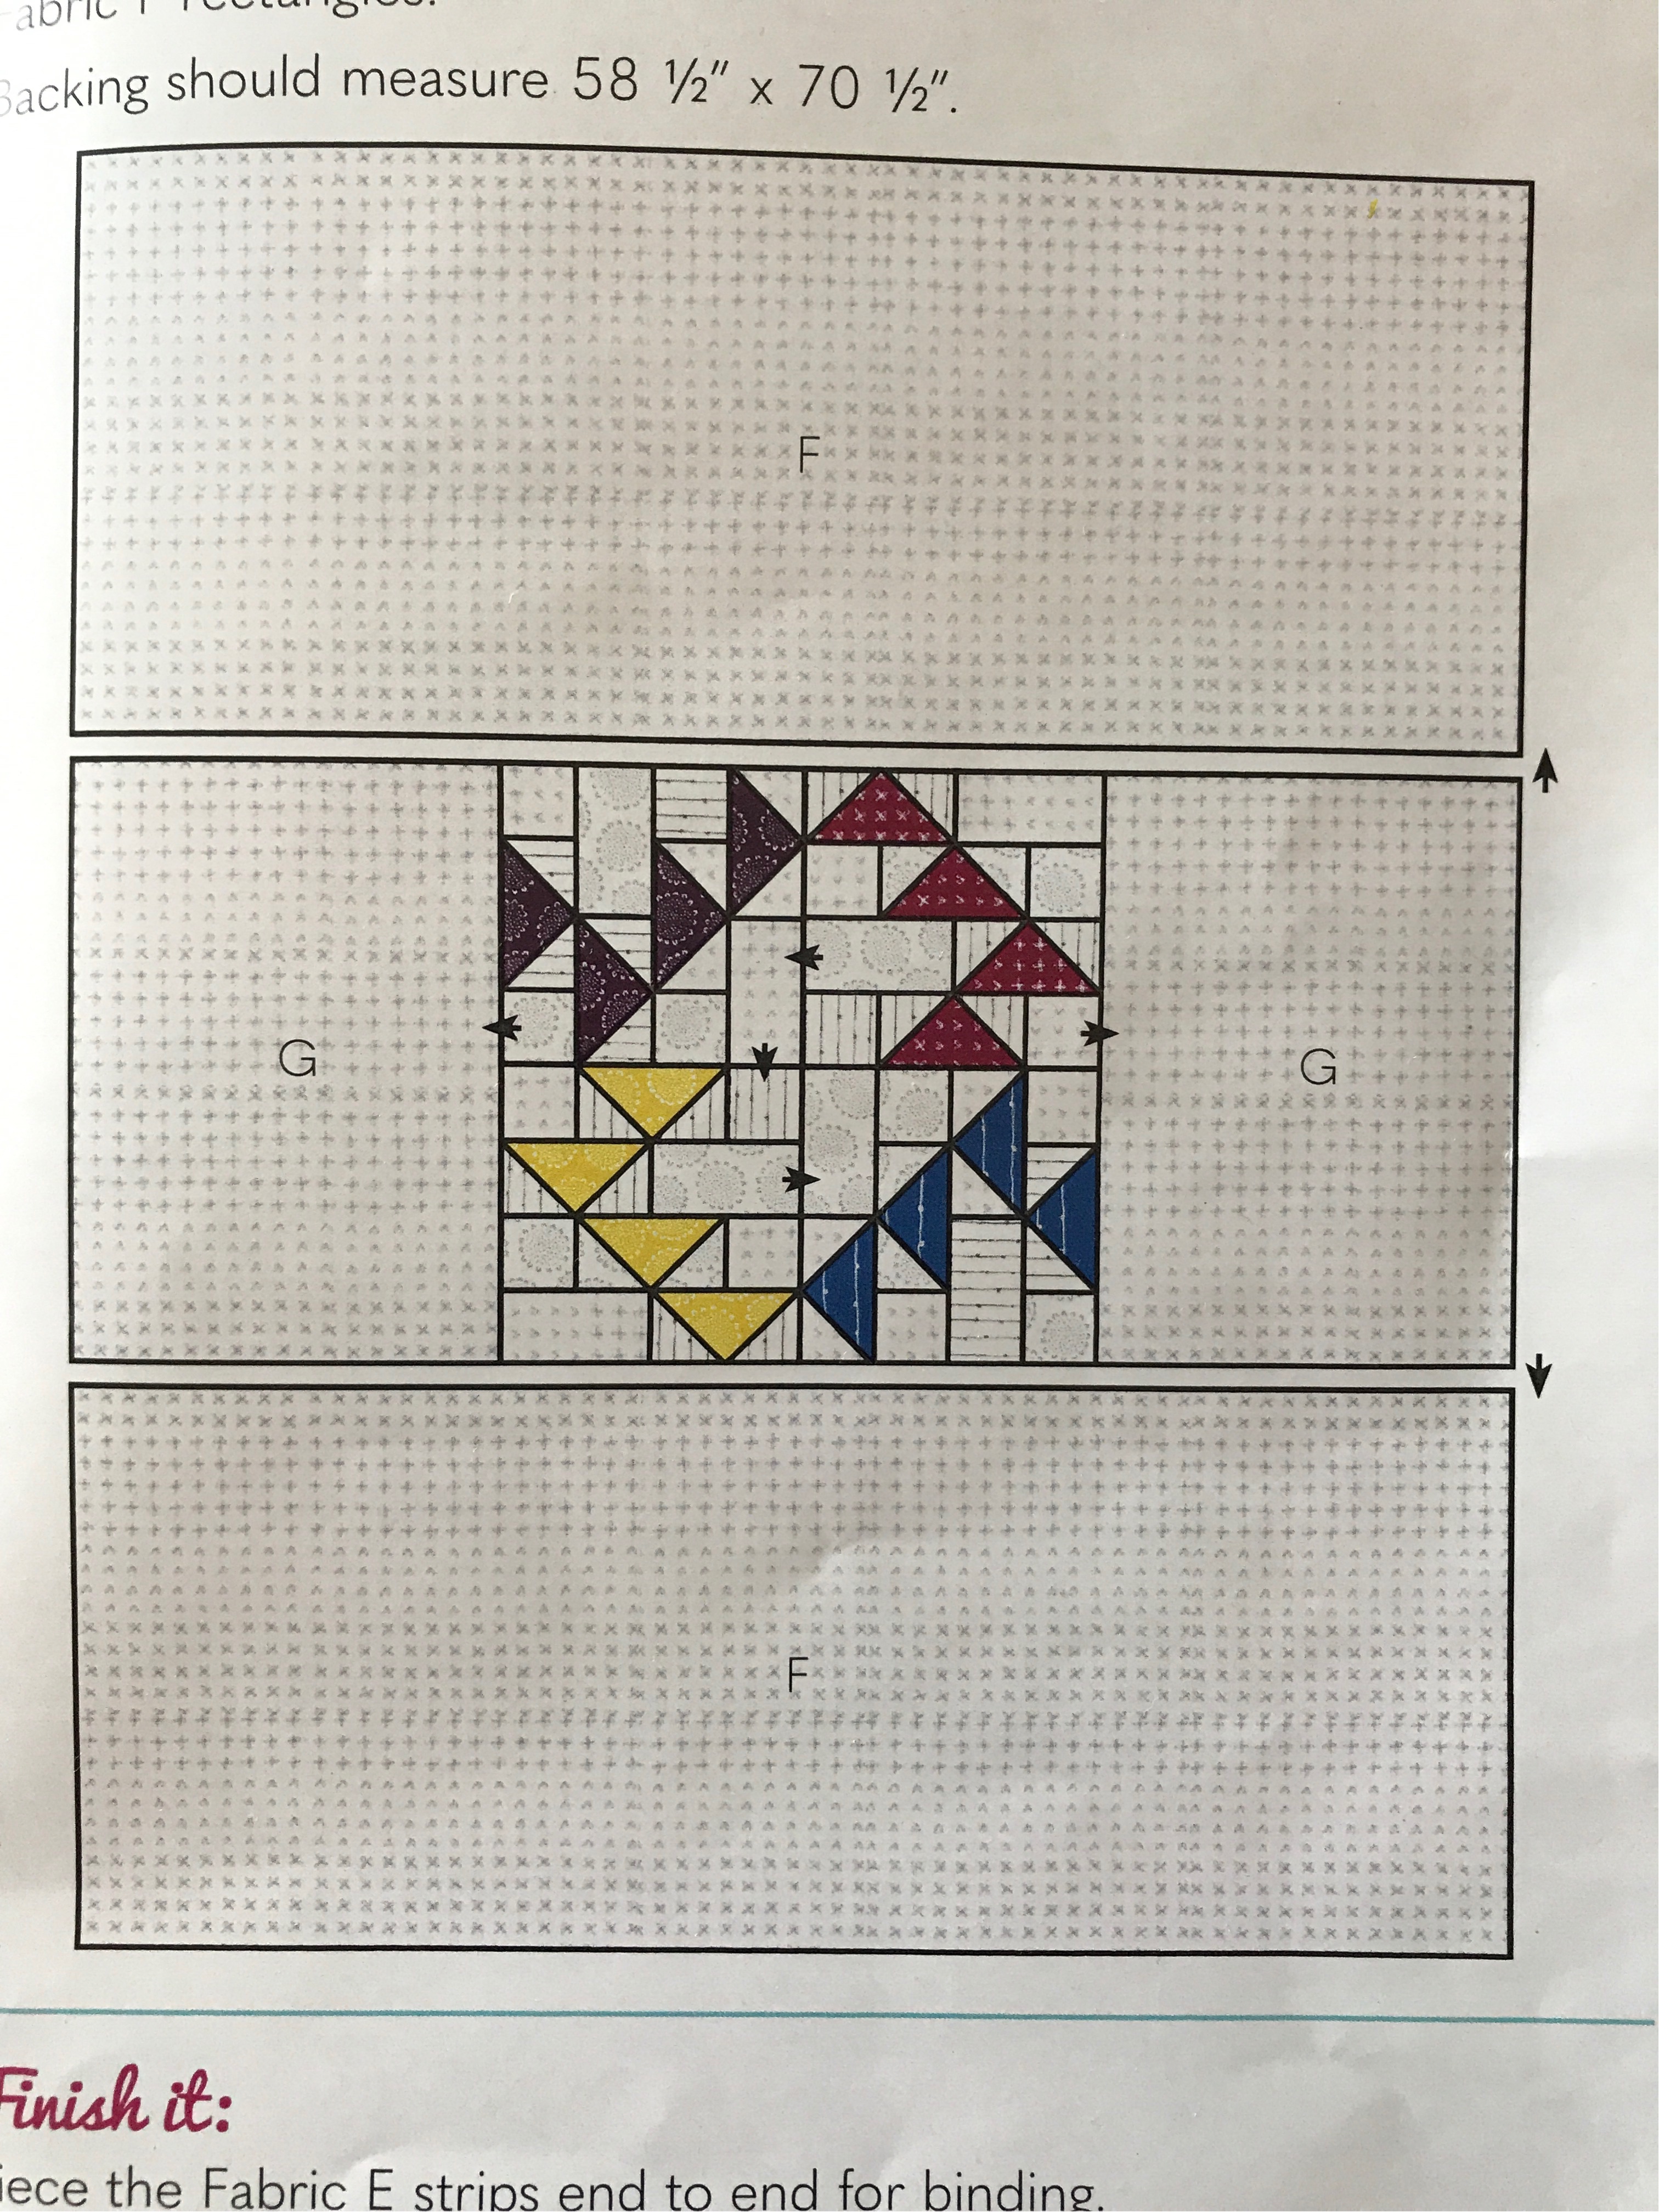
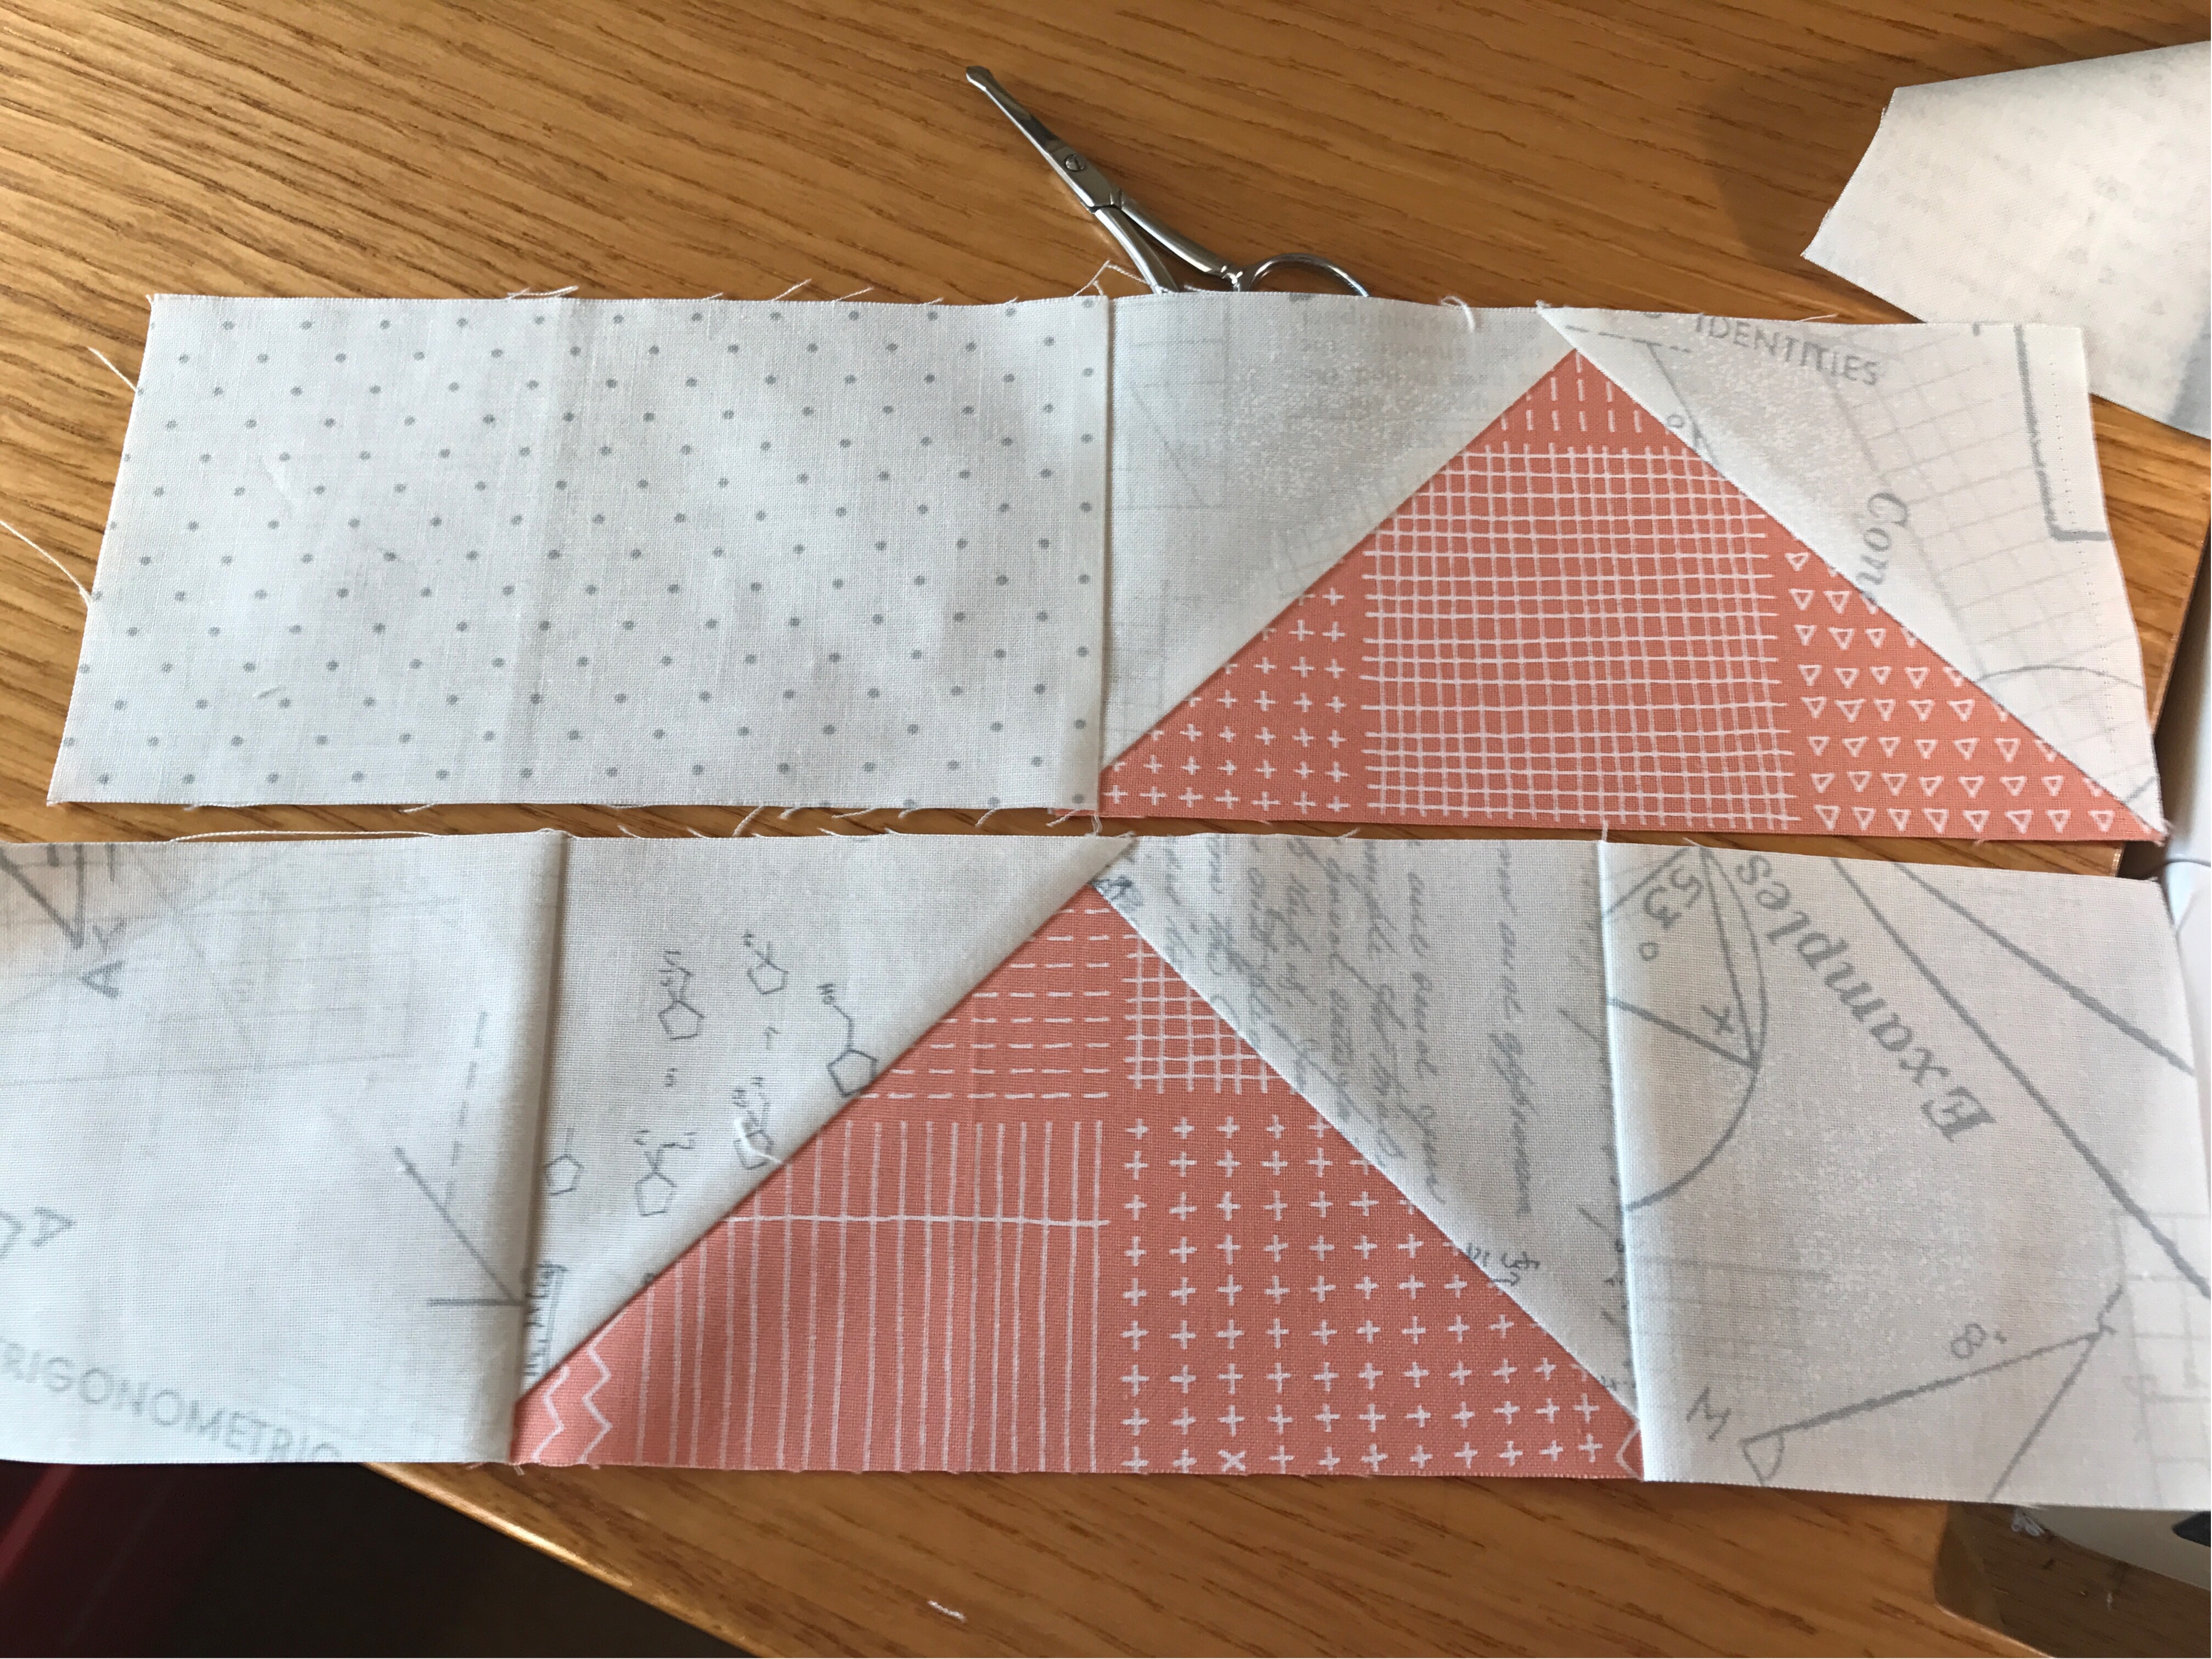
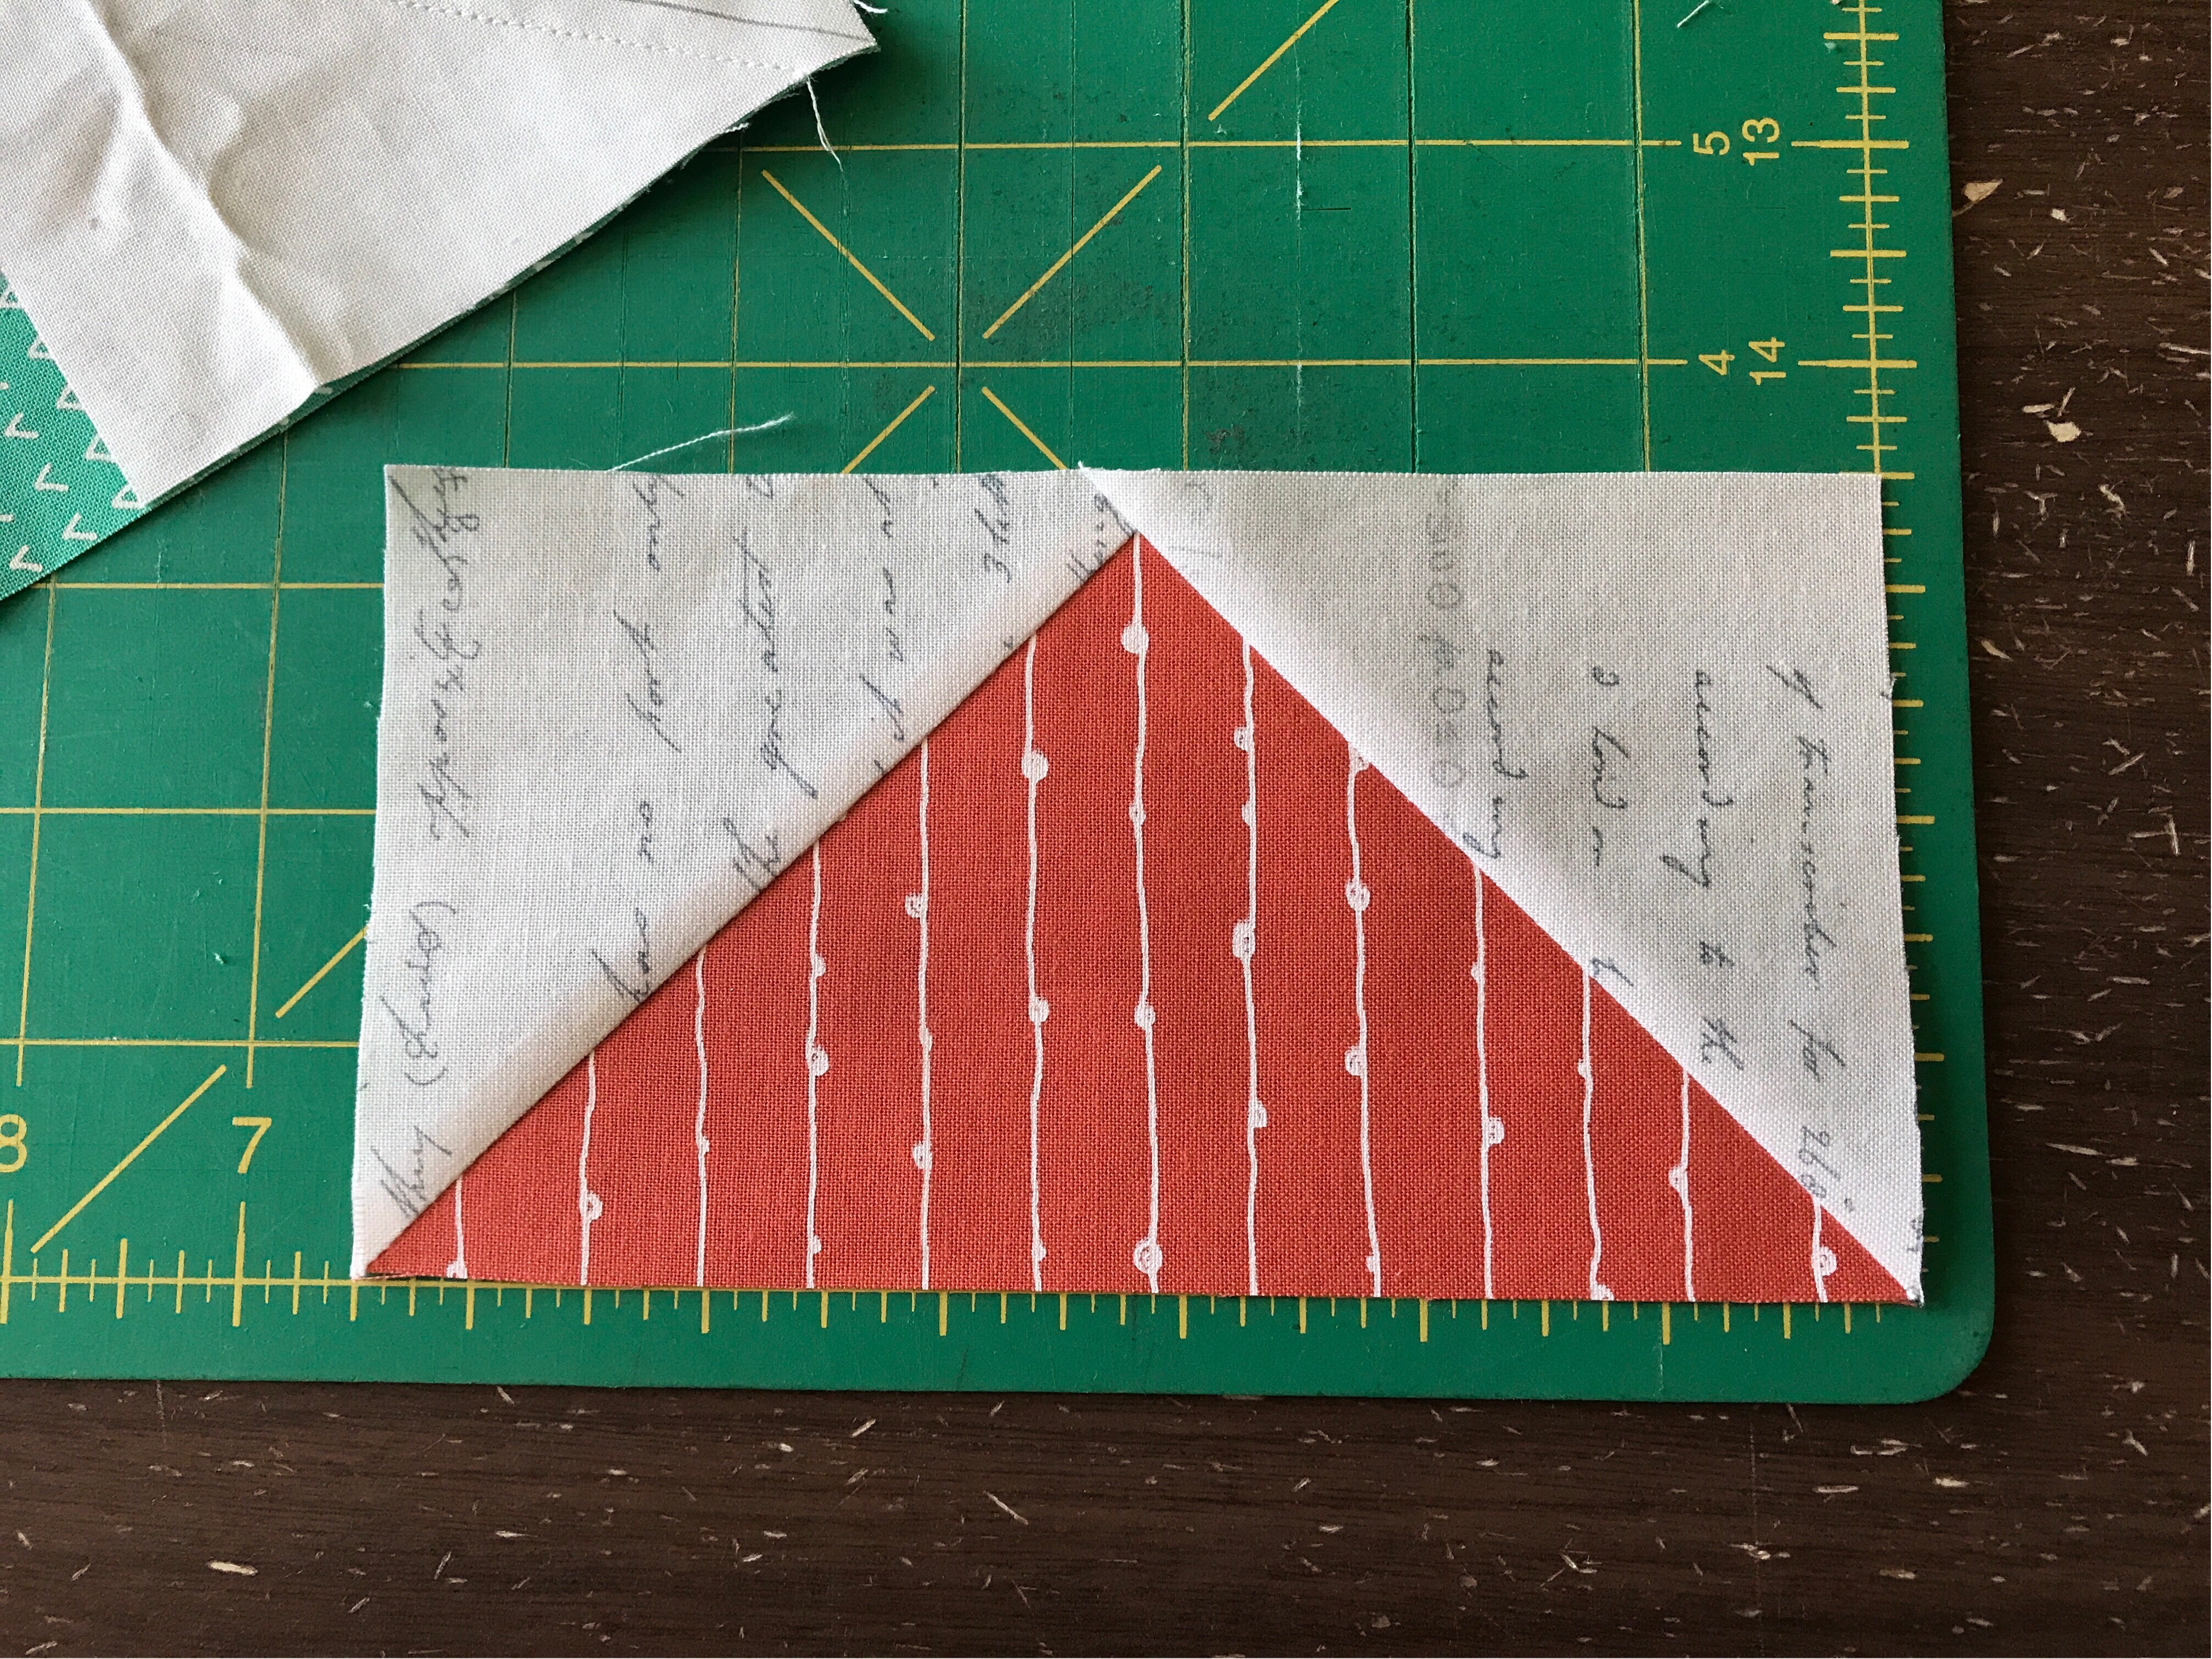
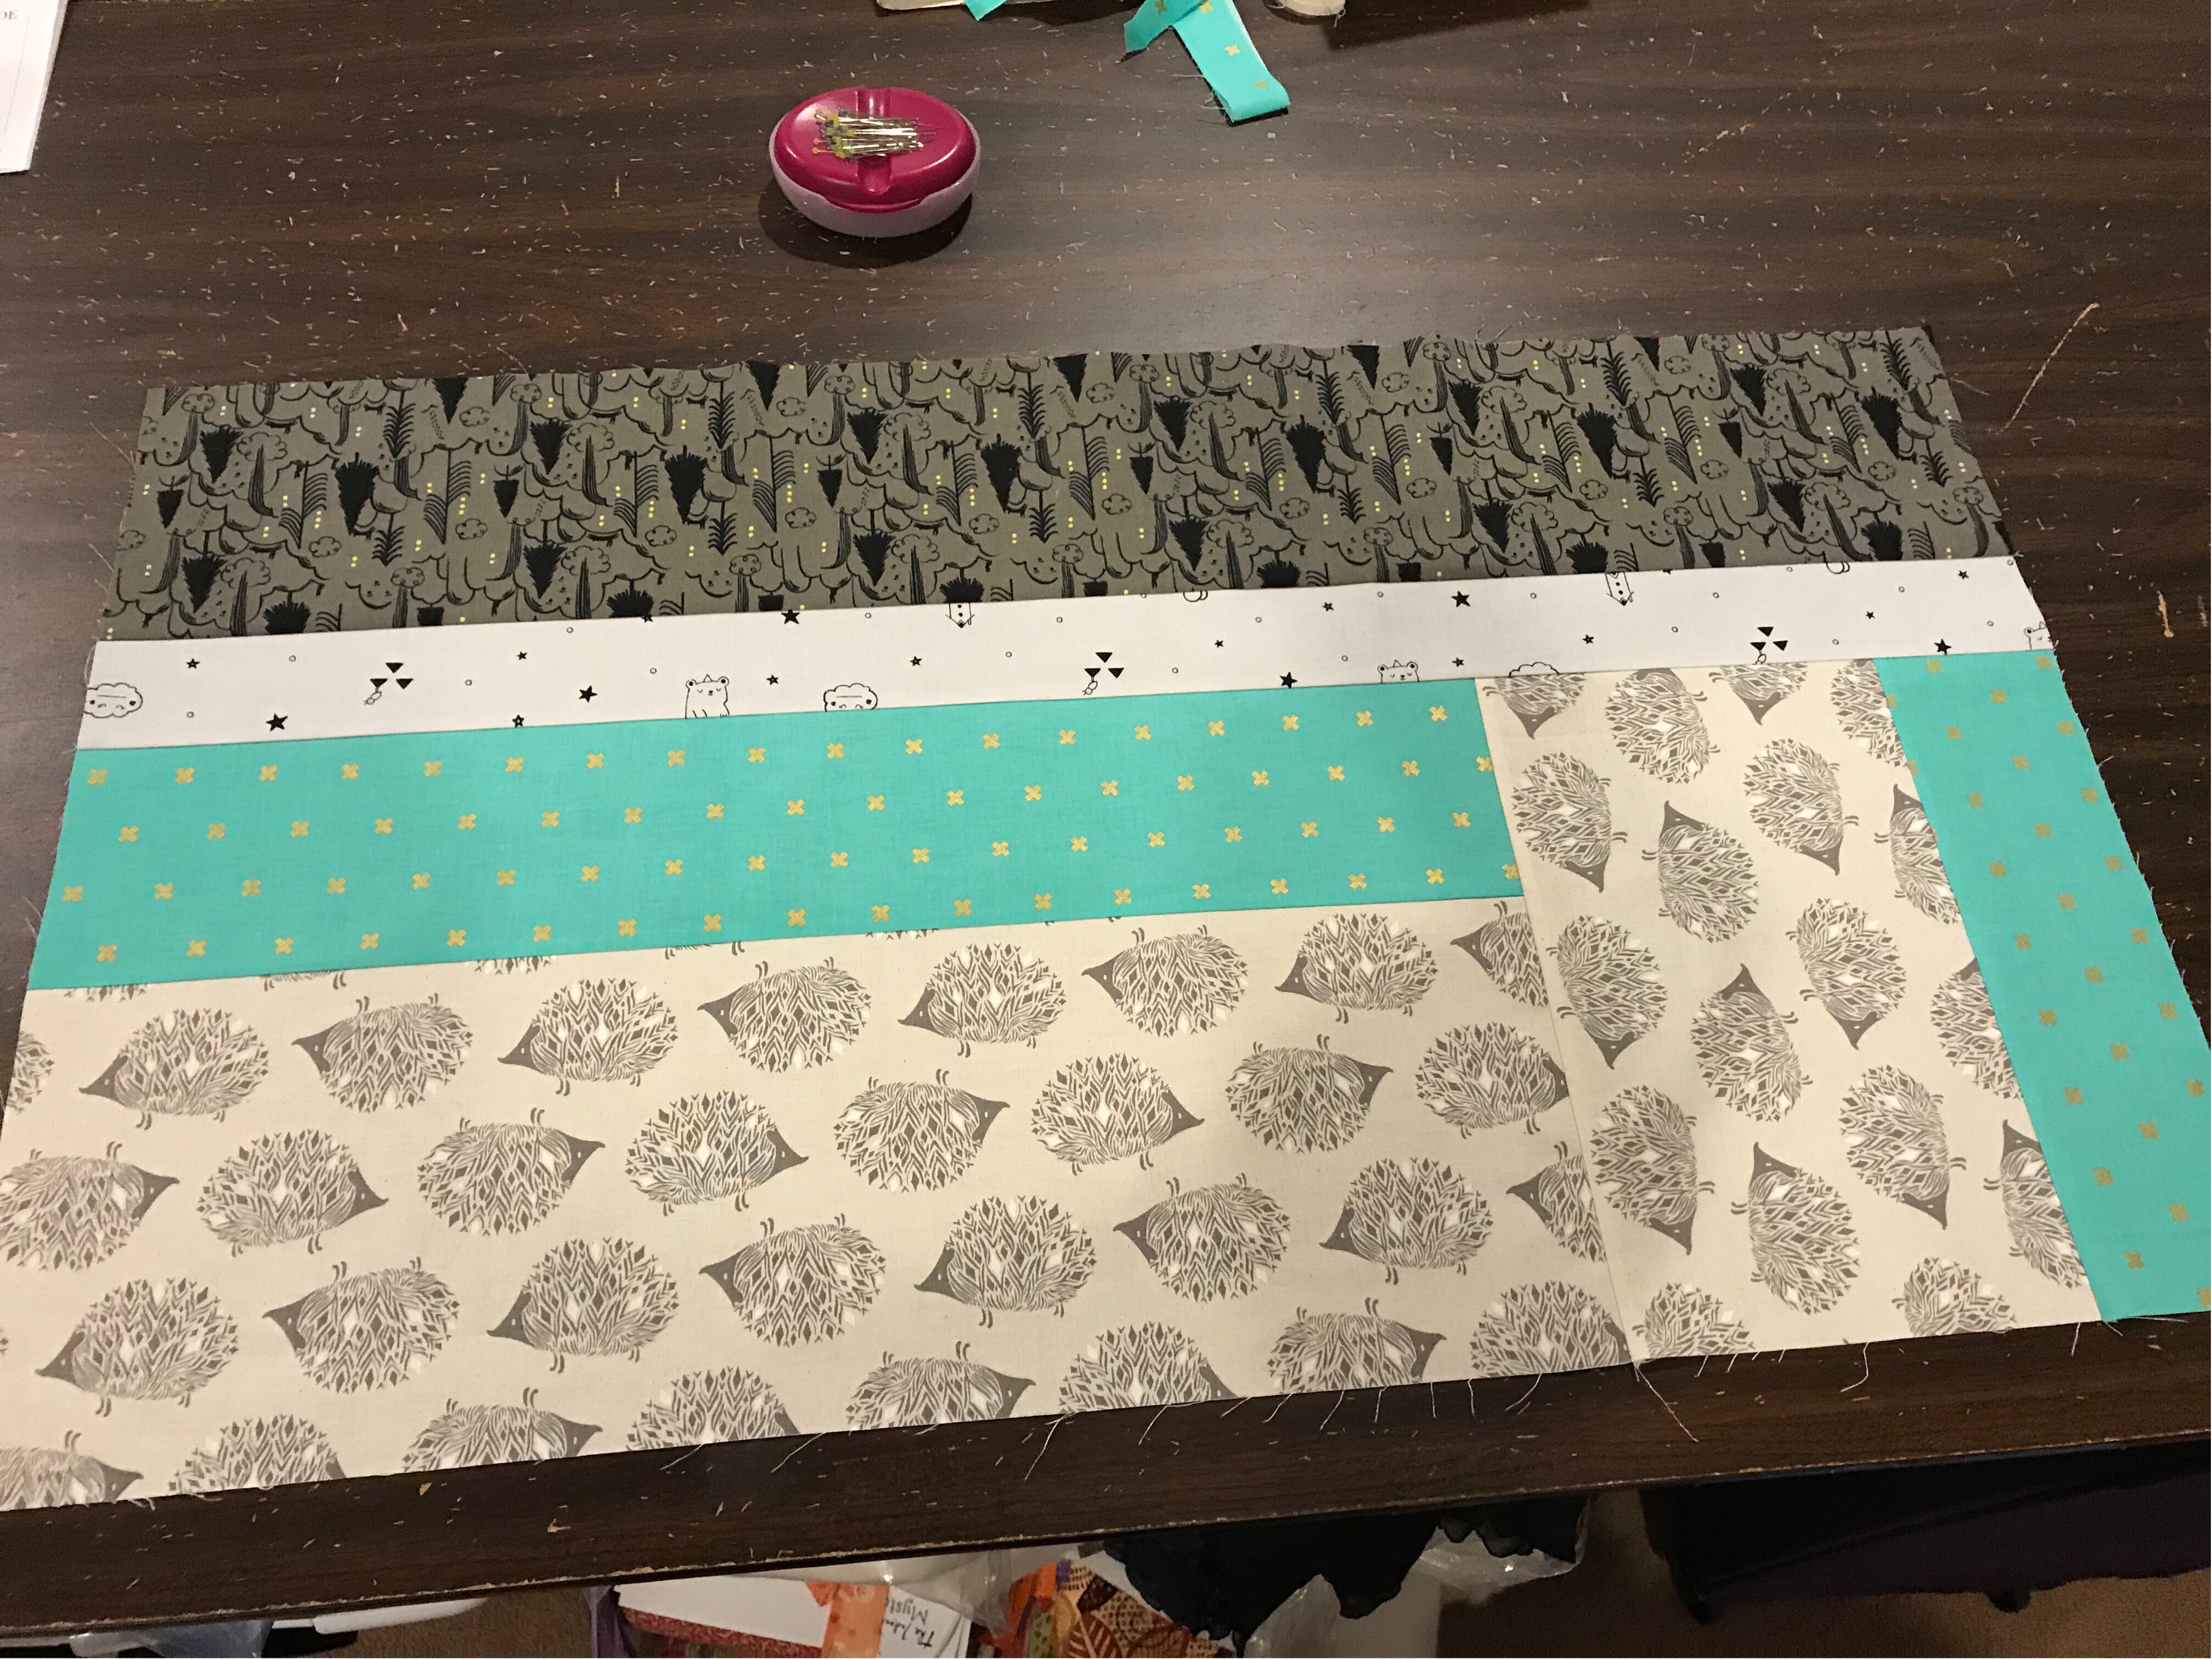
Started a pretty easy quilt called Weekend Candy that I purchased as a kit this month from Culcita. The fabric is from Cotton & Steel; it's the Sleep Tight collection by Sarah Watts. It's essentially a modified log cabin that keeps building out from the upper left to finish at 51"x60".


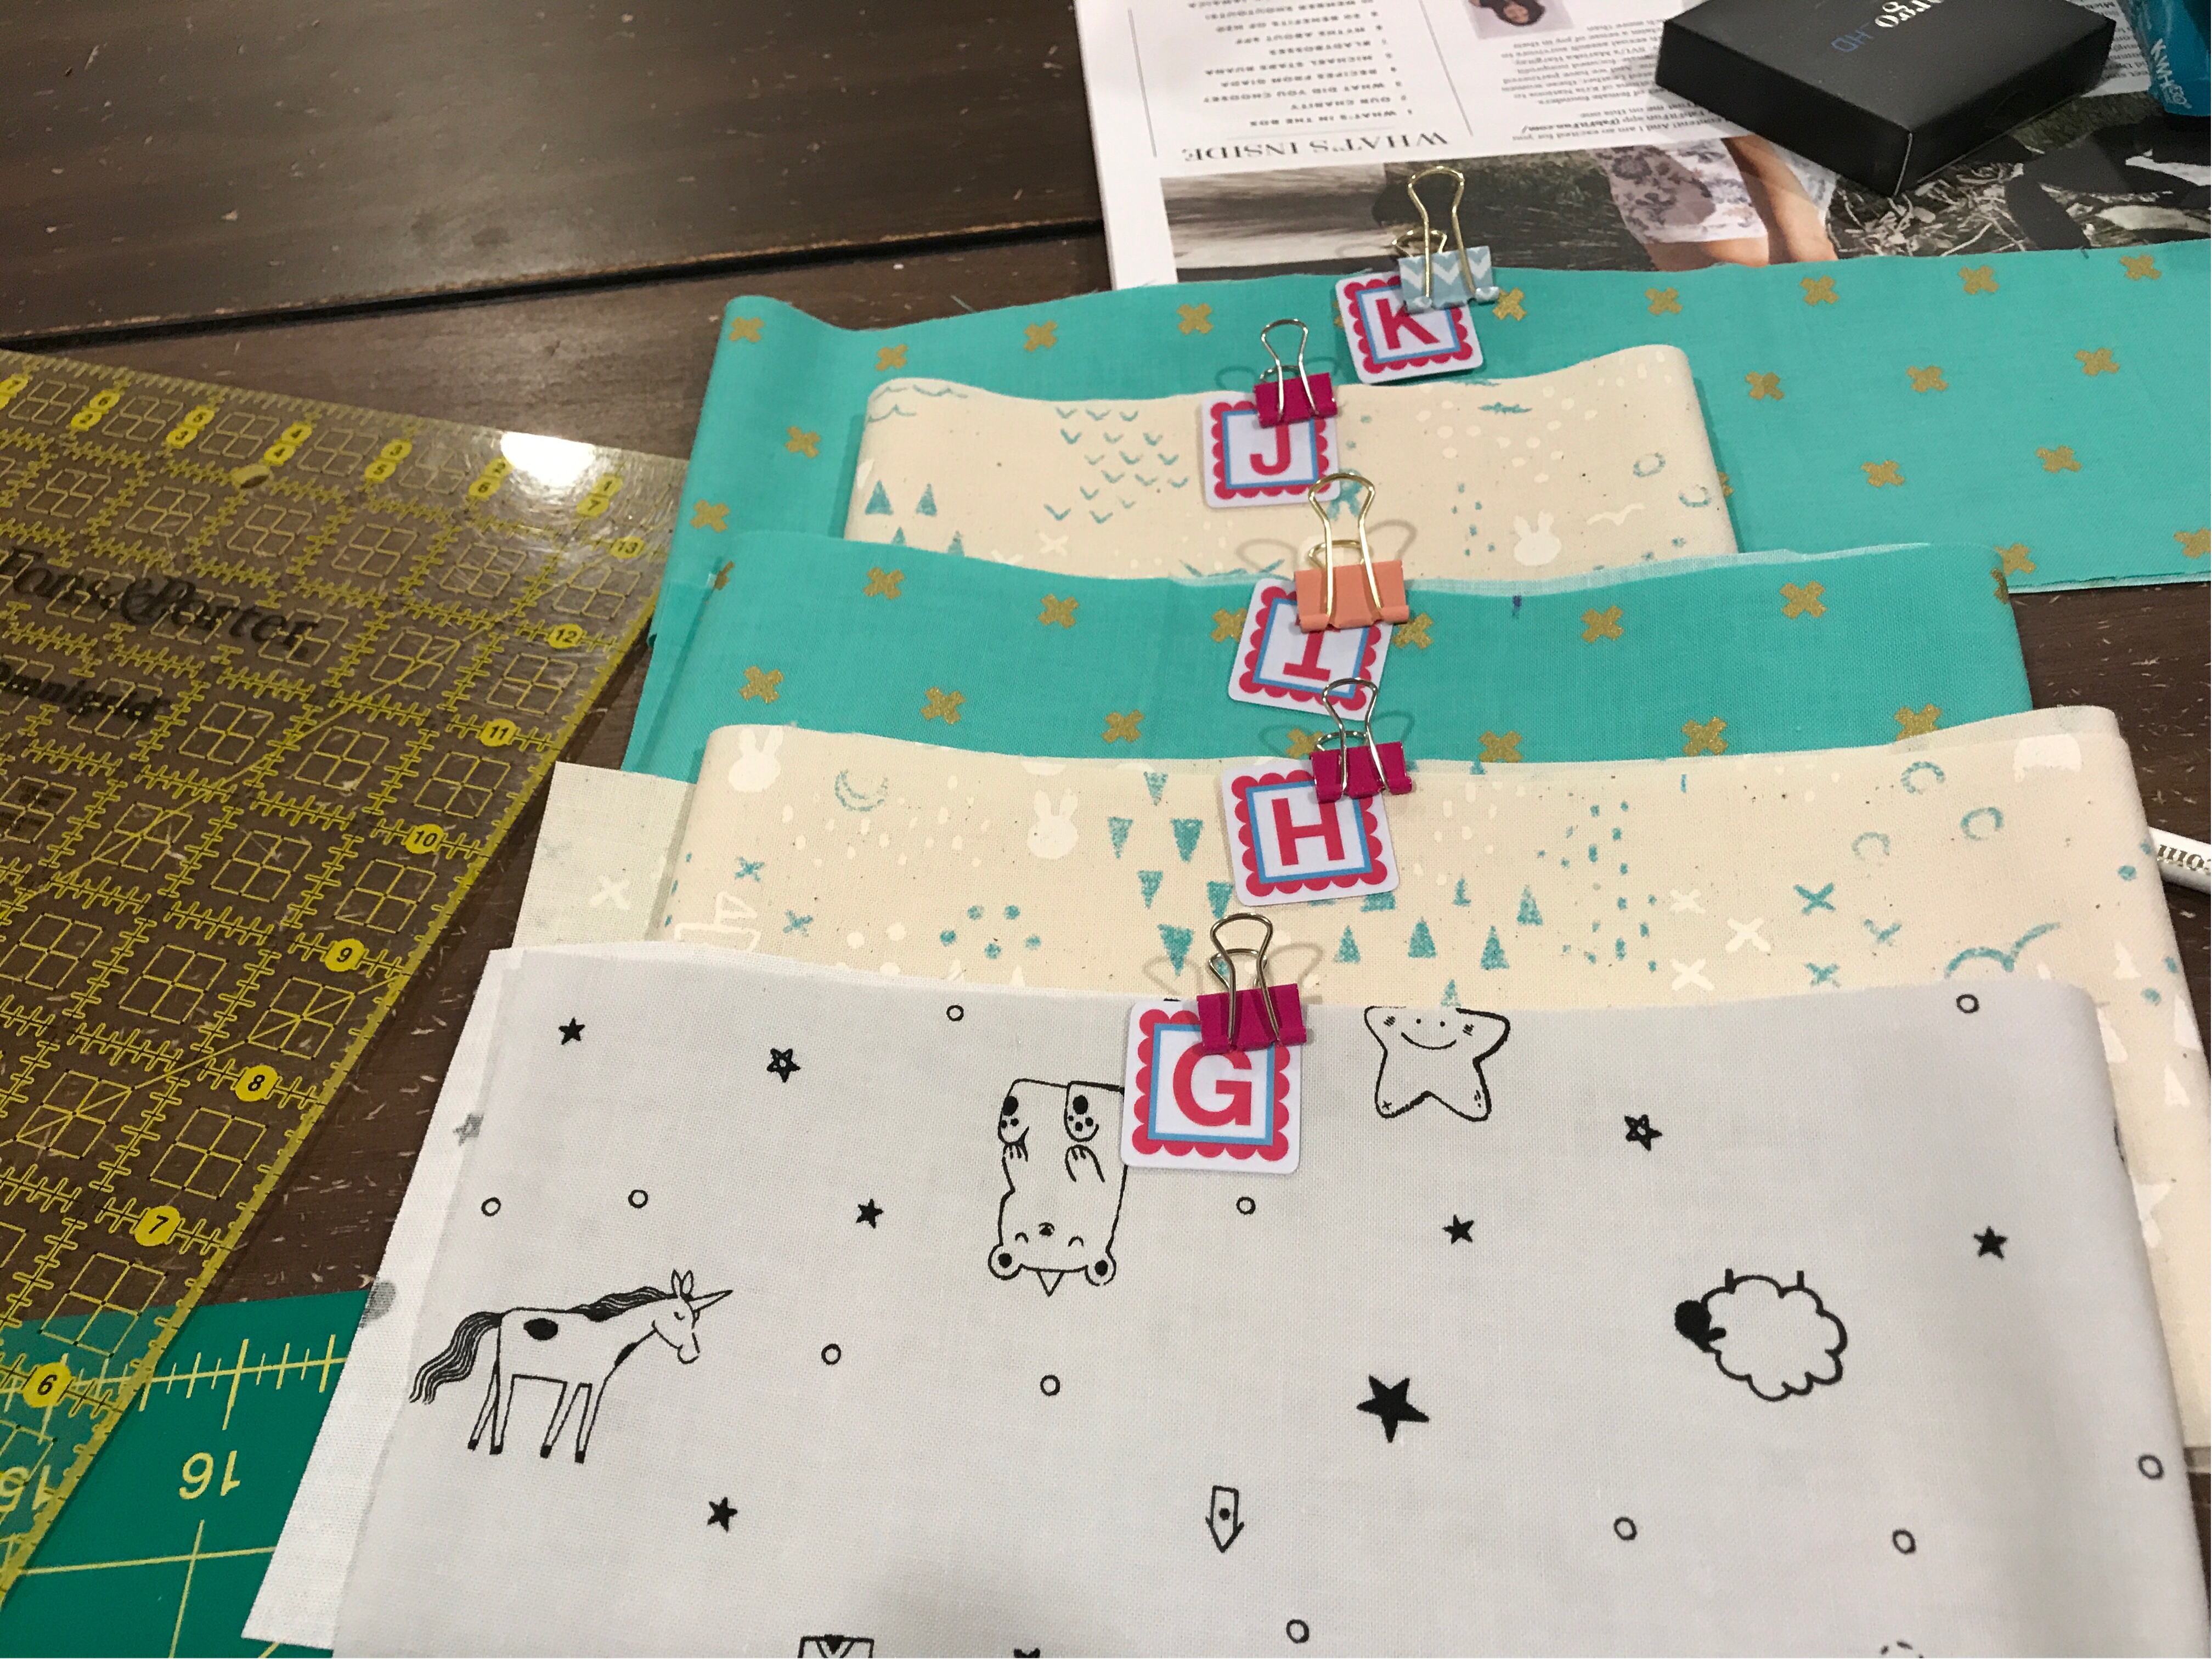
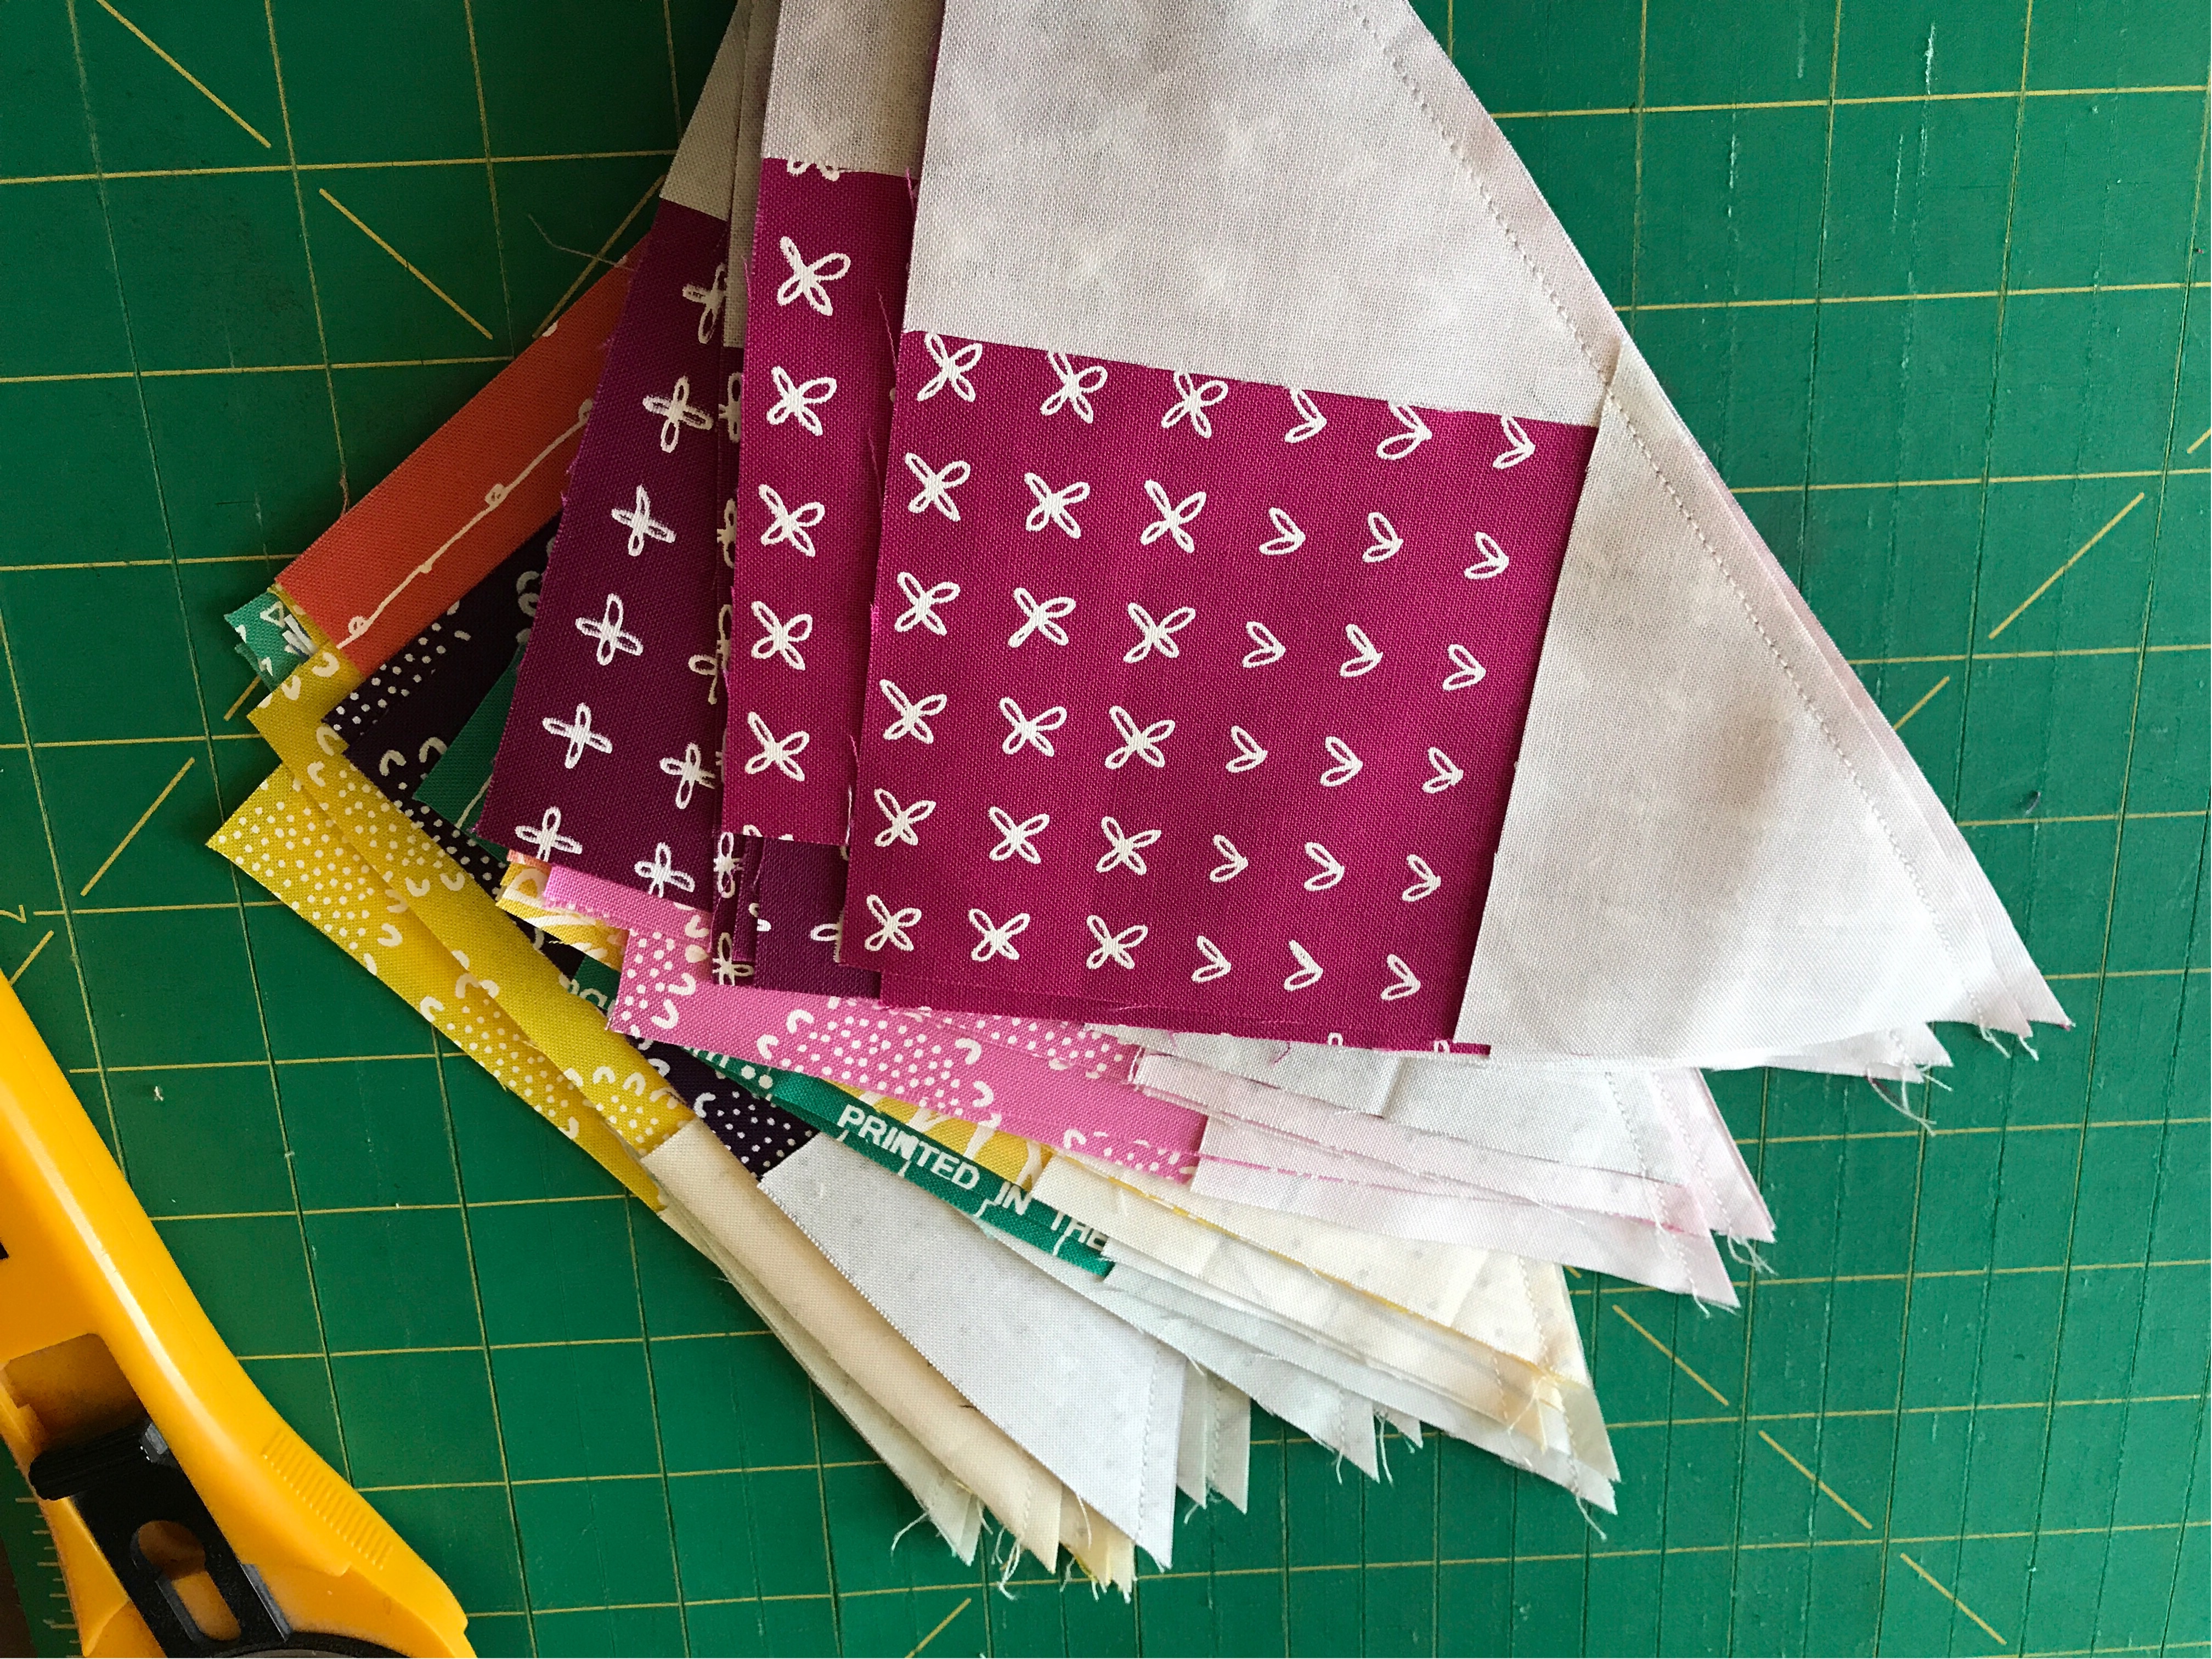
I've cut five of the 11 fabrics, using Alphabitties to keep track of the pieces. I'm cutting each color as I go, so if a fabric shows up in several places, I cut it to size and mark it with the correct letter. The pattern instructions refer to each piece by letter, so this is easy!


I got pieces A through F cut and sewn last night and have everything cut through K; the pieces end at V so I have a ways to go. There are 11 fabrics for the top.

The kit includes the pattern, all the fabrics for the top, backing and binding. I managed to catch a sale, so it was a really good deal. I first heard of Culcita through Kitchen Table Quilting, one of the blogs in my Bloglovin feed. Erica shows the monthly unboxing of her Culcita subscription and then, a couple of weeks later, shows the quilt she made with it.


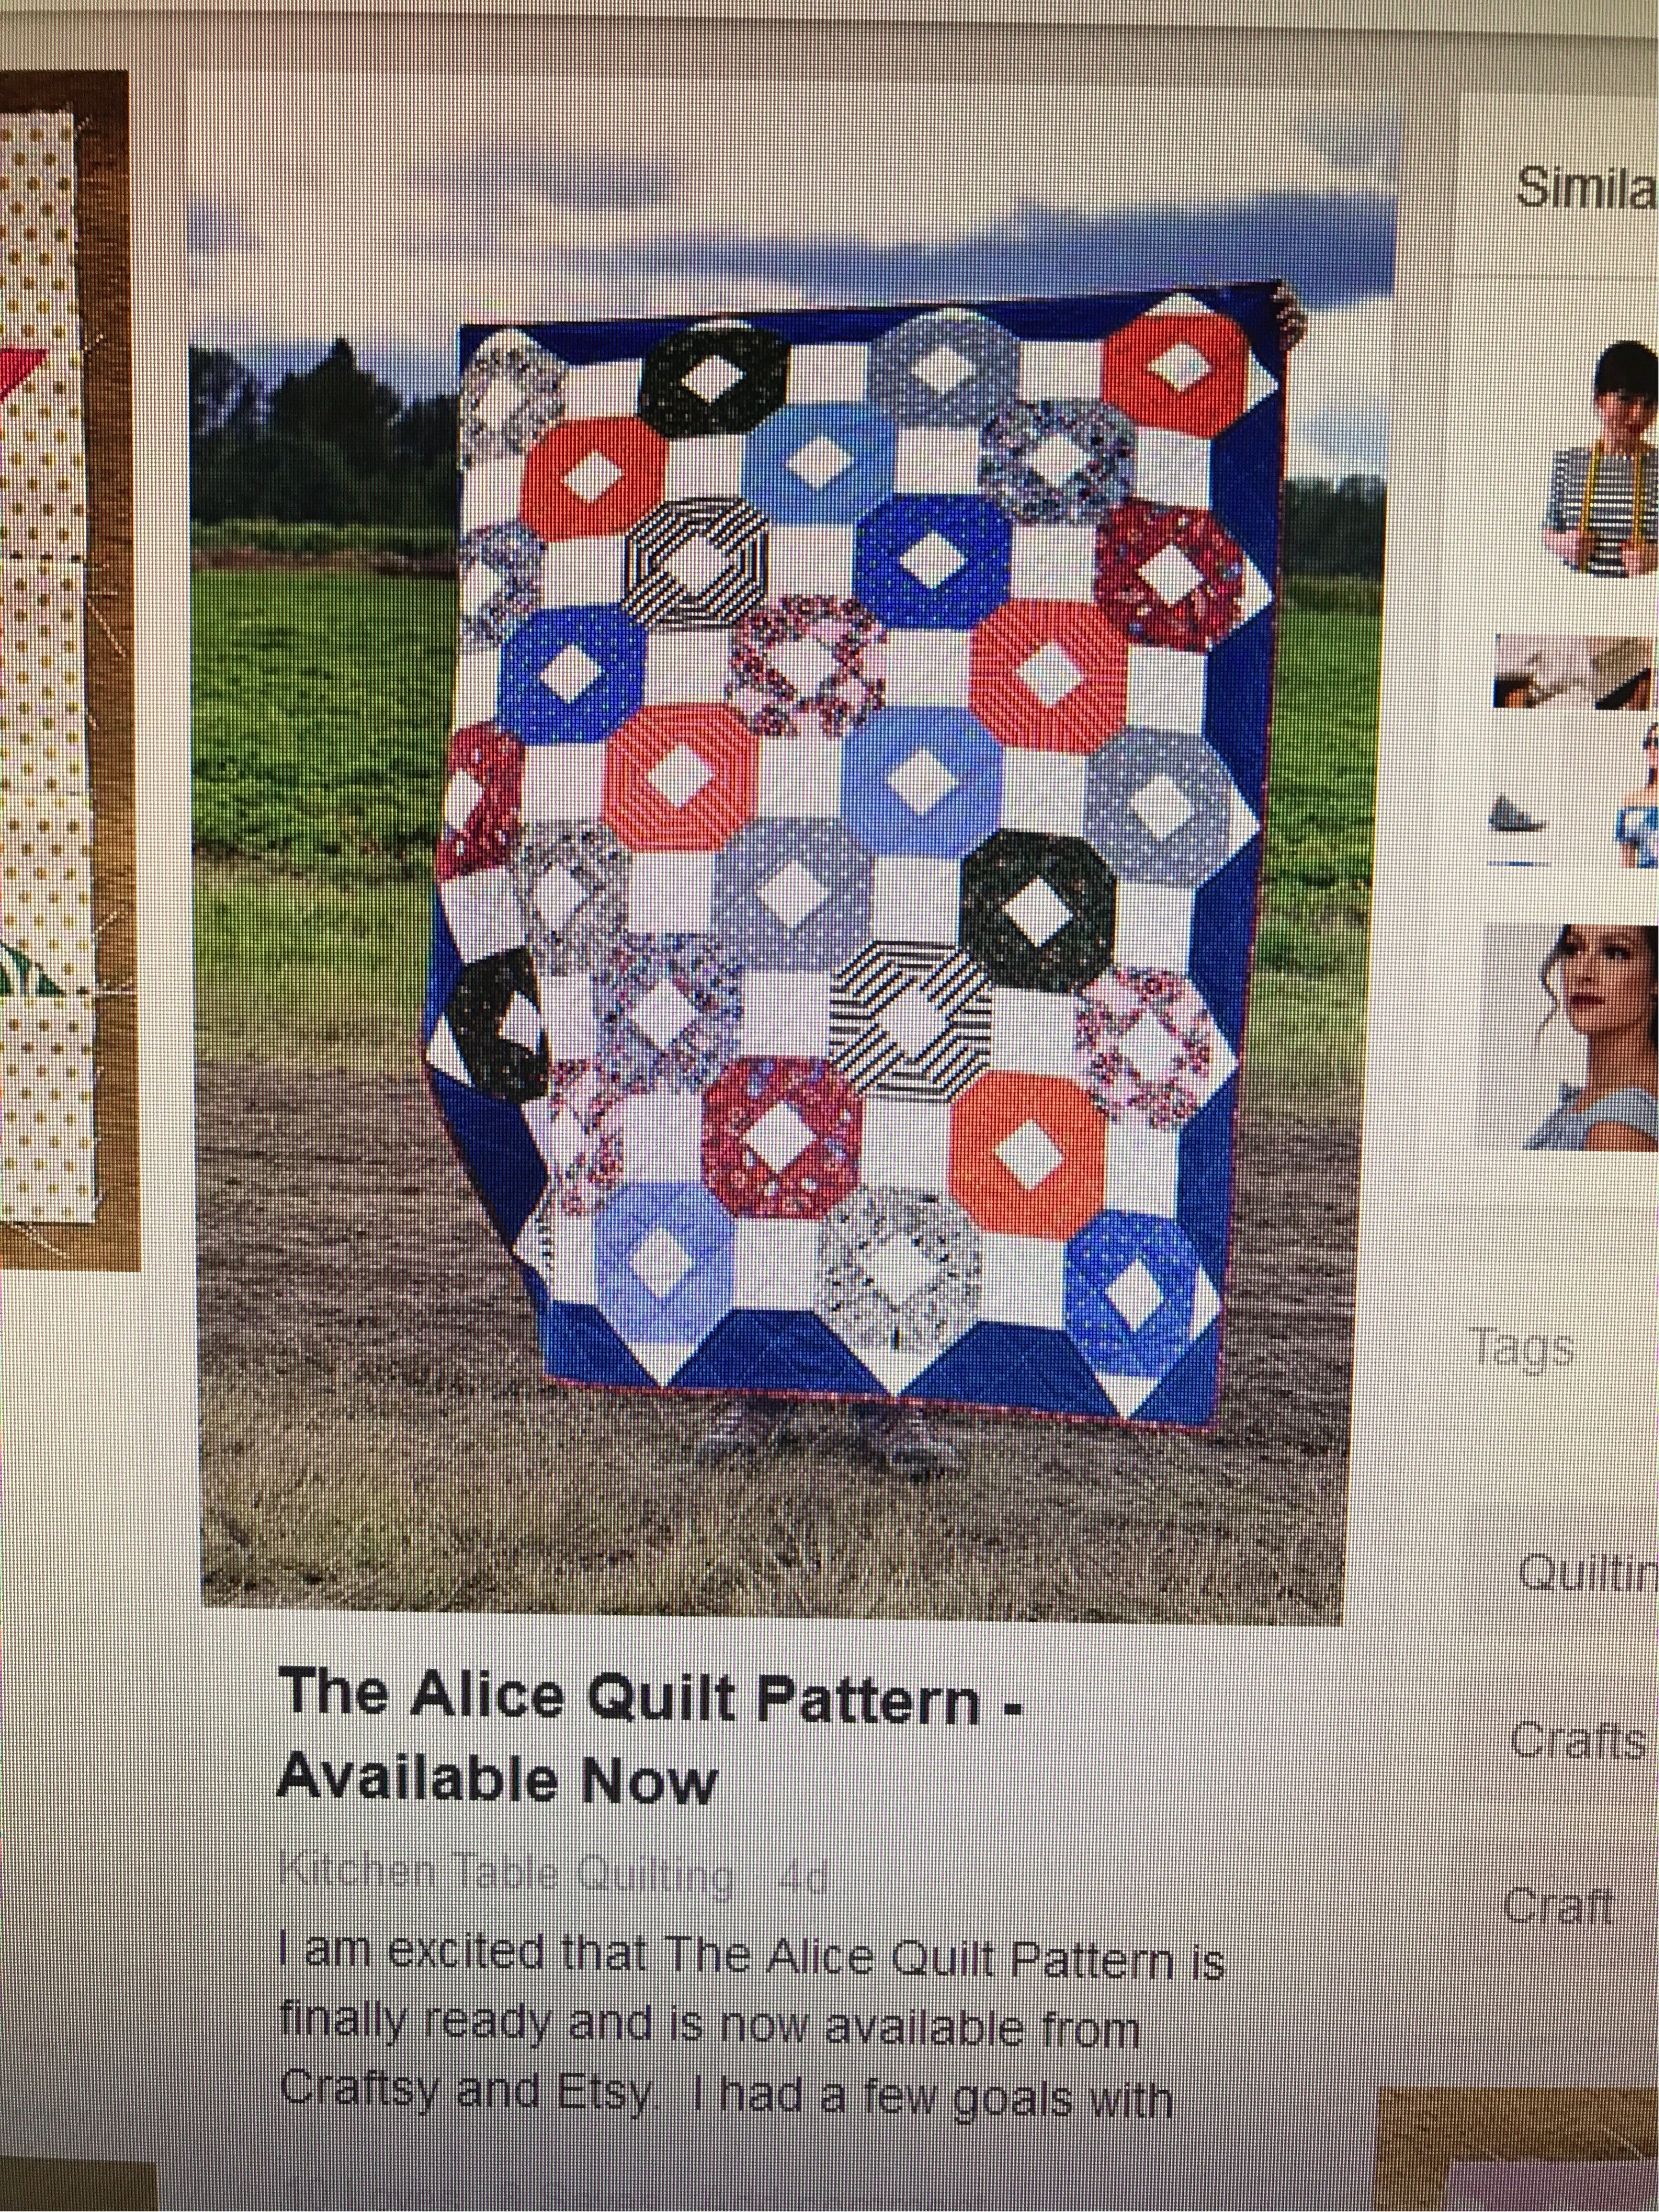
She made this quilt with Cotton & Steel's Wonderland collection; I bought the fat quarter collection and the pattern so I can make it.

Culcita has a monthly subscription for fat quarters and half yards. There is also a quarterly subscription for kits and pretty good prices on "one off boxes". It's worth a trip to the website, culcita.com. I'm not affiliated with them and do not receive any compensation if you buy from them. I'm just a mega happy buyer!

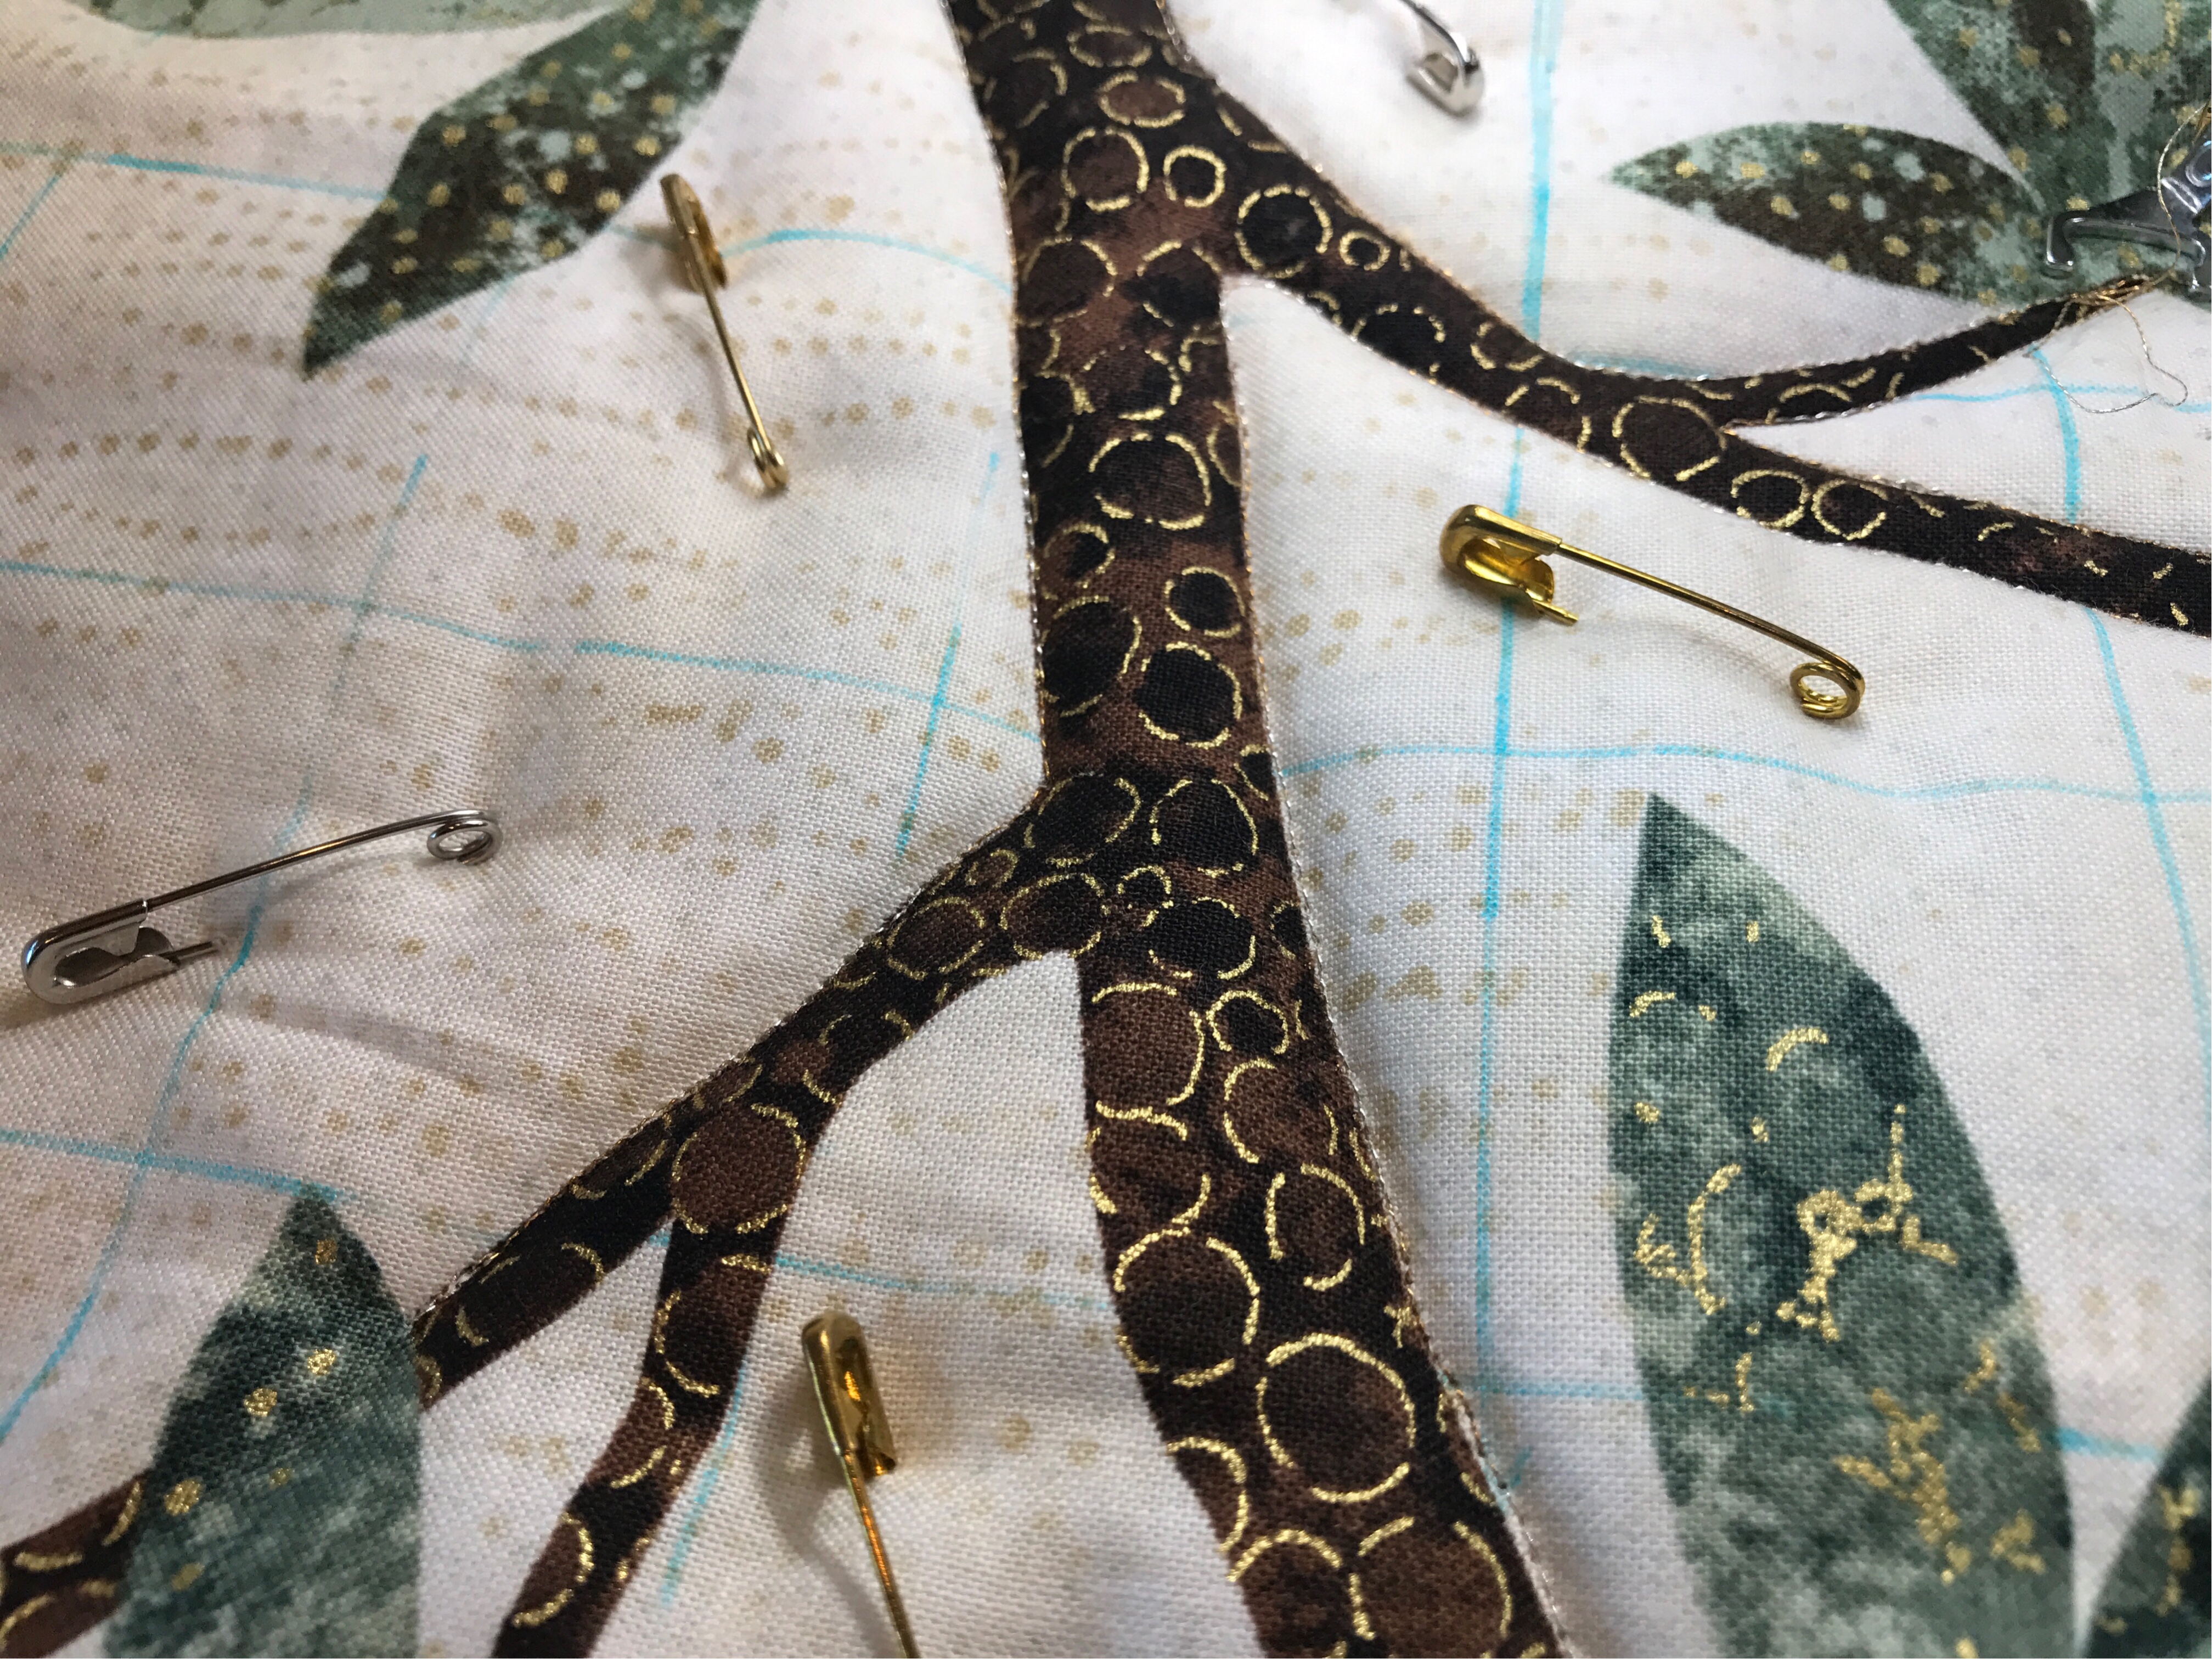
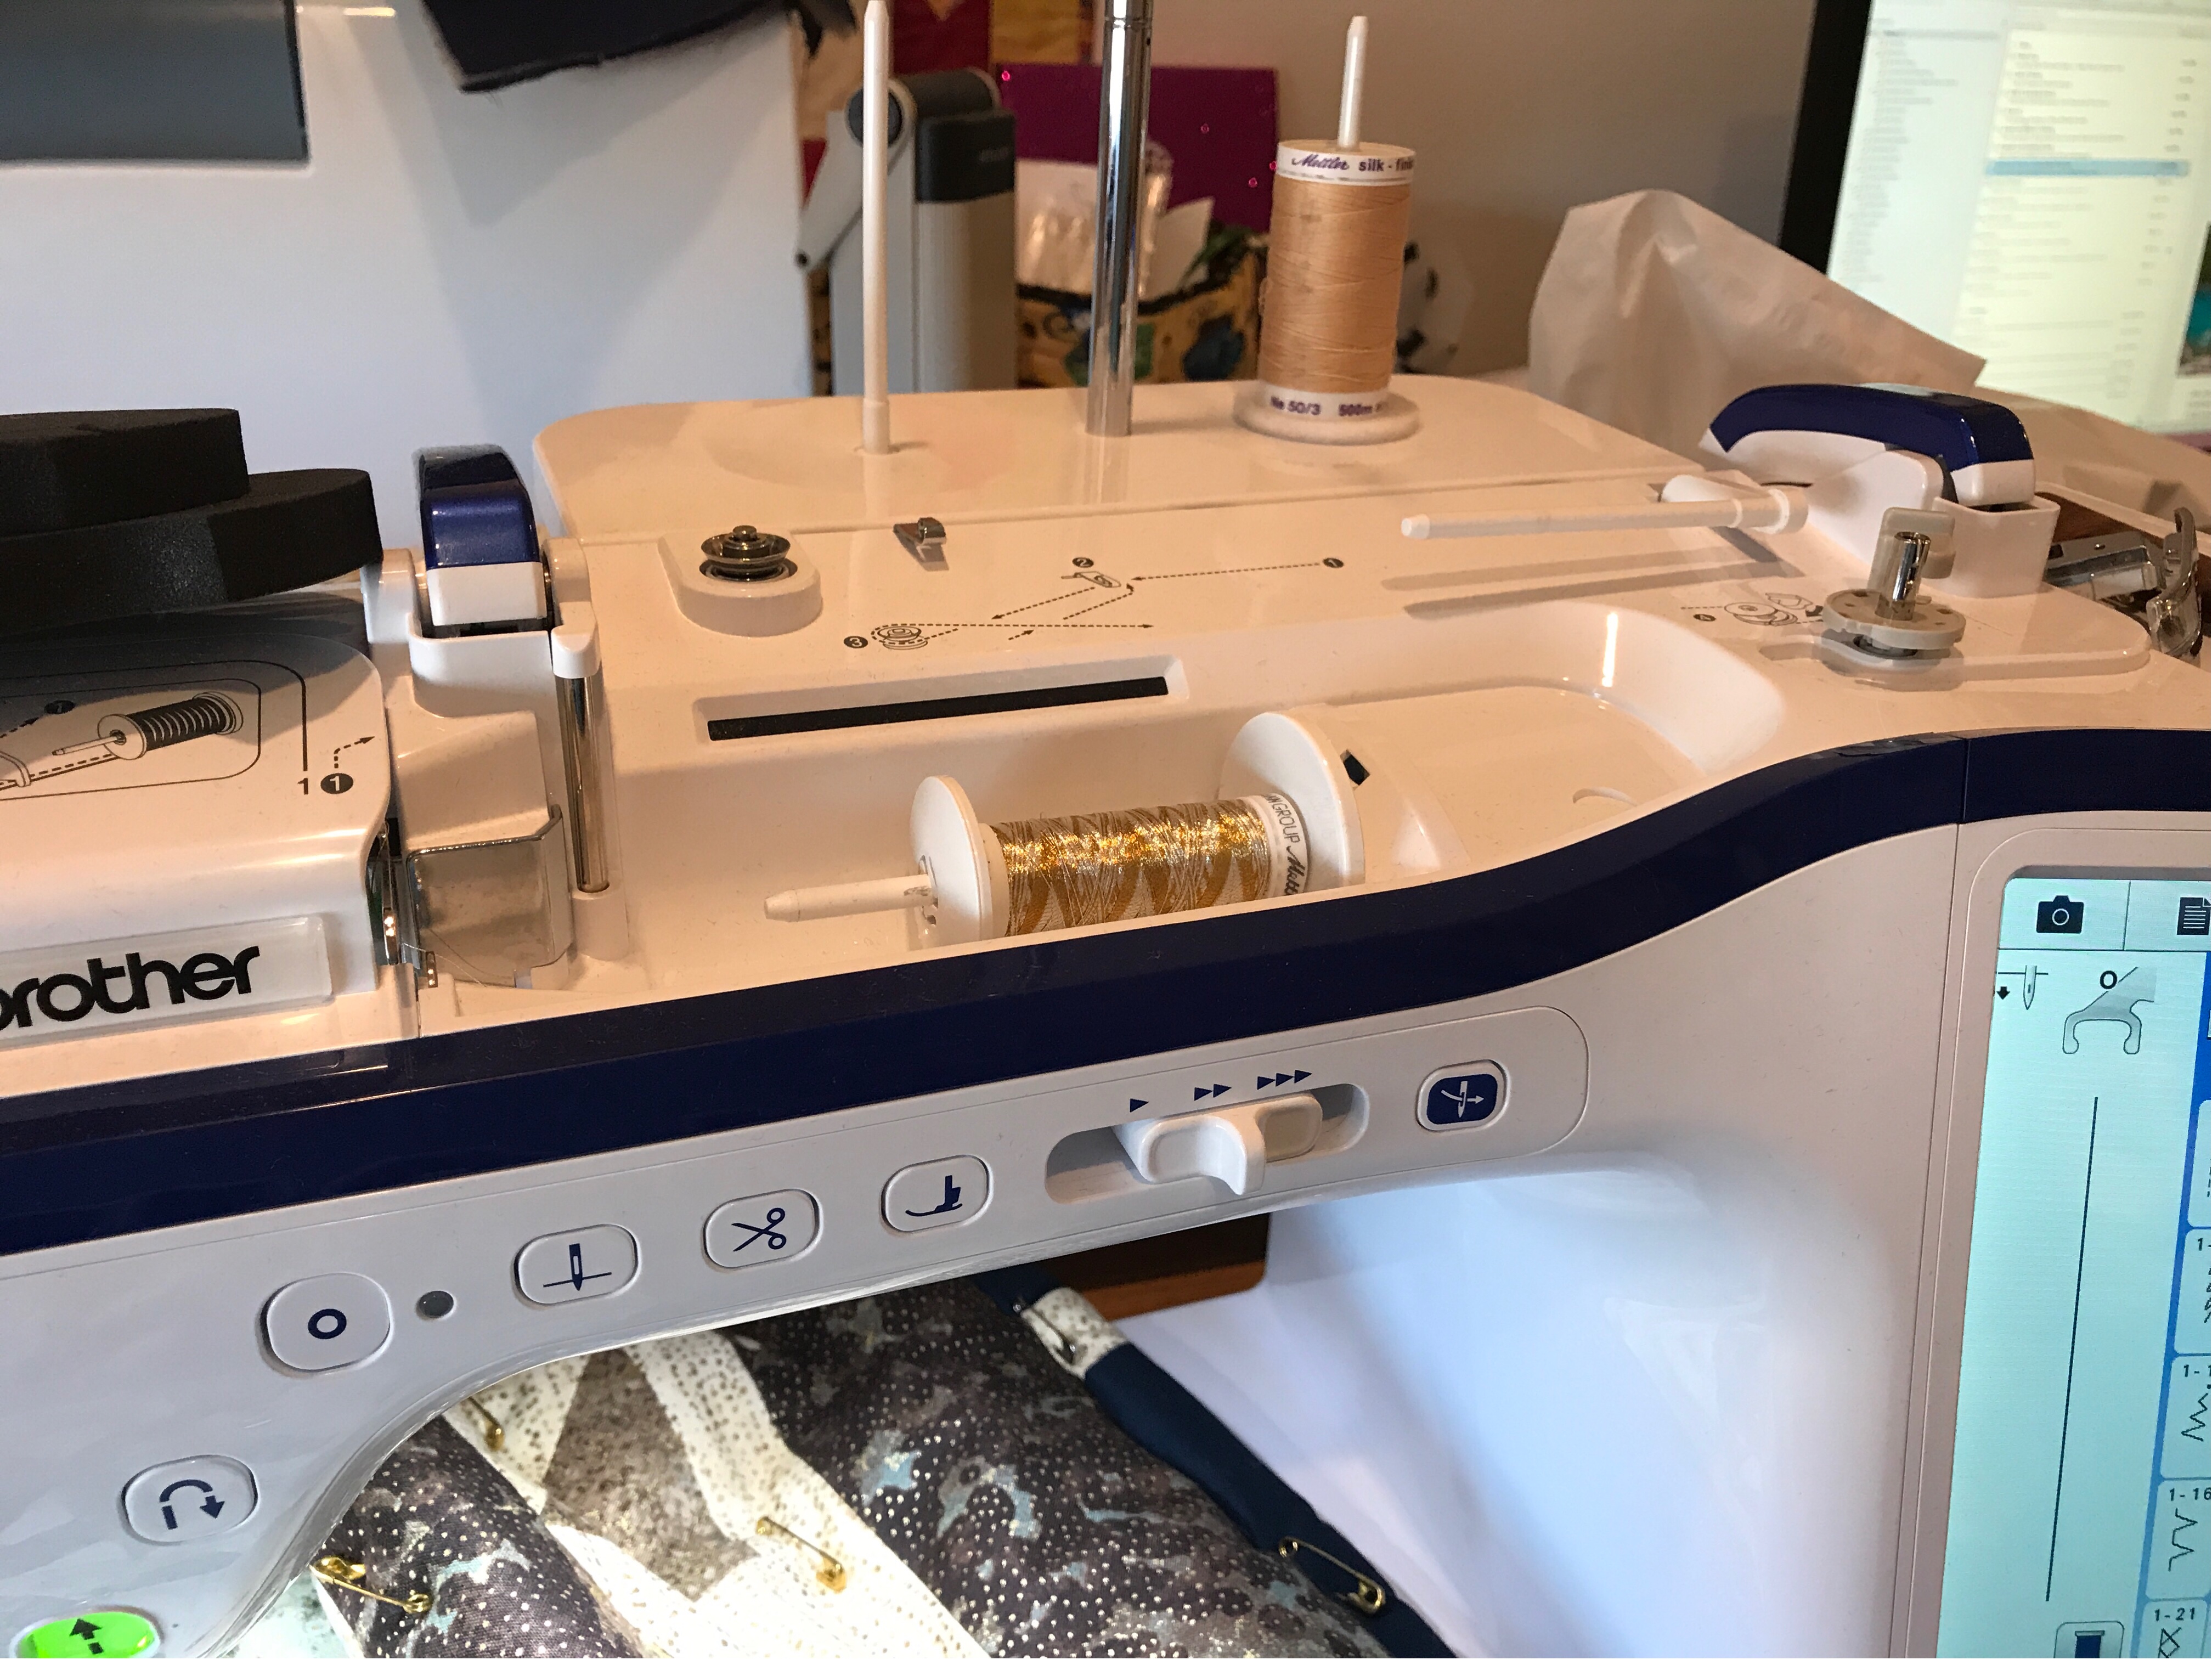
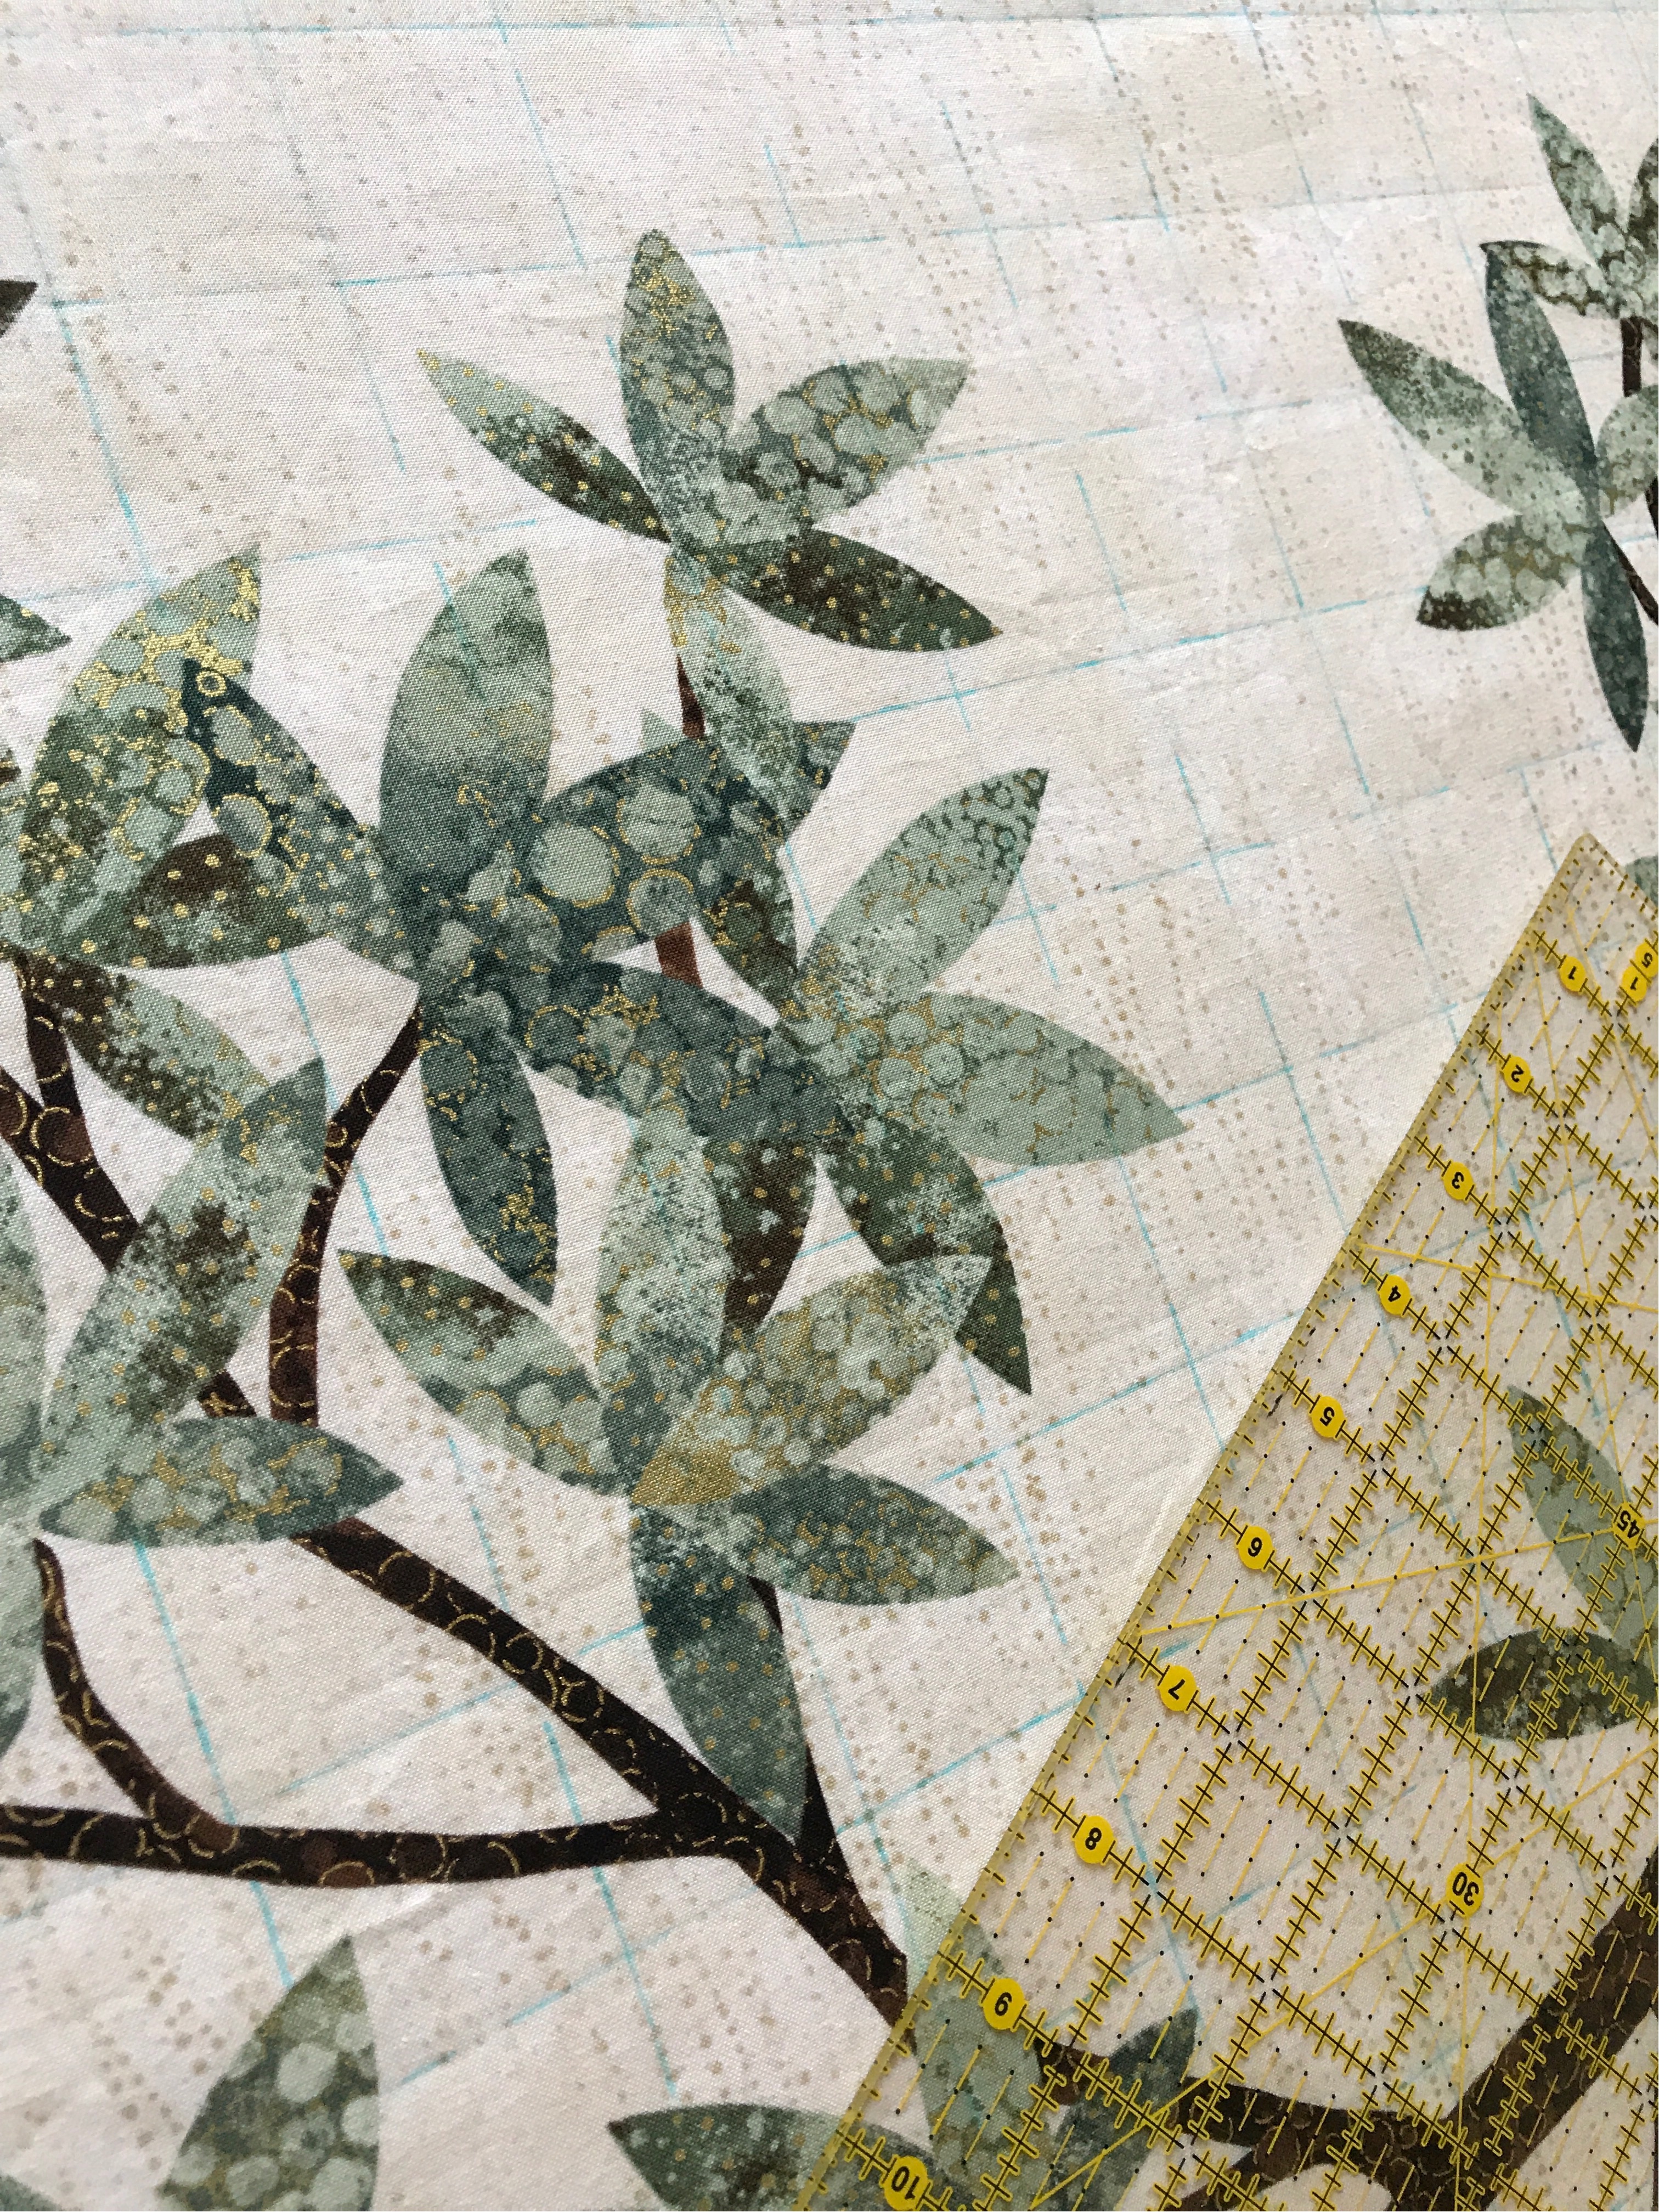
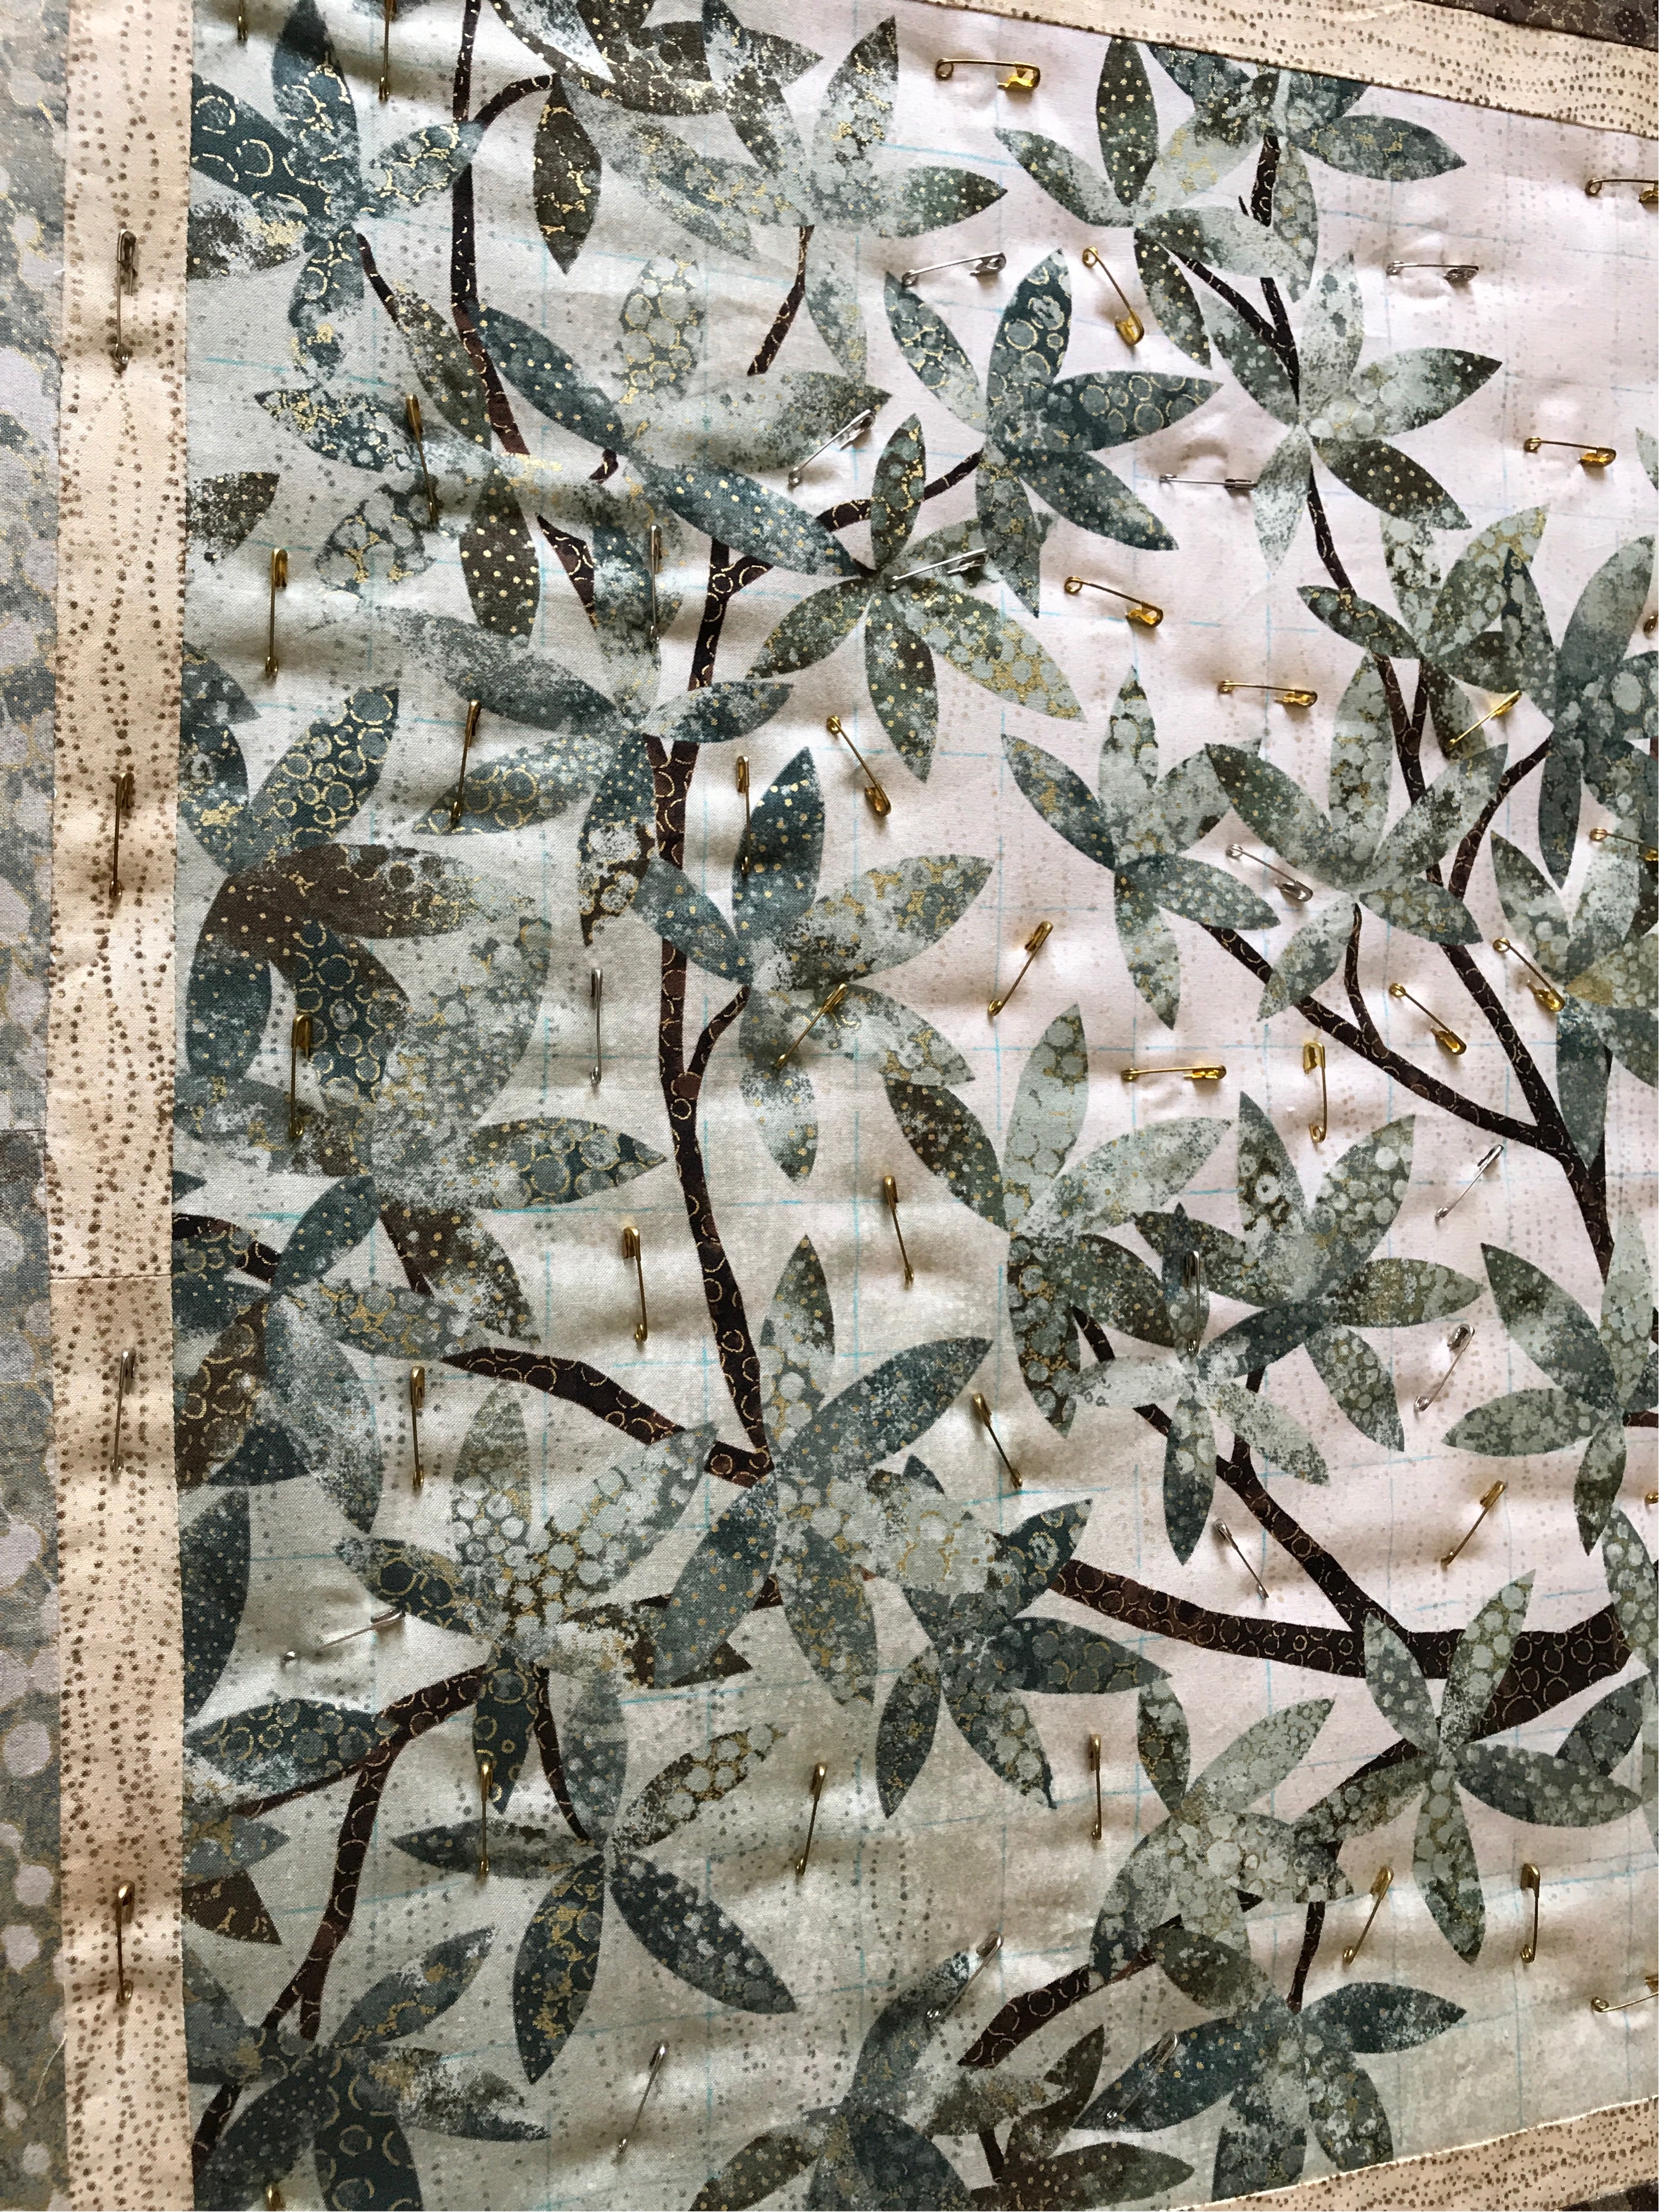
So today, leaves on the Wishing Tree quilt. If there is time left over at the end of the day, back to the Weekend Candy project -- those little hedgehogs are SO cute!


Thursday, June 29, 2017

My Third Sew Sampler Box


The June Sew Sampler Box from The Fat Quarter Shop came yesterday with lots of quilty goodness:


The folder that describes everything and the basket block recipe card that I put aside for my friend Dawna, the basket block queen;


A threaded needle holder, some very cute decorative ribbon that is ruled like a tape measure and a 4-1/2" Cute Cuts Trim-It ruler that you could use to trim the square in a square block to its finished size.


Here's a better pic of the ruler; it shows up better on the white paper than my (very worn and really should be replaced) green cutting mat. You can also see the cute sticker that was in the box.

And now on to the project, always my favorite part:


I wish the charm pack had been a full 42 squares because I really like the fabrics. There are 30 and they were used in the pattern pic so you can see them all there. The cutting directions call for each block to be cut from a charm square, but you can actually get 2 blocks from each charm for a total of 60. The resulting quilt would still be tiny, 28-1/2" by 32-1/2 set 7x8. There is a generous yard and a half of white with grey tiny plus sign print for background and a half yard of turquoise for binding.

The pattern calls for the square-in-a-square method to assemble the blocks and rows. I tend not to do that because of the waste and because that method breaks up the background print too much for my liking. I would construct the plus sign blocks, cut background squares the same size and assemble it in the same manner as an "on point" quilt.

Another way this could be played with is to only cut one block per charm, but cut the pieces bigger, to yield a 6" finished block rather than 3".

See? I've just opened the box and have already spent about 1/2 hour pondering the possibilities!

The only thing I am pretty sure I won't use is the threaded needle storage case. Maybe one of you who likes to carry sewing around would like to have it? Leave a comment below, share what kind of projects you like to do using a hand sewing needle, and I'll pick a winner mid-month! Perhaps one of you will inspire me to take up hand sewing, ya think?


Thursday, June 22, 2017

Ready for OKC!


Keeping me travel ready takes what my husband calls a "pit crew" and Tina Fox is a big part of that. She's the magician (and sometimes photographer; you can see her up in the right hand corner) responsible for all the fun colors in my hair.

This is the style she sent me off to Oklahoma City with. I'm flying this morning and will be teaching ruler classes at The Stitching Post tomorrow and Saturday. I'll also get to visit with my good friends, Phil and Mary Newton. Phil was the brand manager for Amann-Mettler for several years and I enjoyed working with him in my spokesperson role. I've missed them and will be very happy to spend some time catching up.


Almost boarding time -- happy to be a Southwest A-Lister. Get to be one of the first people to get on board and choose a seat!

Have a super quilty day!


Wednesday, June 21, 2017

Yesterday's Progress


All the blocks in rows ready to go!


Made great progress for a Tuesday morning; had the top pieced by 10, then to get hair tended to and an afternoon nap. Went to Bolts in the Bathtub to buy the grey solid for the binding and to use in the pieced back and worked on the back for a while last night.

Today I have appointments all day and then early tomorrow morning I hop on a plane to Oklahoma City to teach at the Stitching Post. I was thinking that I might have some time to sew today and then -- oh, yeah, I'd probably better pack for the trip! Minor detail, right?


Monday, June 19, 2017

Making Progress


All of my Pacific quilt blocks are finished and the first row is put together. I also sewed an additional four blocks to put on the back per the pattern instructions.


I like a lot of piecing on the back and have a pile of colorful scraps left over. I am thinking of getting some grey fabric for the binding and also using it to put a narrow border around the 4 block piece, then start piecing the colored scraps around. We'll see how big it gets and then use my low volume prints for the rest. I think it would look pretty cool!

We had Dan's family over for Father's Day dinner last night:


We made an apple pie, berry pie, pasta salad, 3 huge veggie trays (using the leftovers in soup tonight) and our signature dish that never fails to make people laugh when they see it on the grill:


Beer can chicken! Tender, moist, best chicken ever!

My goal for tomorrow is to get the quilt blocks pieced together and get a good start on the back. The green threads for the Wishing Tree quilt arrive on Wednesday, so would love to get this one completely pieced before I switch over.


Saturday, June 17, 2017

Pacific Quilt and a Point Matching Tutorial

Took almost a day of off and on trimming, but got all the flying geese tamed into accuracy and laid them out on my sewing room floor with the background pieces.


Assembling the geese into rows with the background fabric is quick and pretty easy, but sewing the four rows into a block has a tricky place where the top of one goose joins the corner seam of the one above it.


After a few rips on the first block, fewer on the second, I figured out how to pin this to make it work. No rips on this green one!
This is how I'm doing it:


Each row gets a good press (I know it's controversial, but I like steam and I do press rather than iron -- there's a big difference!) with the seam allowances away from the triangle points.


This is the way the rows will line up.


I stick a pin right through the intersection on the top piece.


Then stick the same pin through the intersection on the bottom piece, in this case, the point at the top of the goose.


Keeping the pin as straight as possible,


I put a pin sideways through everything. That seems to ensure an accurate join while keeping the seam allowances on the bottom piece flat. It also helps if you use a fine pointy needle for piecing: I'm using a Schmetz Microtex Sharp 80/12 with Mettler Silk Finish 100% cotton 60 weight thread.


And there we go! This is turning out to be more fun than I thought it would be!


Thursday, June 15, 2017

Piecing for a Bit and a Giveaway

Yesterday I got all the stitching done with the metallic thread to outline all of the branches of the wishing tree and was ready to start the leaves. I went through all of the green threads in my possession and didn't have exactly what I wanted -- hard to believe when one considers how much thread I own!

I knew I wanted to use 40 weight polyester embroidery thread for the sheen and decided on two variegated colors, Field Greens and Mossy Greens, made by Mettler and marketed under either the PolySheen or Isacord brand depending on the size of the spool (Isacord comes on cones, PolySheen on smaller spools). I don't have an assortment of the variegated colors, so called up my LQS, Bolts in the Bathtub, and they were out of stock (big groan inserted here!). I understand why -- they have many embroidery customers and leaves are a popular theme -- but really? Today? Good thing this project isn't due immediately!

So I emailed Michelle at Amann-Mettler Group and crossed my fingers that they were in stock at the warehouse. Mettler is extremely generous in supplying me with threads, but when I just need a couple of spools, I always check with Bolts first. It's always a good excuse to run in and see what new fabrics they have!


So since I'm stuck for the moment, I picked up the pattern and cute fat eighths pack from the May Sew Sampler box that I did a post on last month.


The pattern calls for 1-1/3 yards each of three low volume fabrics. Wasn't 100% sure what "low volume" meant as it's a term I've been hearing only recently, but I told Dawna that I needed three low volume fabrics, she flipped three bolts onto the cutting table and that worked for me. I also don't understand 1-1/3 yards so bought two yards of each and toddled off. Actual use has been about one yard of each, but I chose to make my flying geese with the no waste method rather than with the included ruler.


Sewed a test group of four and I don't think accuracy is a question here, so think I'll just keep making them the usual way.


So there's my stack of them half done and ready for the iron.


Meanwhile a perfectly good ruler sits on my table dreaming of geese in the air and pining for a good home where it will be loved and used. Want it? Leave a comment about a favorite flying geese quilt that you have either made or would like to -- we'll do a drawing at the end of the month.

Good luck!


Wednesday, June 14, 2017

Quilting The Wishing Tree

Was out of town for the weekend and then life happened in the form of a little flu bug, so....
Picked a neutral tan Mettler Silk Finish 100% cotton 50 weight for the back of the quilt, color #0260 (formerly 515):


You can see how it looks on both the dark blue and the neutrals.

There is a lot of circular pebbly-type metallic print in the tree trunks, so a Mettler variegated metallic #9924 seems perfect. It's kind of a gold/silver blend with maybe some metallic taupe-y shade thrown in?


Like the way it's working out!


Two things that should be noted about my thread setup: 1) the metallic thread is on the horizontal spool pin of my machine, which is supposed to be a crazy no-no, and 2) my tension is on my normal setting of 4.0. I'm sewing on a Brother Dream Machine, feed dogs dropped, open toe free motion foot attached.

Needle is Superior Topstitch 90/14. I normally use a Schmetz Metallic 90/14, but couldn't find them in the "small accessories" drawer, otherwise known as "the sewing room drawer from hell". Had these left over from when I ran out of the correct needles at a Cindy Needham retreat (next one, end of August -- hooray!***) so am giving them a test drive with the metallic thread on this quilt.

I have to think that there are additional stresses on threads/needles when one adds a second layer of batting, as well -- does anyone have thoughts about that?

***This is just the next retreat that I get to go to. Cindy has LOTS of retreats in Auburn CA and McCloud CA (and maybe others?) plus open sewing time at her studio in Chico CA. You can find out about all of her events at www.cindyneedham.com


Wednesday, June 7, 2017

The Wishing Tree -- Doing the Prep

First up is marking the 1-1/2" grid in the panel portion of the quilt top. A 6"x24" ruler and a fine line water soluble marker are great for this task.


Then I used 2" binder clips, available at office supply stores, to secure the quilt backing to the tables. I have two 30"x96" banquet style tables in my workroom, also purchased at an office supply store, giving me a 60"x96" work surface.
I'm using two battings, both from Winline. I put the cotton on first and the wool on top of it. The cotton provides stability to help this quilt hang nice and straight; the wool adds loft and gives more definition to the quilting.


I keep each batting information sheet pinned to the bolt so that I always have the manufacturers recommendation for stitching distances, care and any special considerations about a particular batting. Also has Luann's phone number when I need more!


Normally I use a walking foot to stabilize the quilt by straight stitching seams between blocks. Panels are different in that there are no blocks, no seams, just a single piece of fabric. Sometimes there are areas within a panel to do this type of stabilizing, but not this one.
Since my plan is to quilt the entire panel with free motion techniques, I'm pinning much heavier than my normal "about every 4 inches". This extra pinning will also keep everything from shifting -- I have to keep in mind that I have two battings and absolutely no stabilizing stitches.


My plan is to outline the tree first and then the leaves. I'll pick threads tomorrow morning when I have natural light in my workroom; I'm blessed with a north facing window and lots of California sunshine!
But we quilters never have enough space, do we? Here's where I cut my batting, in the guest room!


I did most of the pinning after I got home from shopping with my friend and fellow quilter Linda Petrik. That's Linda in the picture below; we were at White House Black Market and I loved this skirt, but they didn't have it in my size. Couldn't order it in the store because it was on sale, so when I got home I checked online and...


SCORE!!
Quilt is pinned, skirt on its way, life is good!

Related Posts Plugin for WordPress, Blogger...